Mailing Template & Settings introduction
This article is about mooSocial’s Mailing template and how to configure mailing system.
I/How to configure your mailing system:
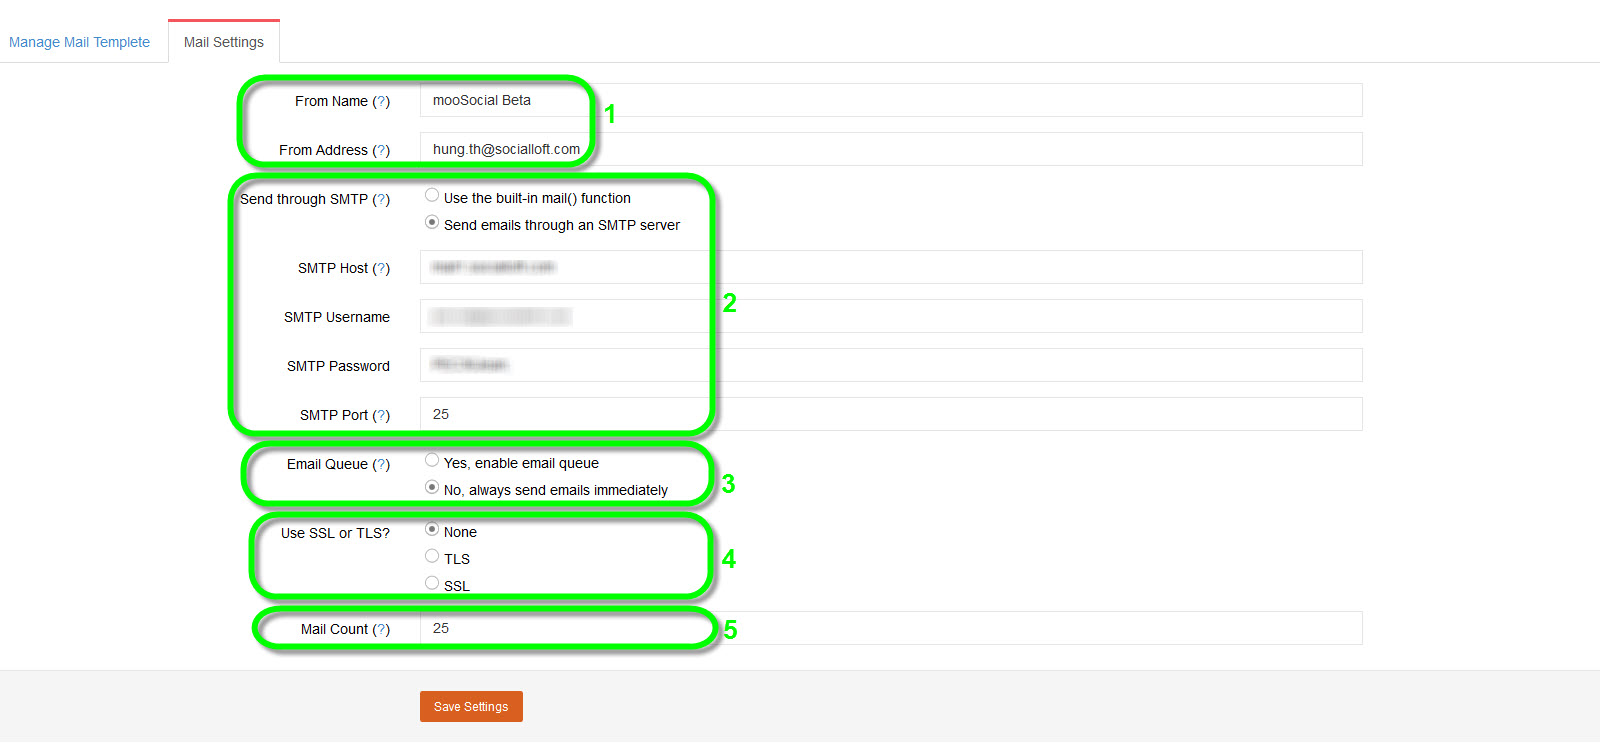
1. Enter your From Name, ex: mooSocial
Enter your From Address, email address that you want the mails from the system to come from.
2. Check on Send Through SMTP server. (If you intended to use built-in mail, skip this step)
SMTP Host: enter your Host.
SMTP Username: enter your SMTP server username. Ex: http://mail.socialloft.com
SMTP Password: enter your SMTP server password.
SMTP Port: enter your SMTP server’s port. Ex: 25
3. Email Queue, 2 options, Yes to enable email queue or No to send mails immediately.
4. Choose between TLS & SSL or none of them.
5. Input numbers of emails you want to send each time Background Mail Task is running.
Then click on Save Changes button below to save all the settings.
II/ Manage Mailing Template:
You can configure Mails content that will send to users. There are many templates of mails for cases or roles.
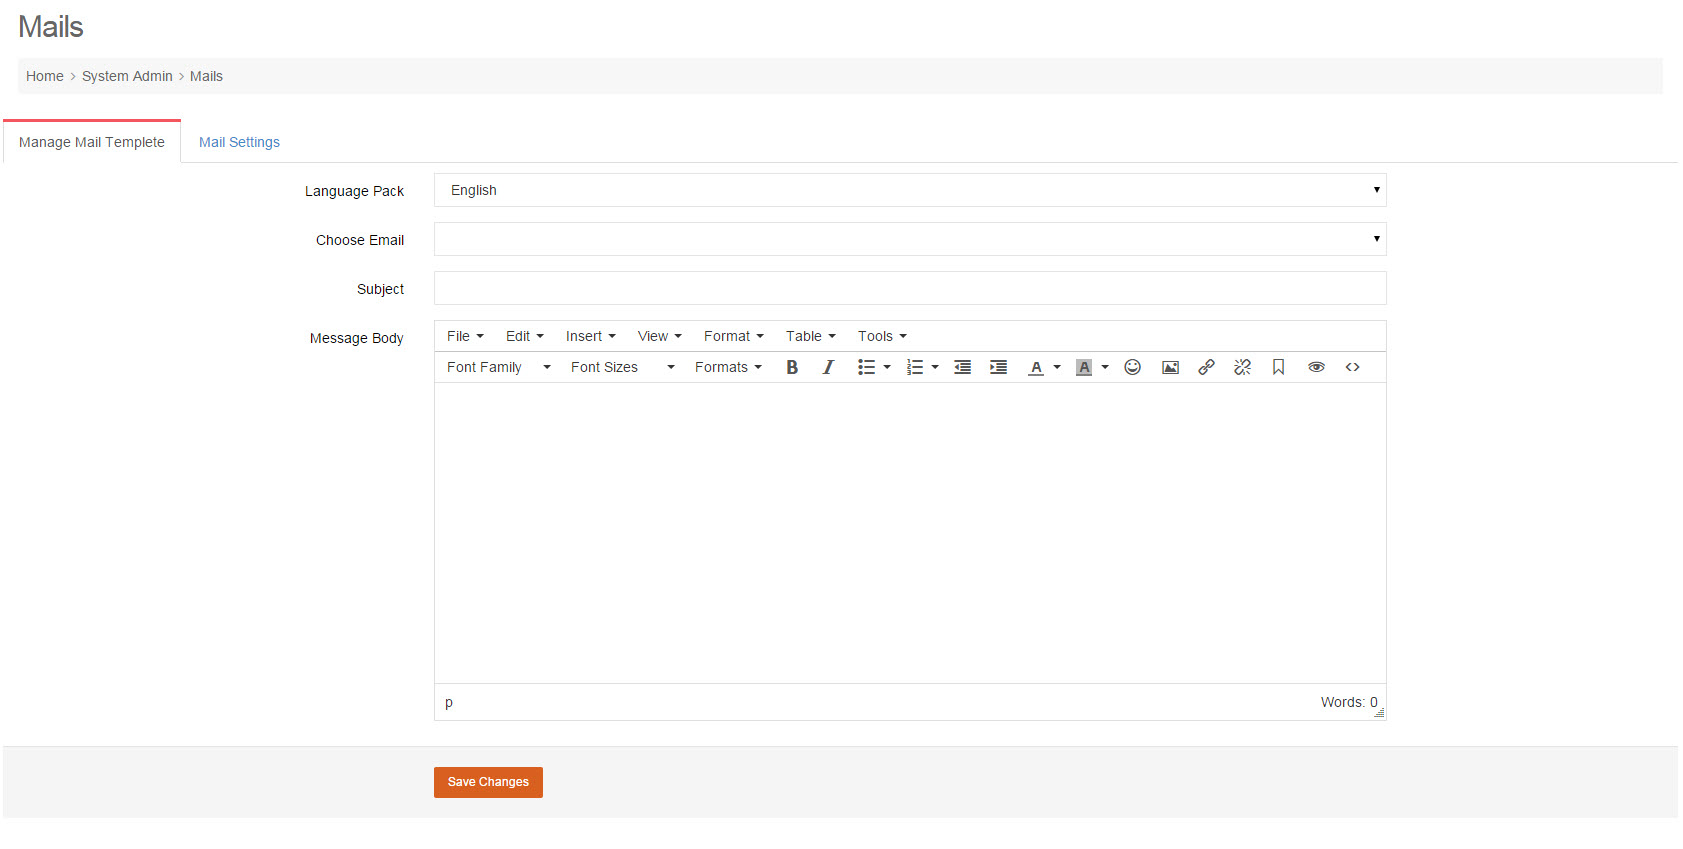
#Mail templates manager layout.
Let’s take a look to the Templates list:
#Templates.
Now we take example on Welcome Mail:
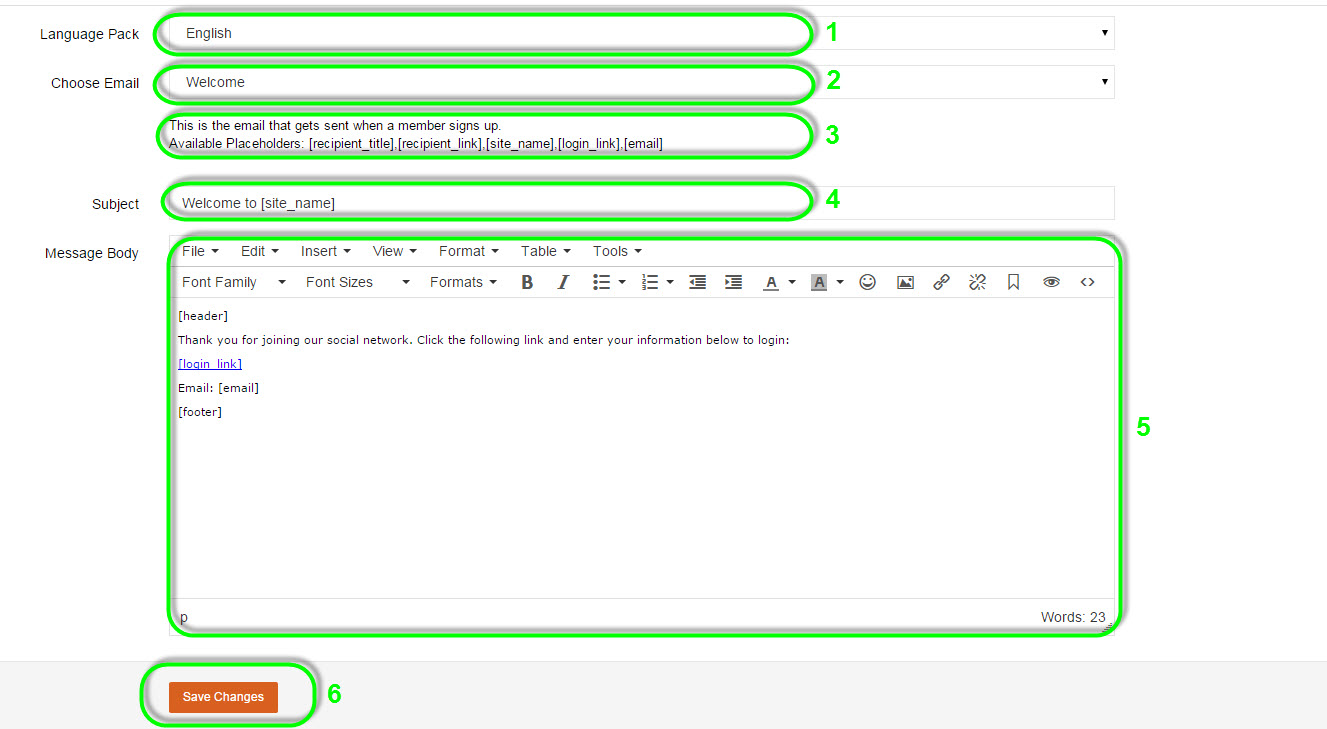
First, select Welcome at Choose Email field to config, this email template is used for sending to new Members signed up.
#1: Select Language for the template.
#2: Emails Templates.
#3: Description about template.
#4: Subject of the Email Template.
#5: Message to users.
#6 Save Changes button.
*In #5: Message to users, [header] and [footer] are templates, they will display in your mails sent to users, you can config them by selecting Choose Emails field.


