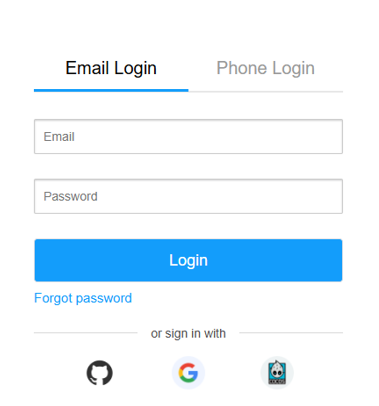
STEP 1: Login / Register to Agora Account. Visit: https://console.agora.io/
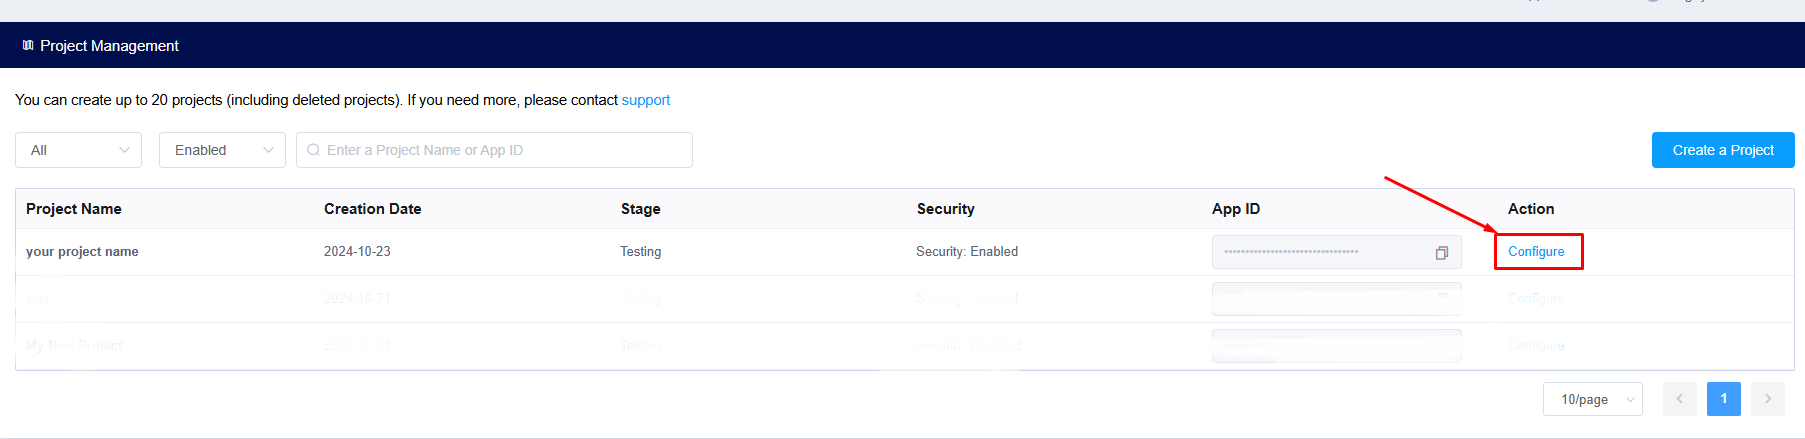
STEP 2: Navigate to “Project Management“ (1) > click on “Create a project“ (2)

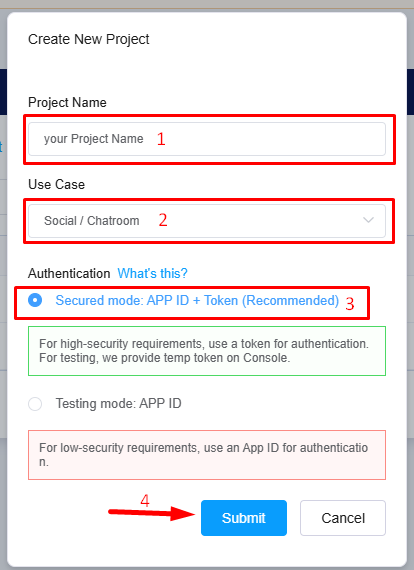
STEP 3: in the Create New Project pop-up
(1) Input your project name
(2) Select “Social / Chatroom”
(3) Select “Secured mode: APP ID + Token (Recommended)”
(4) click on the “Submit” button
STEP 4: Click on “Configure“ to open the edit project page
STEP 5: At the edit project page, Select the Stage = Live
then COPY the APP ID & PRIMARY CERTIFICATE fields
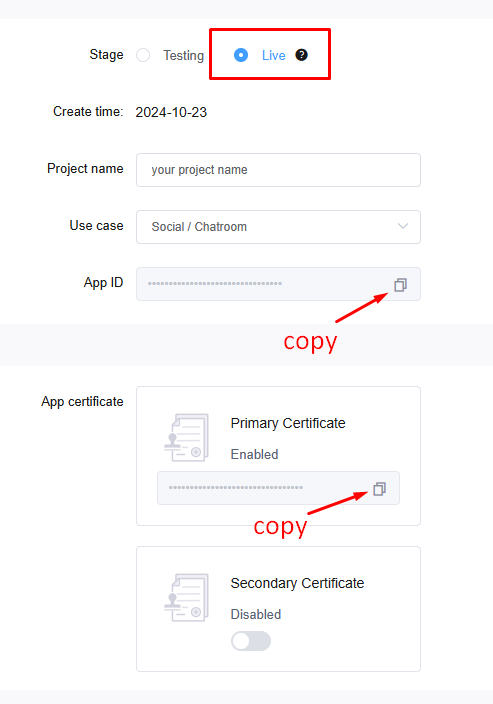
Note: The APP ID & PRIMARY CERTIFICATE will paste to Agora App ID & Agora App Certificate fields in Video & Audio settings when enabling Call here
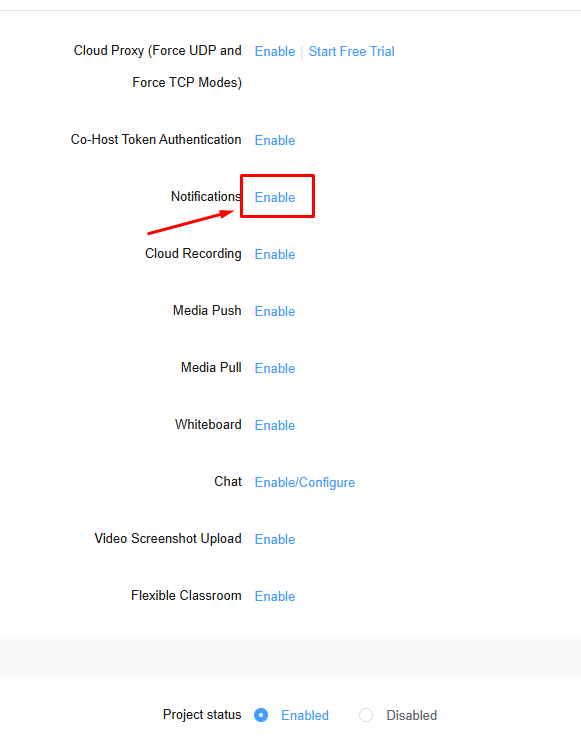
STEP 6: scroll to “Notification” > click on “Enable”
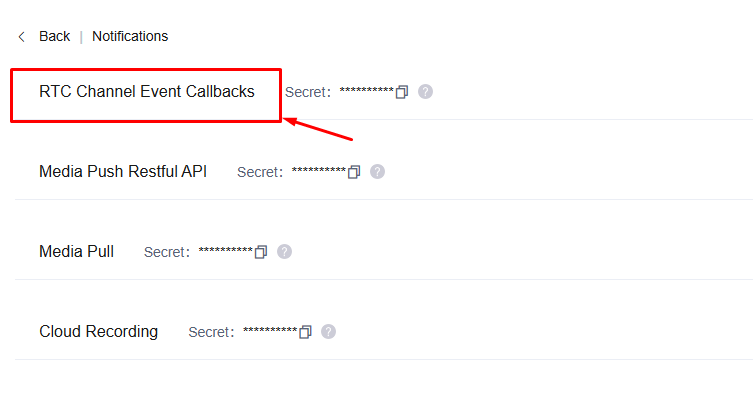
STEP 7: click on “RTC Chanel Event Callbacks”
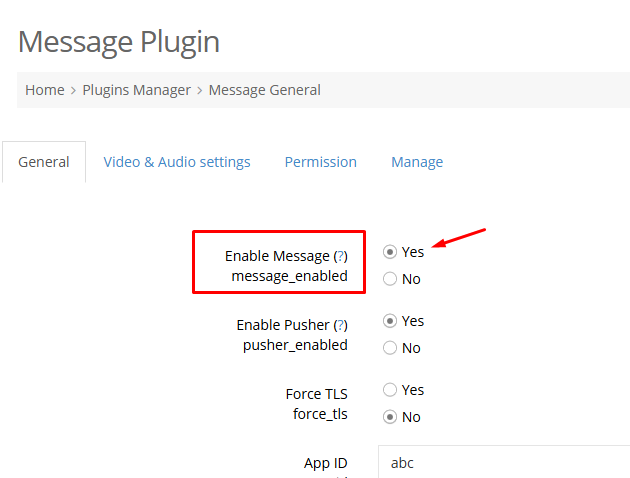
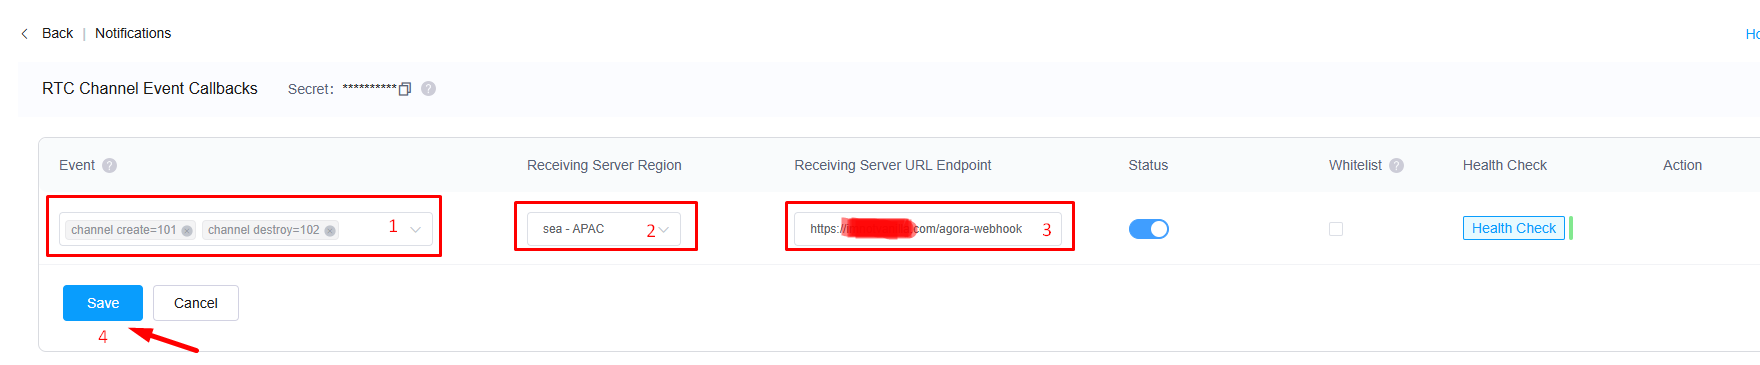
STEP 8: Set the fields as shown below
(1) Even > Select “channel create=101″, “channel destroy=102″
(2) Receiving Server Region > select “sea – APAC”
(3) Receiving Server URL Endpoint > Input your URL + /agora-webhook
Example: https://moosocial.com/agora-webhook
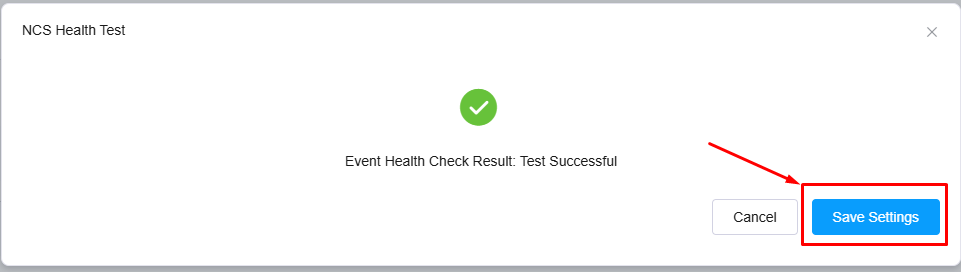
Click “Save” (4) > show pop-up Test Successful > click “Save Settings”
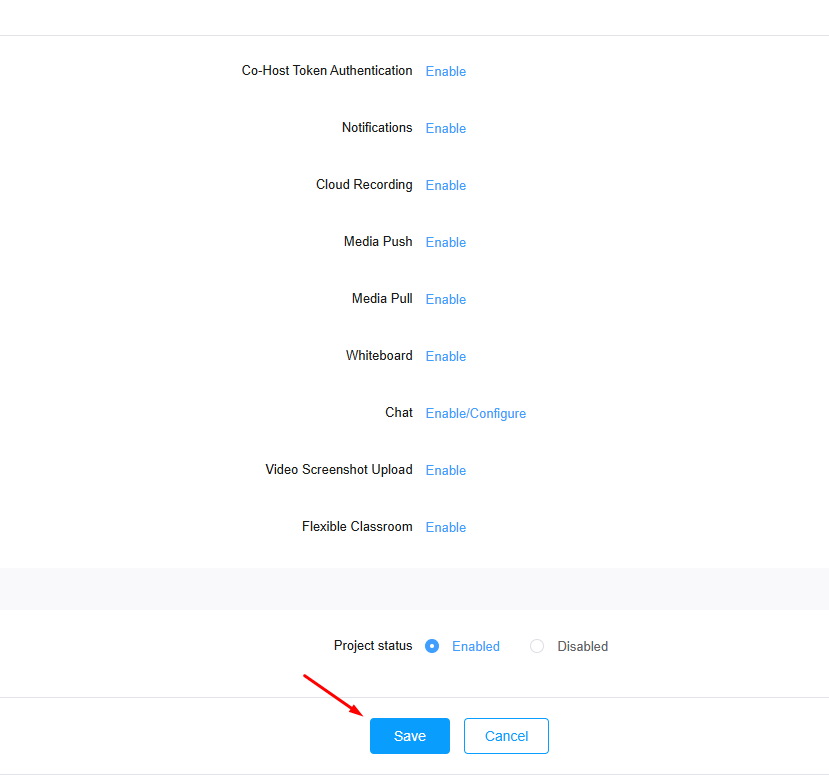
STEP 9: Back to edit project page > click “Save” > Done!!!