To guide on what Reaction settings do and how to use them, please follow the article below.
Access to Admin Dashboard => Plugin Manager => Reaction.
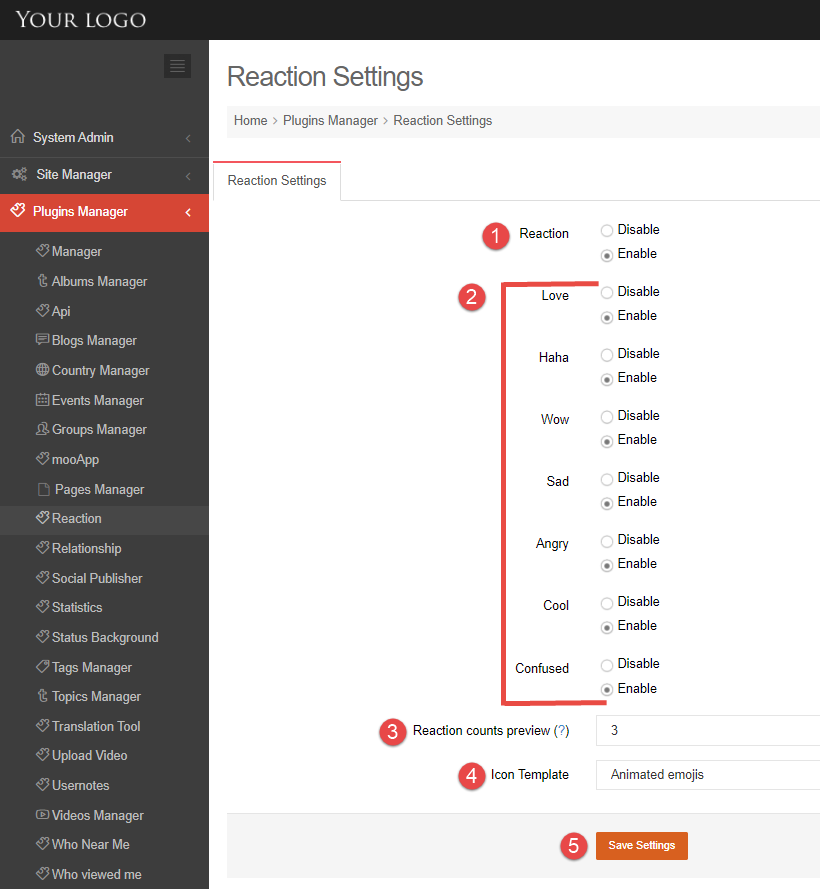
1. Enable or Disable Reaction plugin
2. Enable or Disable any reaction:
Love:
Haha:
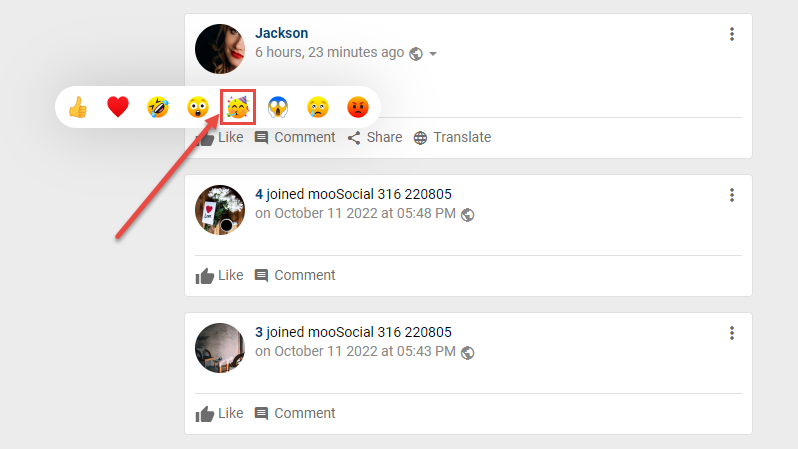
Wow:
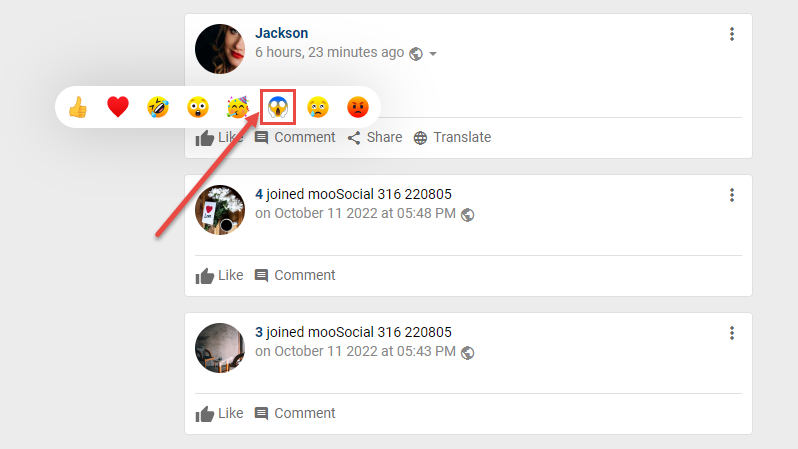
Sad:
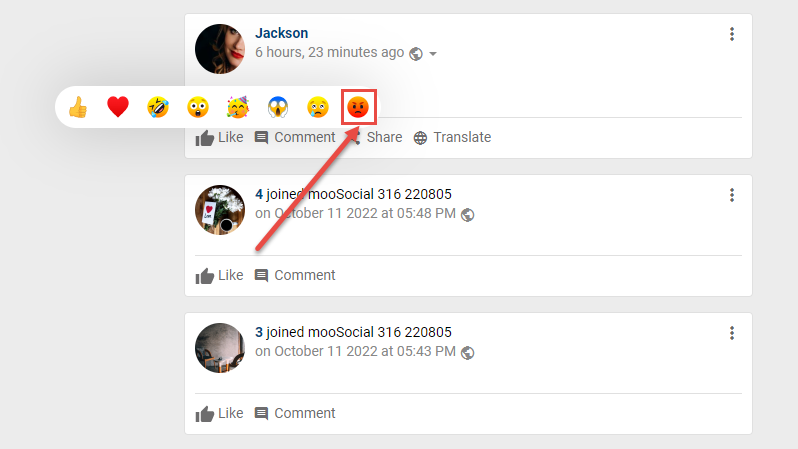
Angry:
Cool:
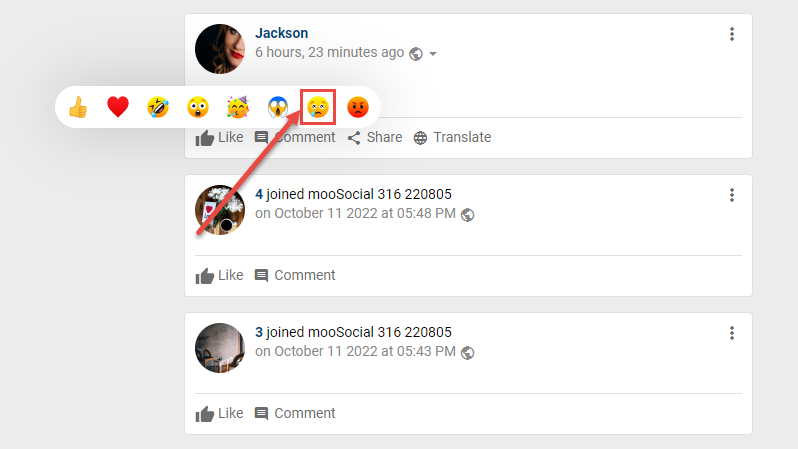
Confused:
3. Reaction counts preview: maximum number of reactions displayed.
4. Icon template: select the template to use (Animated emojis or Static emojis).
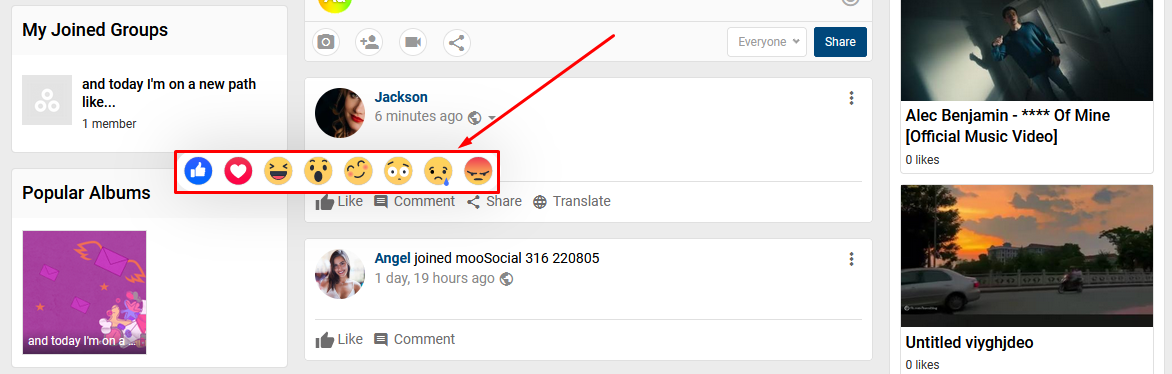
- Animated emojis:
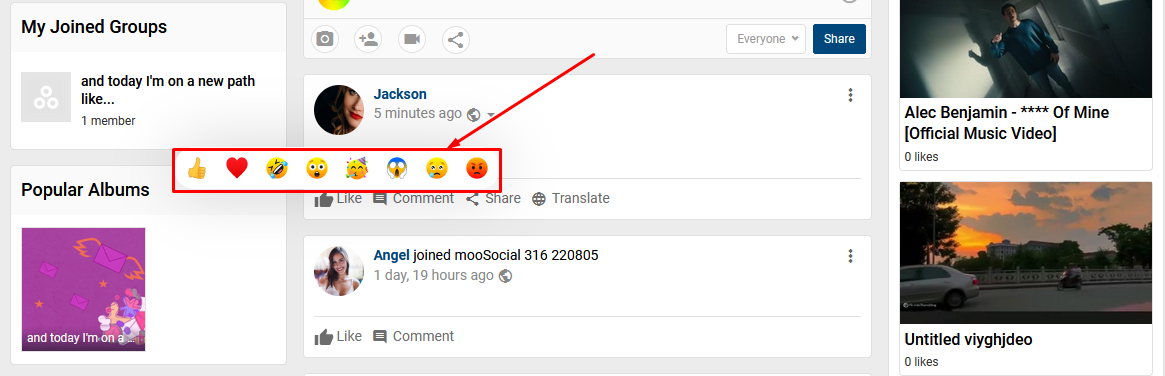
- Static emojis:
5. Save settings button.
Reactions plugin allows you to let your friends know how you feel about a post, comment, or item. Previously you could only “Like” these things, but using Reaction plugin, you has a variety of reaction options such as Like, Love, Haha, Wow, Sad, Angry, Cool and Confused.
Follow this tutorial to know how to use Reaction plugin.
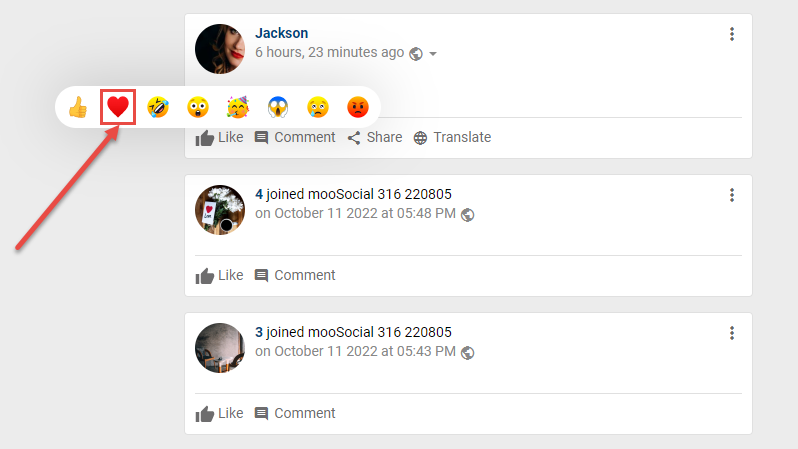
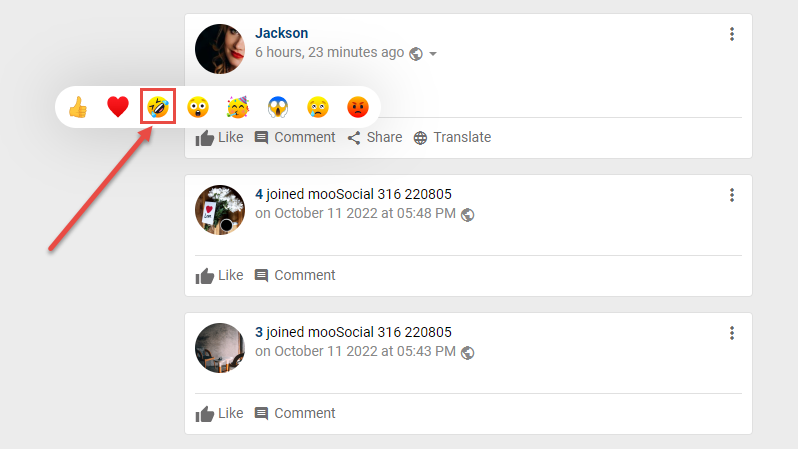
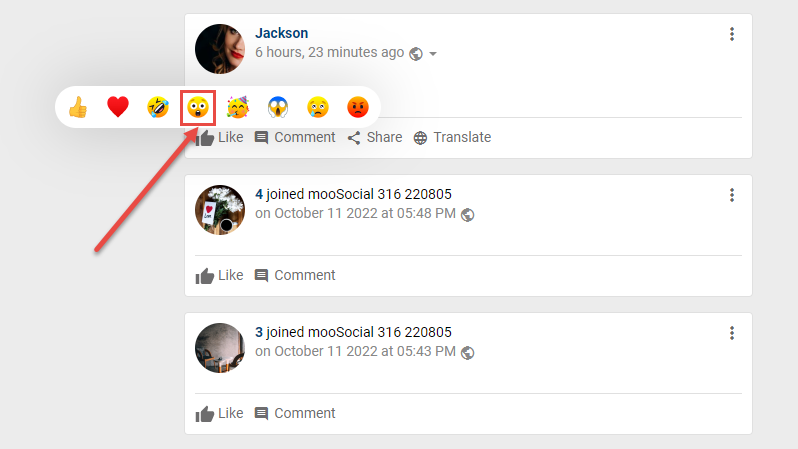
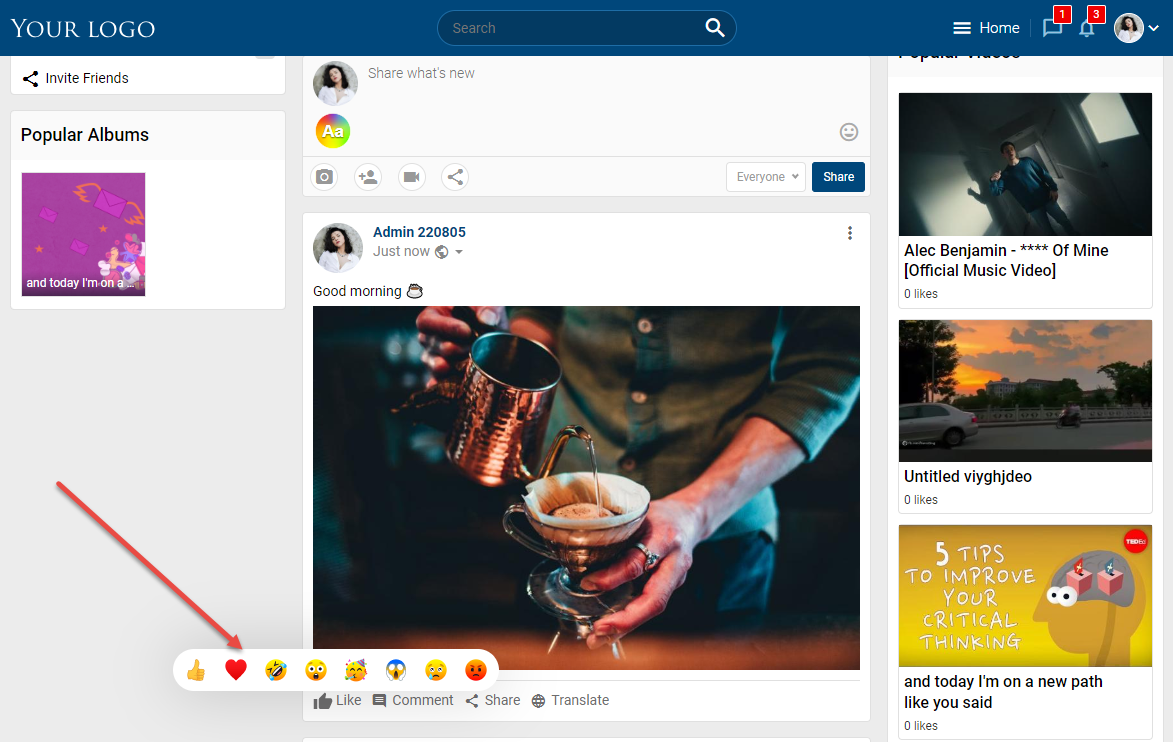
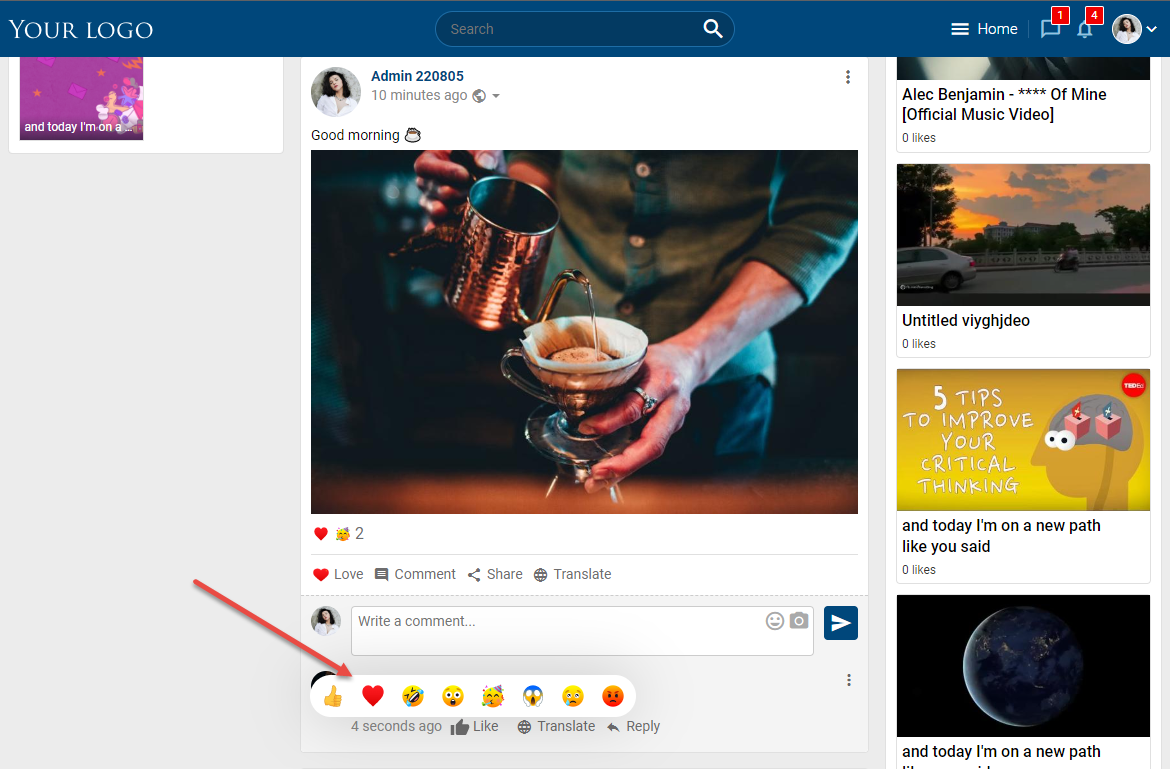
To react to a post on your feed, hover your cursor over the “Like” button at the bottom of the post. You should see the menu of reaction icons pop up. Now, just click on the reaction you’d like to add. You can only add one reaction per post.
If you accidentally click the wrong one, don’t worry. You can follow the same steps to change your reaction to a post.
You can also react to comments on posts the same way.
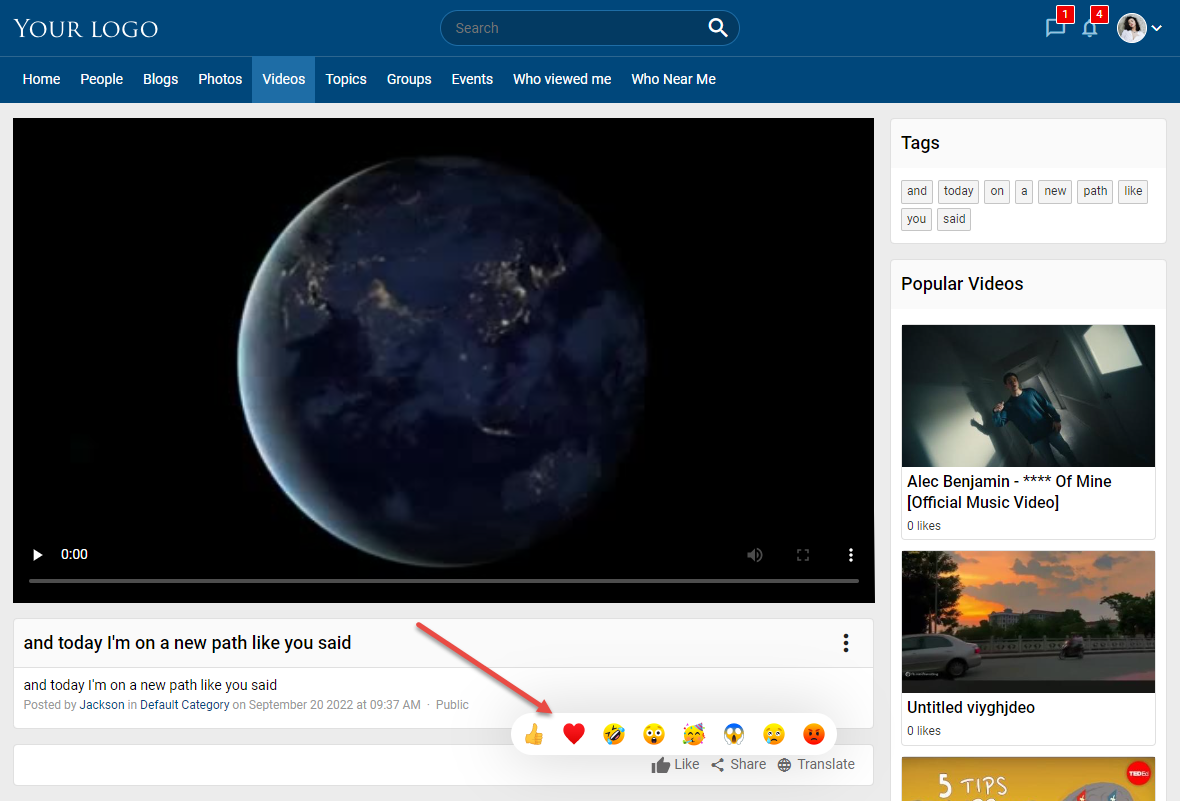
To react to an item, hover your cursor over the “Like” button at the bottom of the item and click on the reaction you’d like to add.
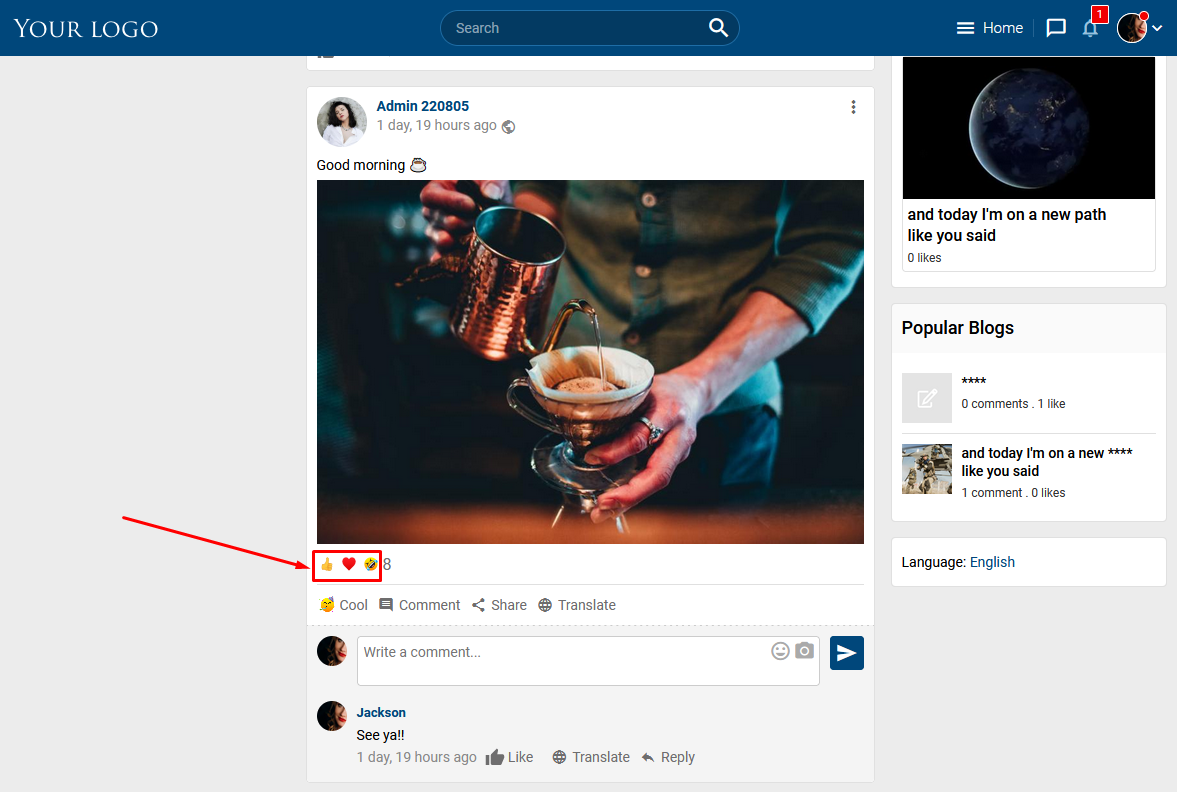
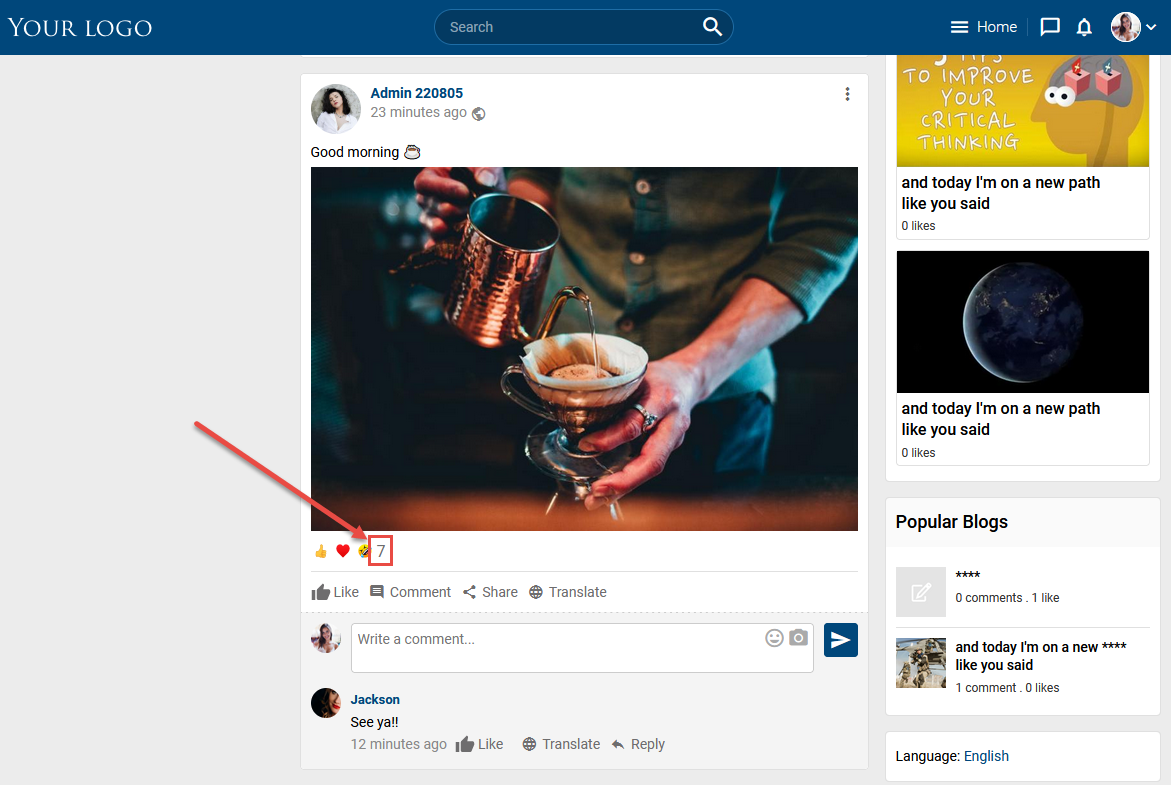
You can view the list of users reacted by click on the number next to reaction list.
The list of users reacted will be shown like this:
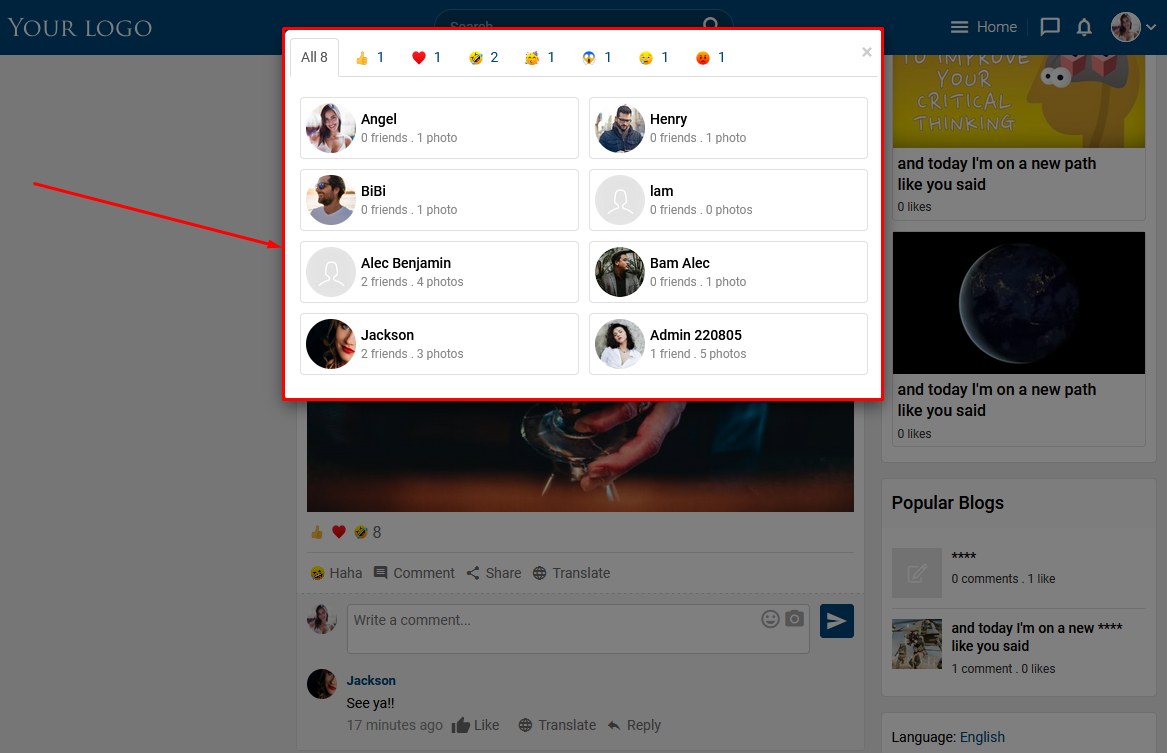
You can switch between tabs to see the list of users in each reaction.
