Creating a social networking site with WordPress is possible, but it’s a complex task that may require technical expertise, time, and resources. You’ll need to leverage various plugins and possibly custom development to achieve your goals. Here’s a simplified step-by-step guide to help you get started:
Select a Domain and Hosting:
- Choose a domain name that’s relevant to your social network.
- Purchase web hosting with sufficient resources and good performance.
Install WordPress:
- Install WordPress on your hosting server. Many hosting providers offer one-click installations for WordPress.
Choose a Theme:
- Select a WordPress theme that suits your social networking site’s design and functionality needs. Look for themes that support community and social features.
Install Essential Plugins: To transform your WordPress site into a social network, you’ll need several plugins. Here are some essential ones:
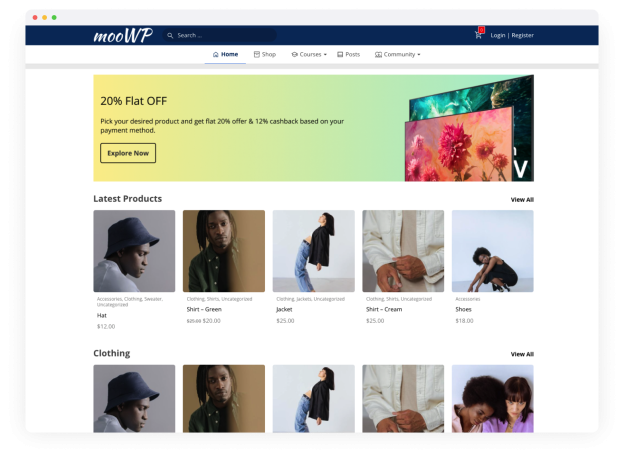
- mooWP: mooWP is a wordpress plugin, it acts as a bridge between mooSocial platform and WordPress to turn your WordPress Site Into a Social Network. It allows you to turn your one-time visitors into loyal, long-term users by providing them a place to sign up, connect with each other, post messages, and more
- BuddyPress: BuddyPress is a powerful plugin that adds social networking features like user profiles, activity streams, groups, and private messaging to your site.
- bbPress: If you want to include forums in your social network, bbPress is a popular choice.
- Ultimate Member: This plugin allows you to create custom user profiles and membership systems.
- WP Symposium: Another alternative to BuddyPress, WP Symposium offers social networking features.
- WPSocial: WPSocial is a comprehensive social networking plugin that provides various features for creating a social network.
Customize and Configure Plugins:
- Configure your chosen plugins according to your requirements. You’ll need to set up user registration, profile fields, activity feeds, groups, and other social features.
User Registration and Profile Setup:
- Customize user registration and profile fields to gather relevant information from your members.
Activity Stream:
- Implement an activity stream that displays updates, posts, and interactions within the community.
Groups and Communities:
- If your social network is focused on specific niches or interests, create groups or communities for users to join.
Privacy Settings:
- Set up privacy options that allow users to control who can see their profiles and content.
Messaging and Notifications:
- Configure messaging and notification systems to keep users engaged and informed.
Moderation and Security:
- Implement moderation tools to manage user-generated content and ensure the security of your social network.
Content Creation and Engagement:
- Encourage users to create and share content, engage in discussions, and interact with each other.
Monetization (Optional):
- If you plan to monetize your social network, consider options like membership subscriptions, ads, or premium features.
Testing and Optimization:
- Test your social networking site thoroughly to identify and resolve any issues or bugs. Optimize performance for a smooth user experience.
Launch and Promote:
- Once you’re satisfied with the site, launch it and start promoting it to your target audience.
Community Management:
- Continuously manage and moderate your social network to foster a positive and engaging community.
Regular Updates and Maintenance:
- Keep your WordPress installation, themes, and plugins up to date. Regularly review and improve the functionality and features of your social networking site.
Creating a social networking site with WordPress is a significant undertaking, and you may need to invest in web development skills or hire professionals to help you achieve your goals. Additionally, consider the scalability of your hosting solution, as a growing community can put more demands on your server resources.
With mooSocial and mooWP plugin, we will provide a powerful solution for you to Turn your WordPress site to a powerful online community without coding skill required. Click here for more details

