Admin can manage requests and verify members who sent the profile verify request on site. This article will demonstrate to you how to do it.
Access to Admin Dashboard => Plugin Manager => Profile Verify
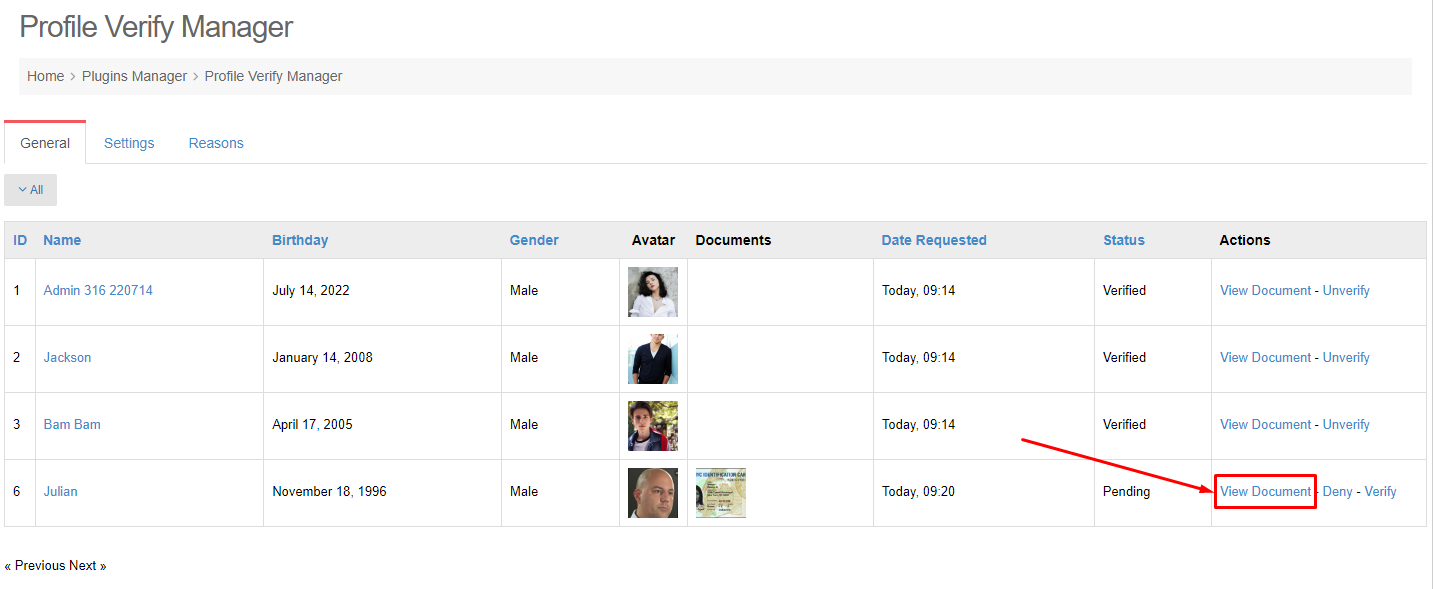
Can see:
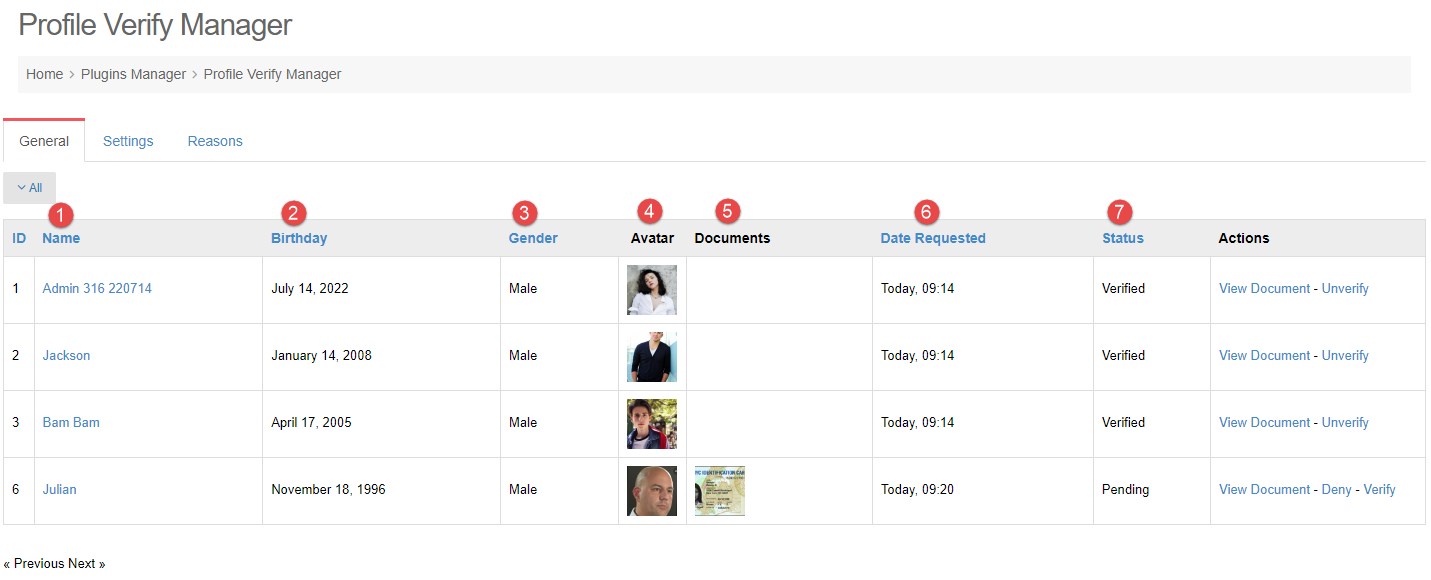
1, 2, 3, 4: information of the requested users
5. Documents: show documents user uploaded.
6. Date Request: show the sending request date time.
7. Status: show user verify status.
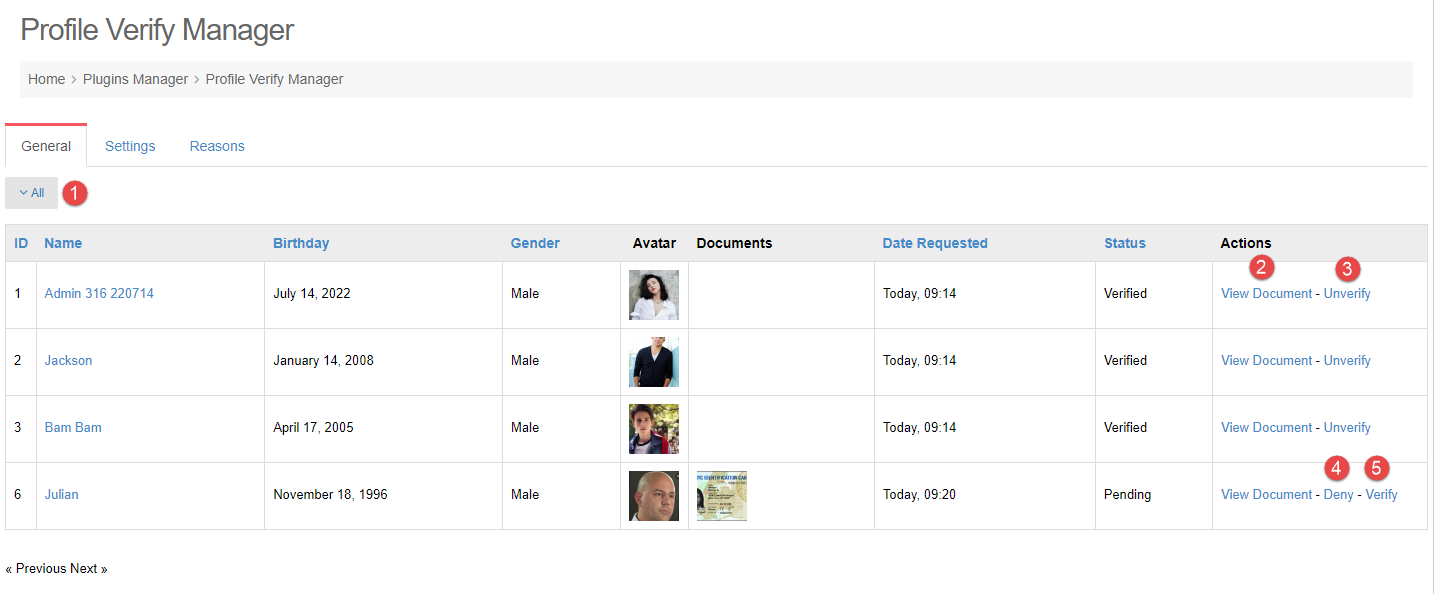
And can manage the requests:
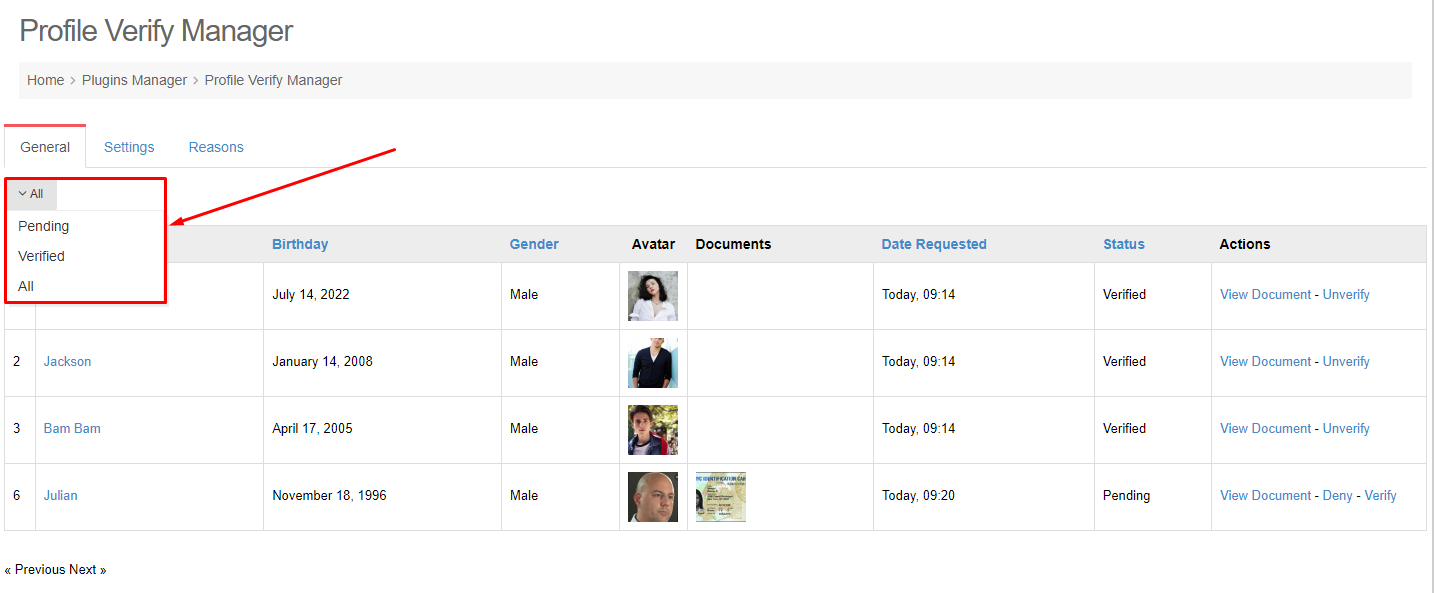
1. FILTER USER.
Click the All and select the status to filter: Verified, Pending and All.
2. VIEW DOCUMENT
Step 1. Actions column >> Click the View Document link >> show popup.
Step 2. Can see the Basic Information, Required Information and Verified Information of user.
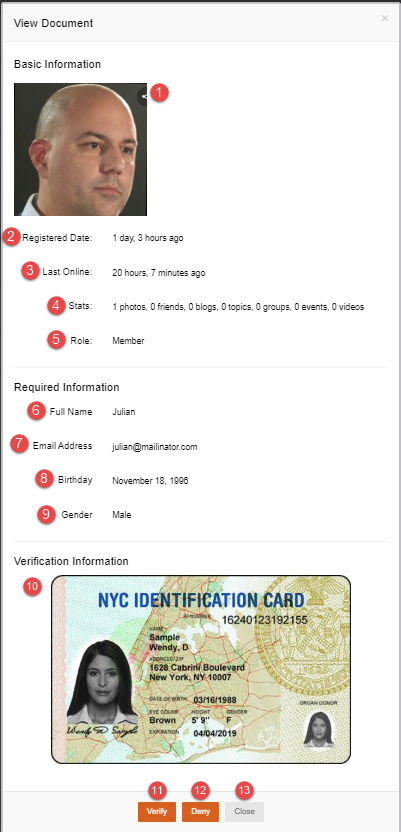
1. User avatar.
2. Registered Date.
3. Last Online.
4. Stats: show the statistic of user on site (the number of photos, friends, blogs, topics, groups, events, videos).
5. Role: user role on site.
6. Full name
7. Email Address.
8. Birthday.
9. Gender.
10. Show documents user uploaded when he/ she sends the verify request.
11. Verify button: click this button to verify for the user profile.
12. Deny: click this button to reject the verify request of user.
13. Close button.
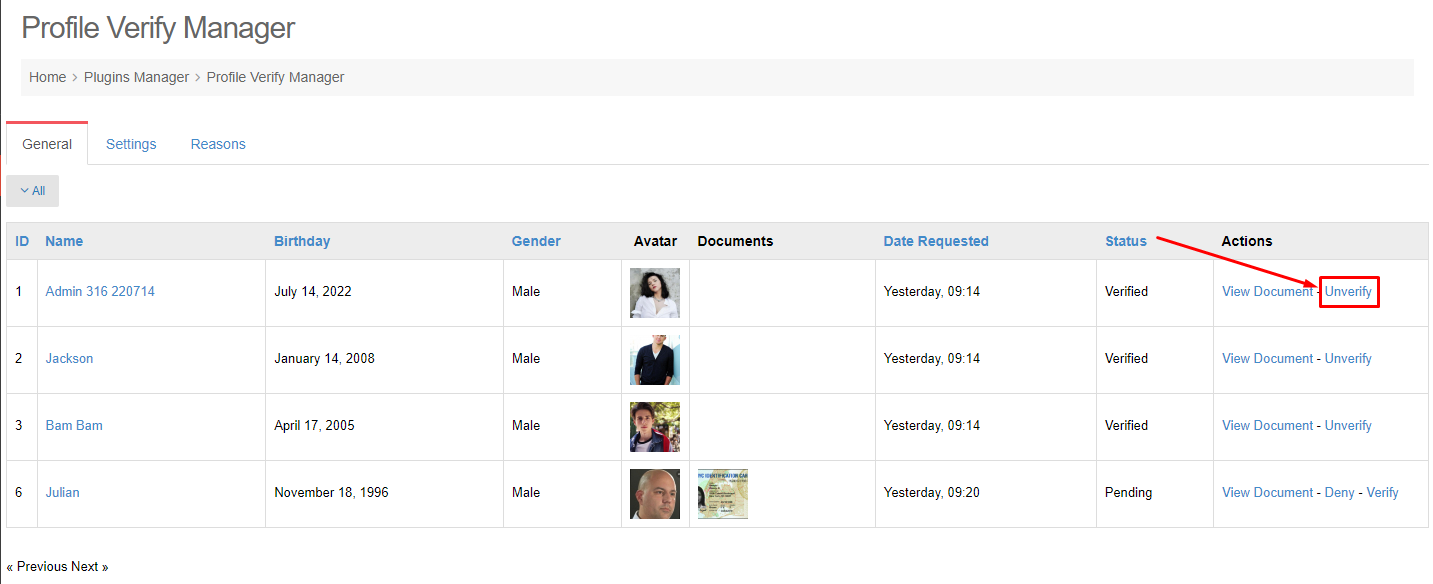
3. UNVERIFY USER
After users are verified , the Verify link switch to Unverify link. Click this link to unverify for user profile.
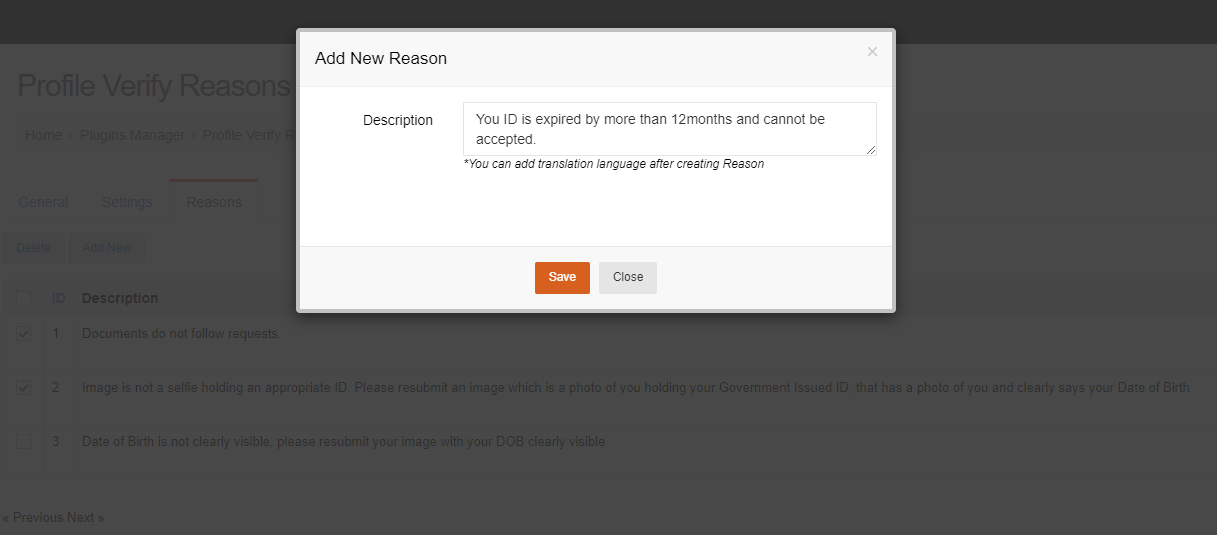
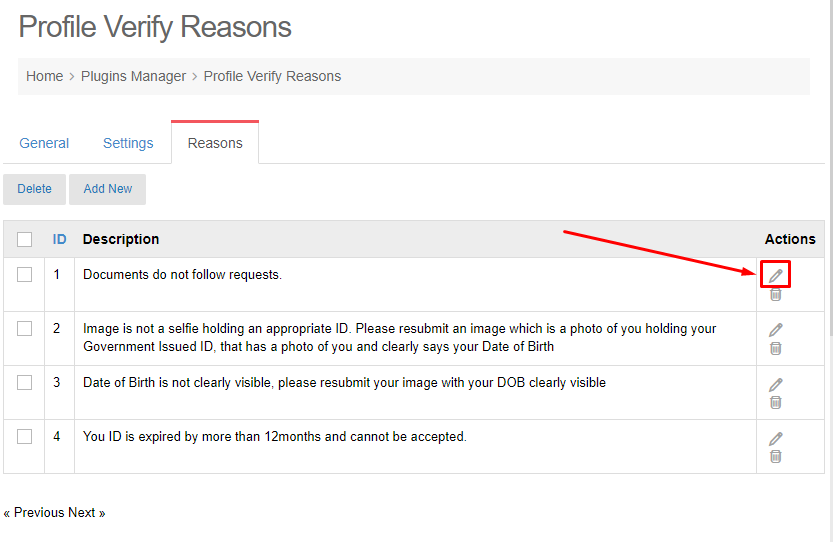
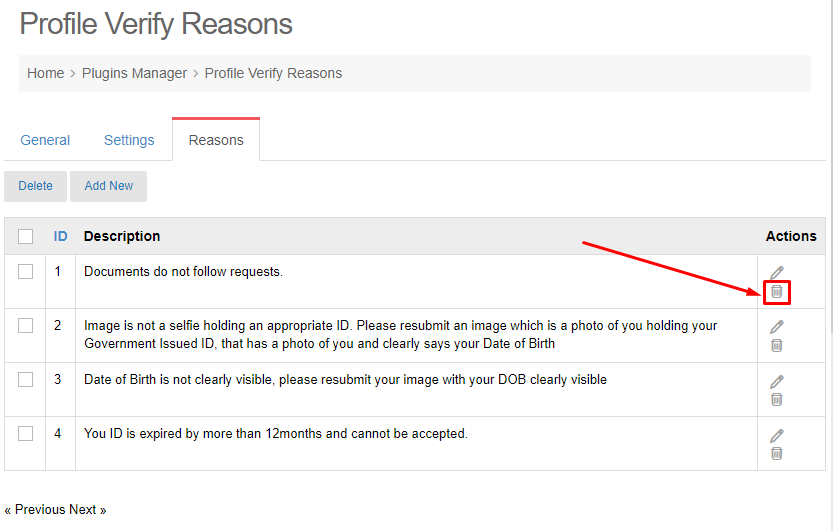
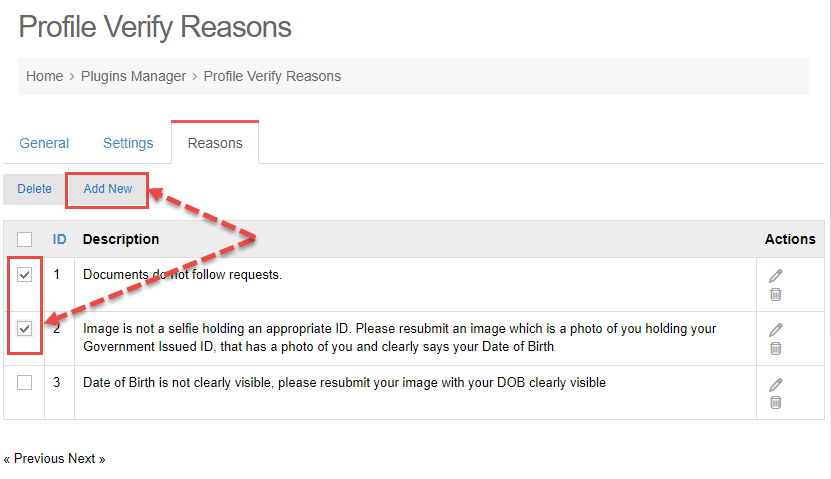
4. DENY VERIFYING USER
With the verify requests, admin can reject them
Step 1. Click the Deny link >> show the popup.
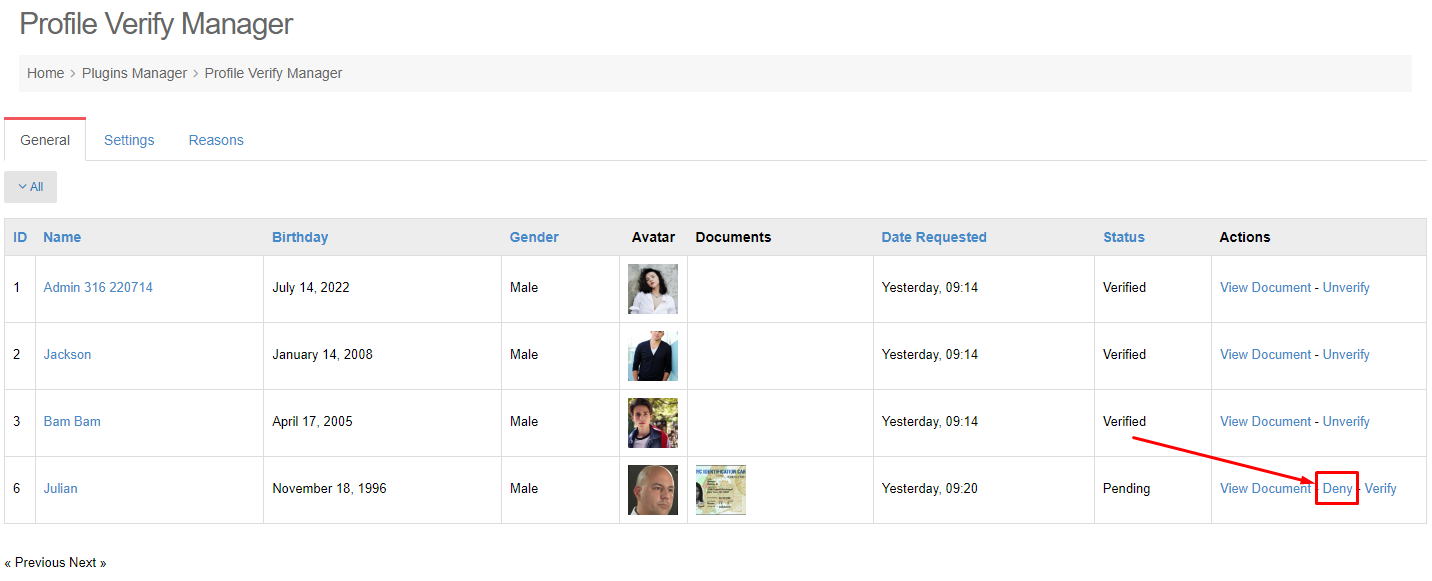
Step 2. Choose reason to reject the request >> click the Deny and send email button.
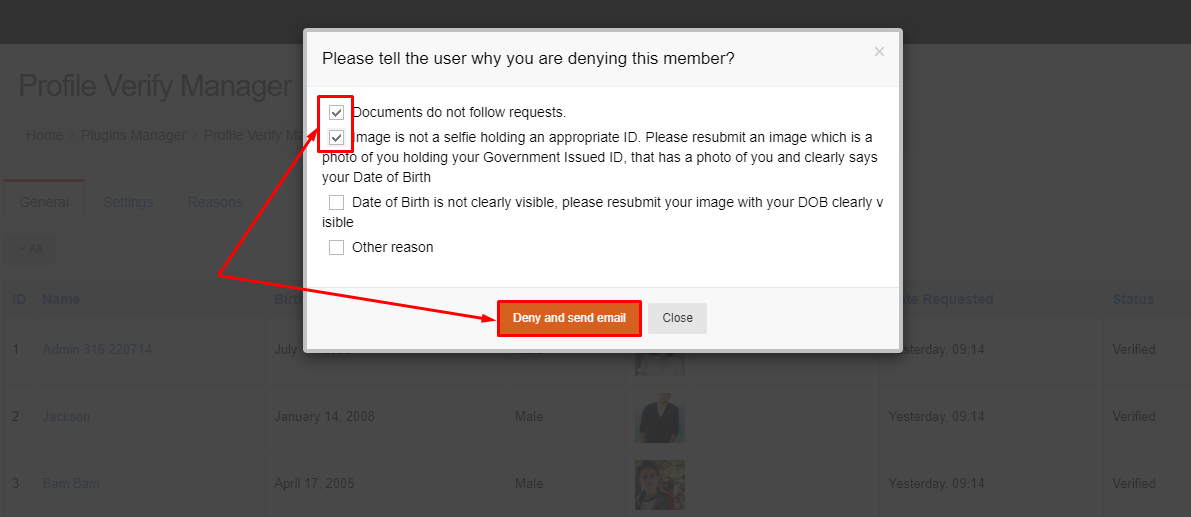
This request will be denied and the request user will get an email.
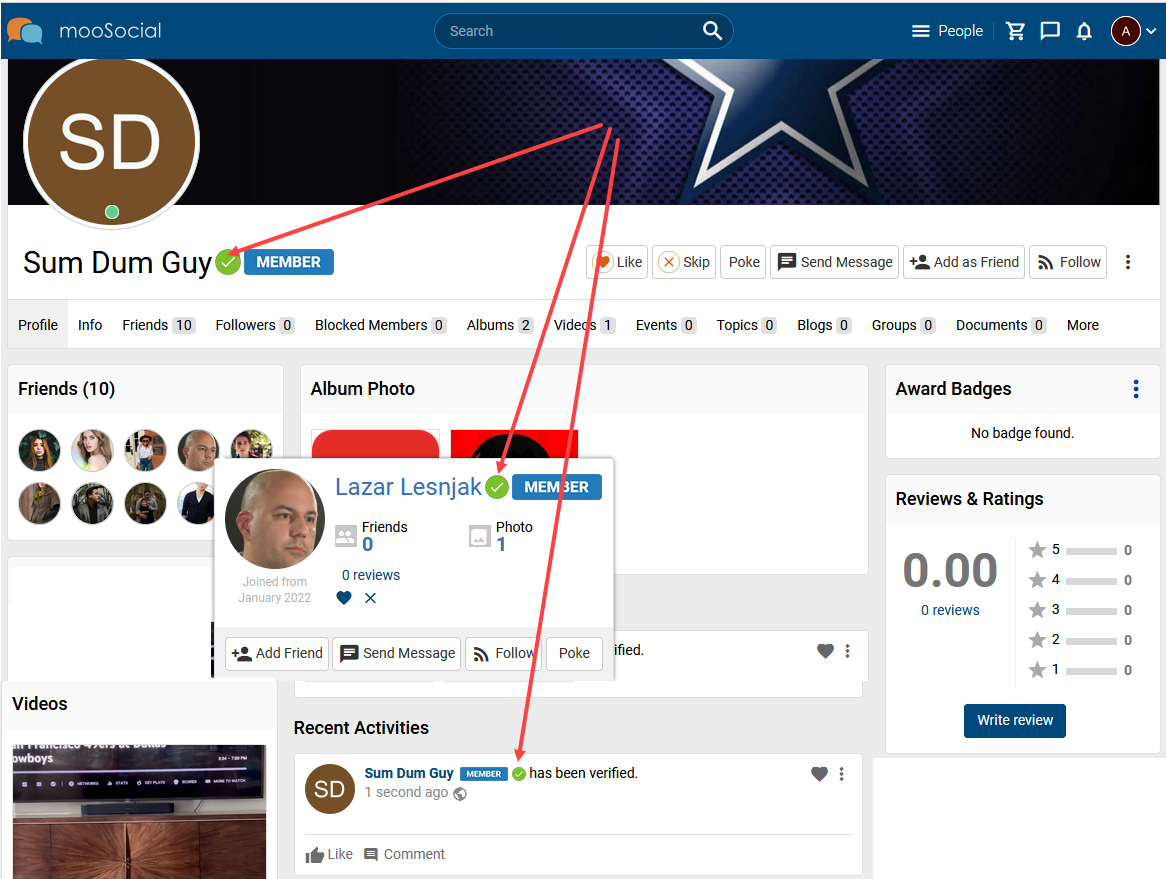
5. VERIFY USER
With the verify requests, admin can approve them by clicking the Verify link.

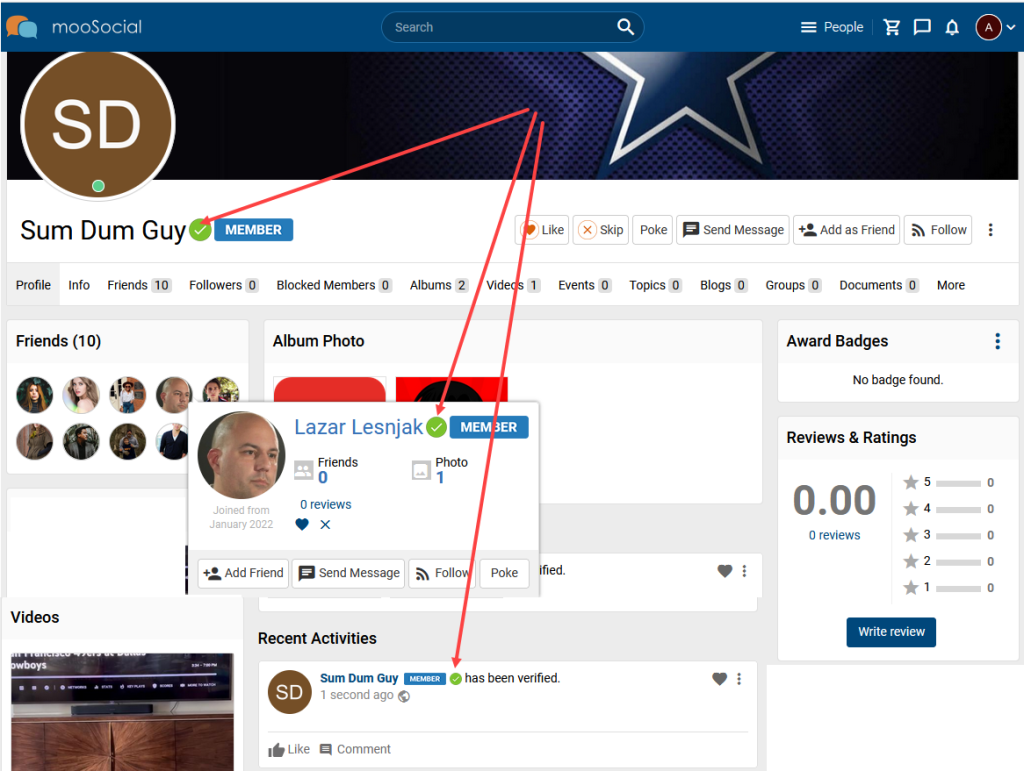
(Front-end)
The verified user will see Verified icon beside user name.