This tutorial will show you how to post answers to questions.
Go to the Question detail page for which you want to post an answer.
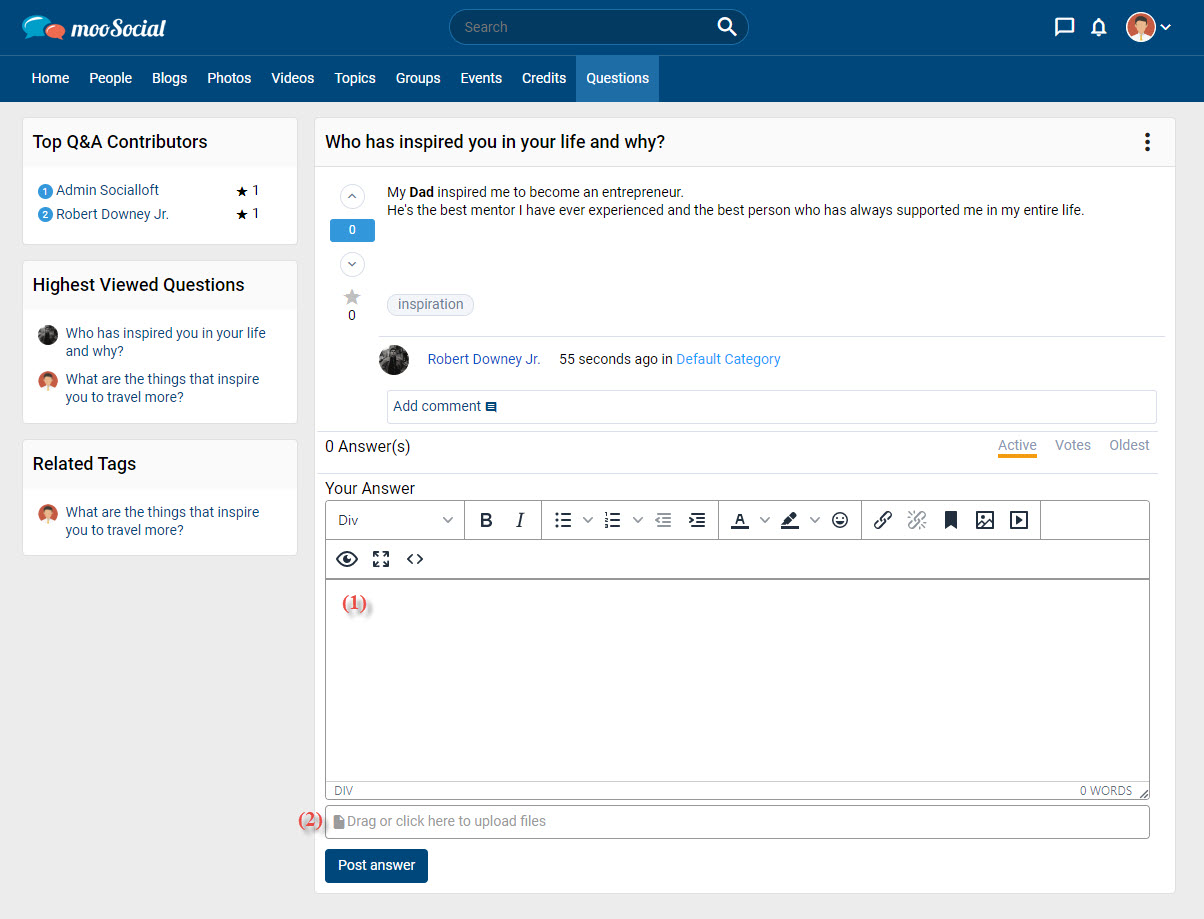
(1) Enter your answer in the answer box.
(2) Click here to upload attachment files (photos, documents,..)
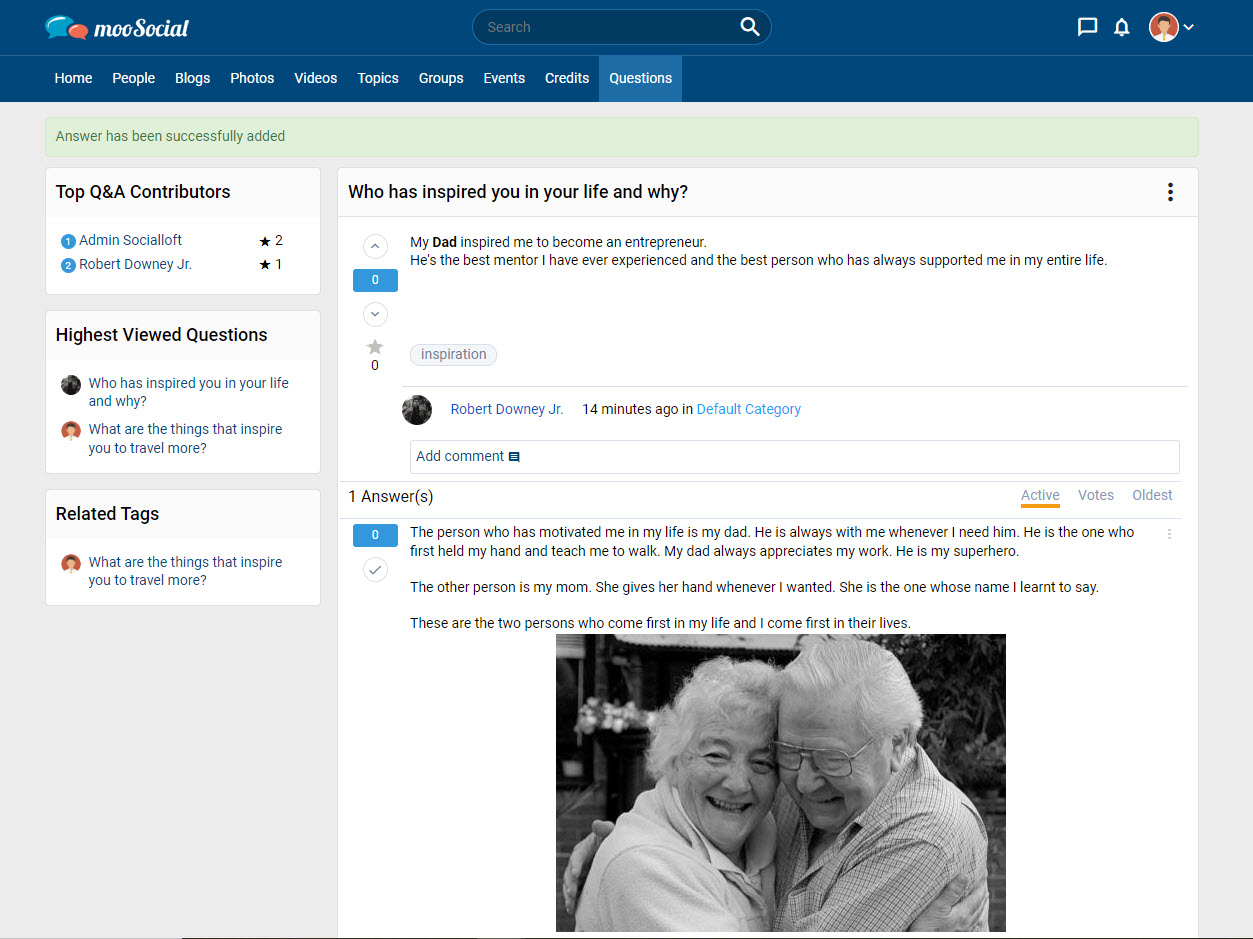
=> Click the Post answer button. Your answer has been posted successfully.
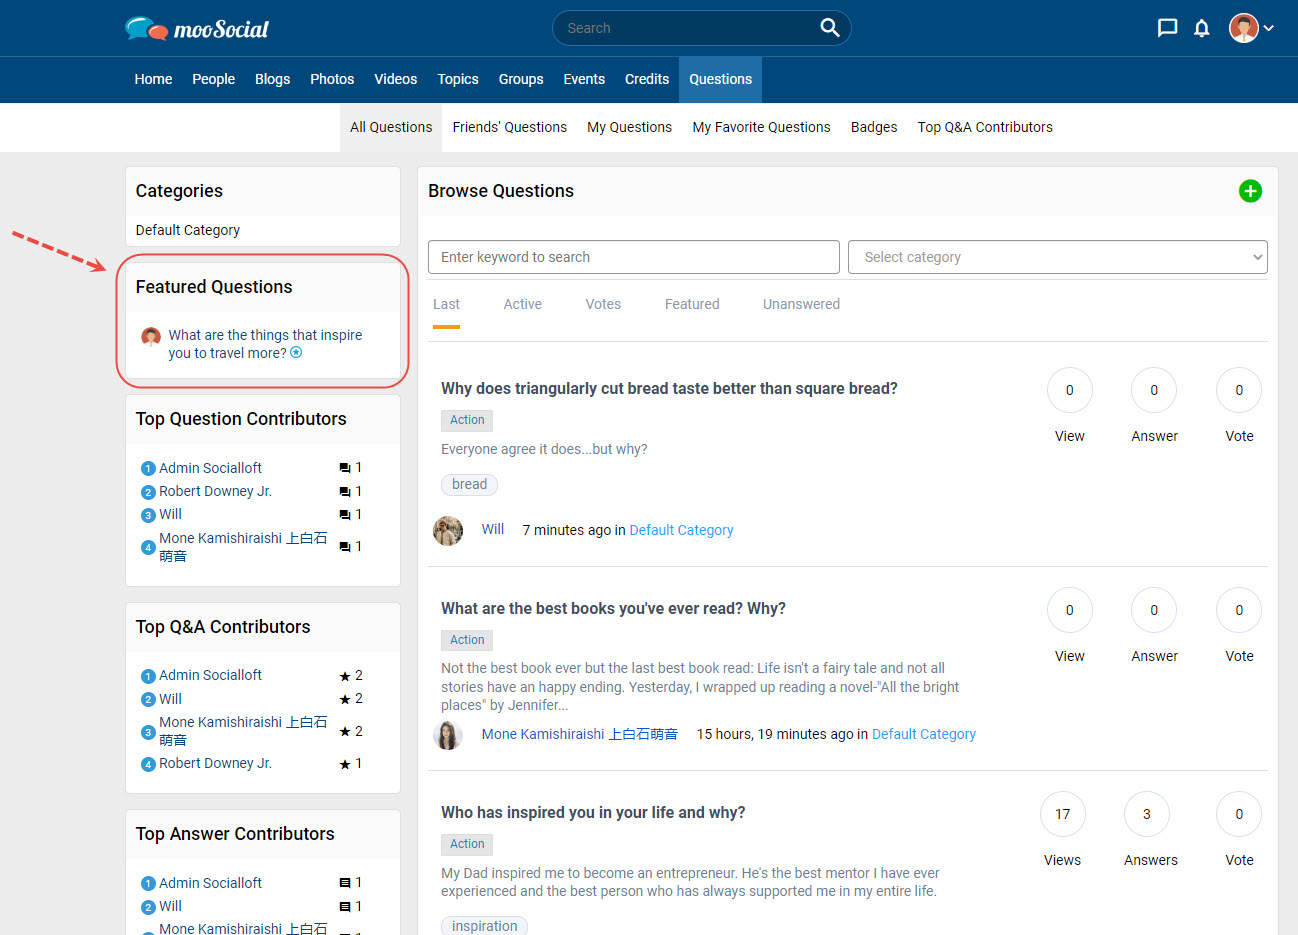
This tutorial will show you how the Site Admin makes questions as Featured Questions by manual selection.
(Back-end) Go to Question => Question Manager tab.
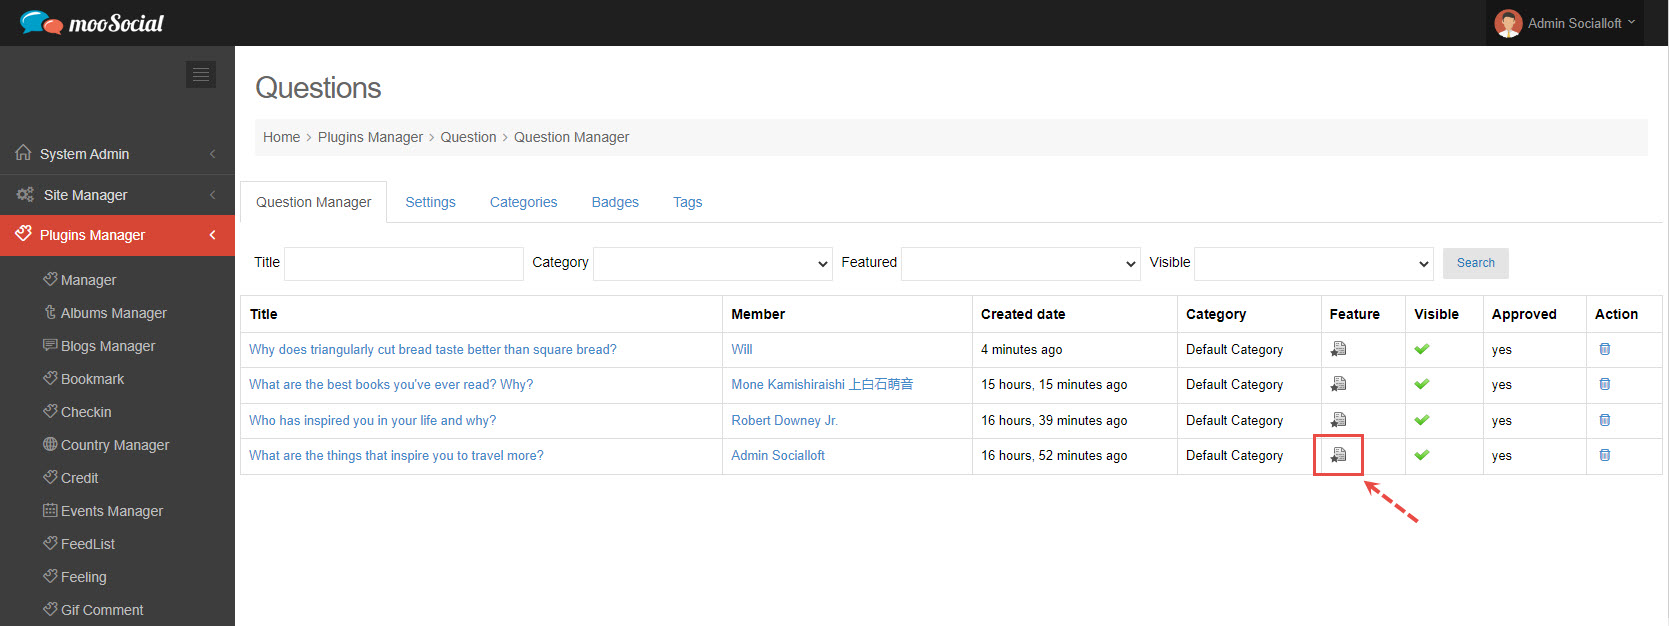
Check on the icon in feature column at the question you want to feature.
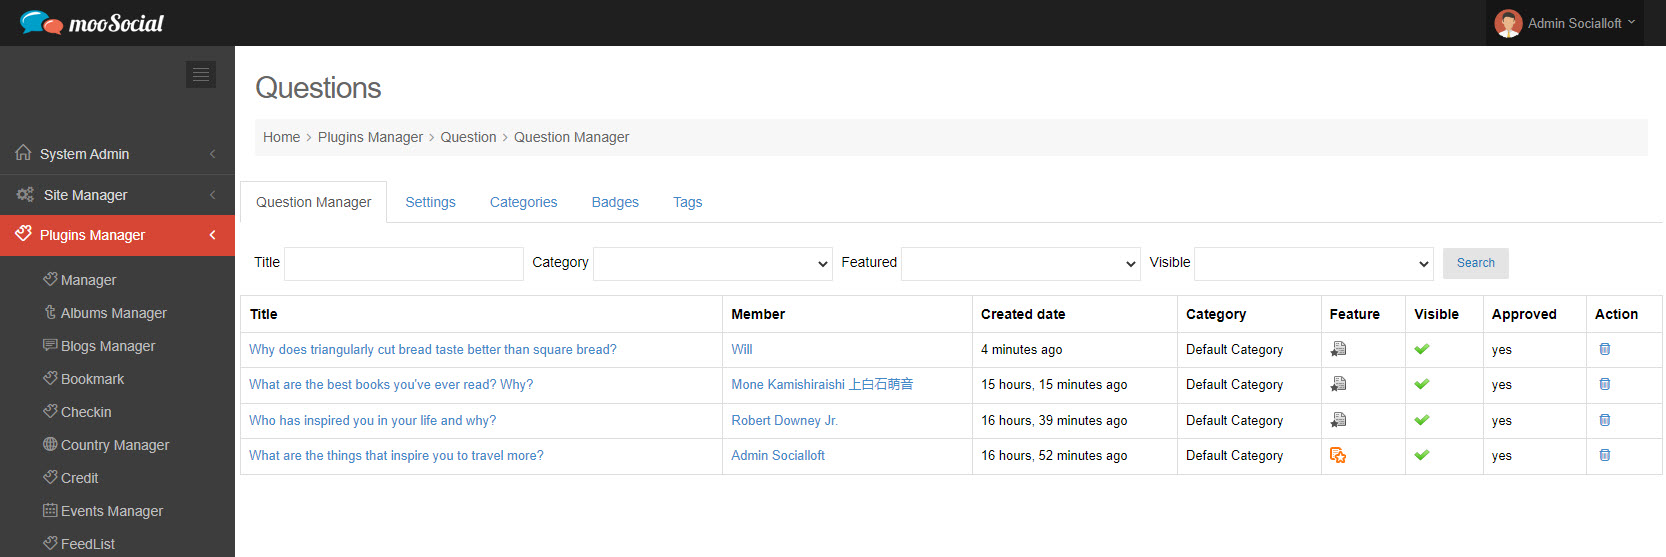
(Front-end) Users will see the Featured Questions widget on the Question page.
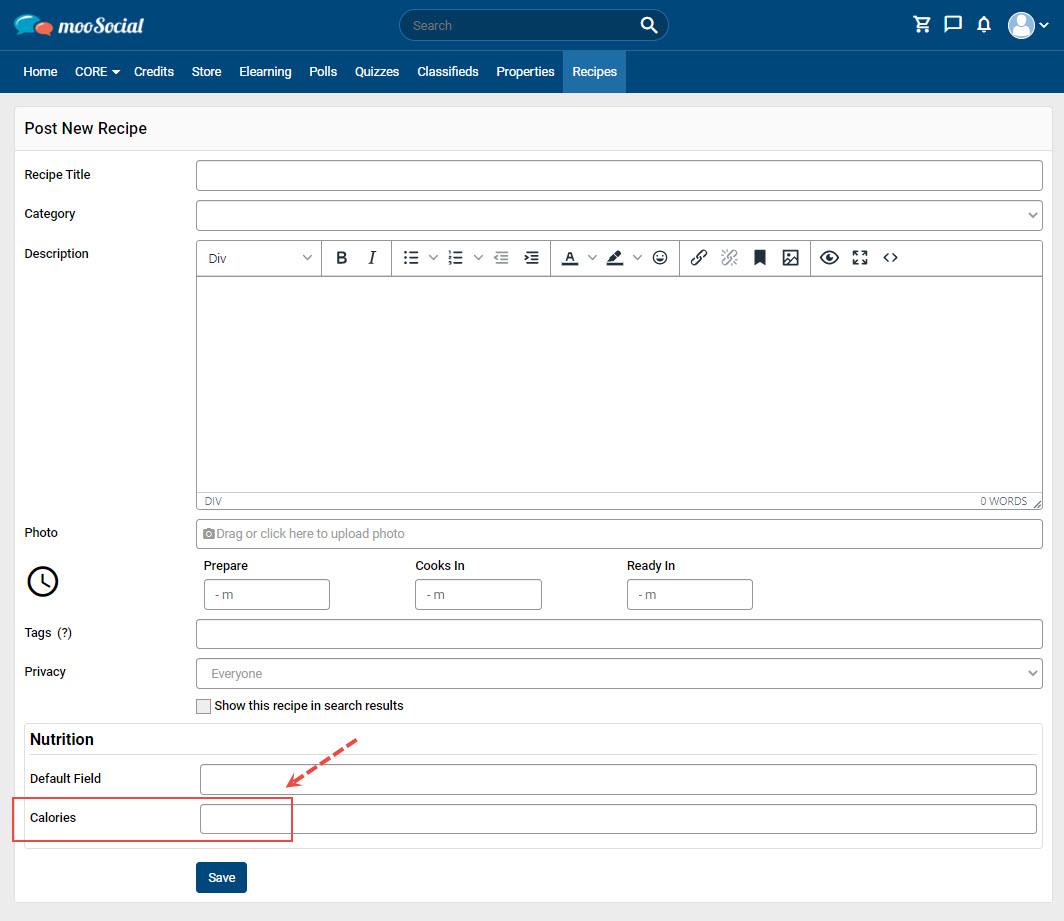
The Recipe plugin allows Site Admin to add new Nutrition fields. This guide will demonstrate how to create a new nutrition field.
(Back-end) Go to Recipe => Fields tab
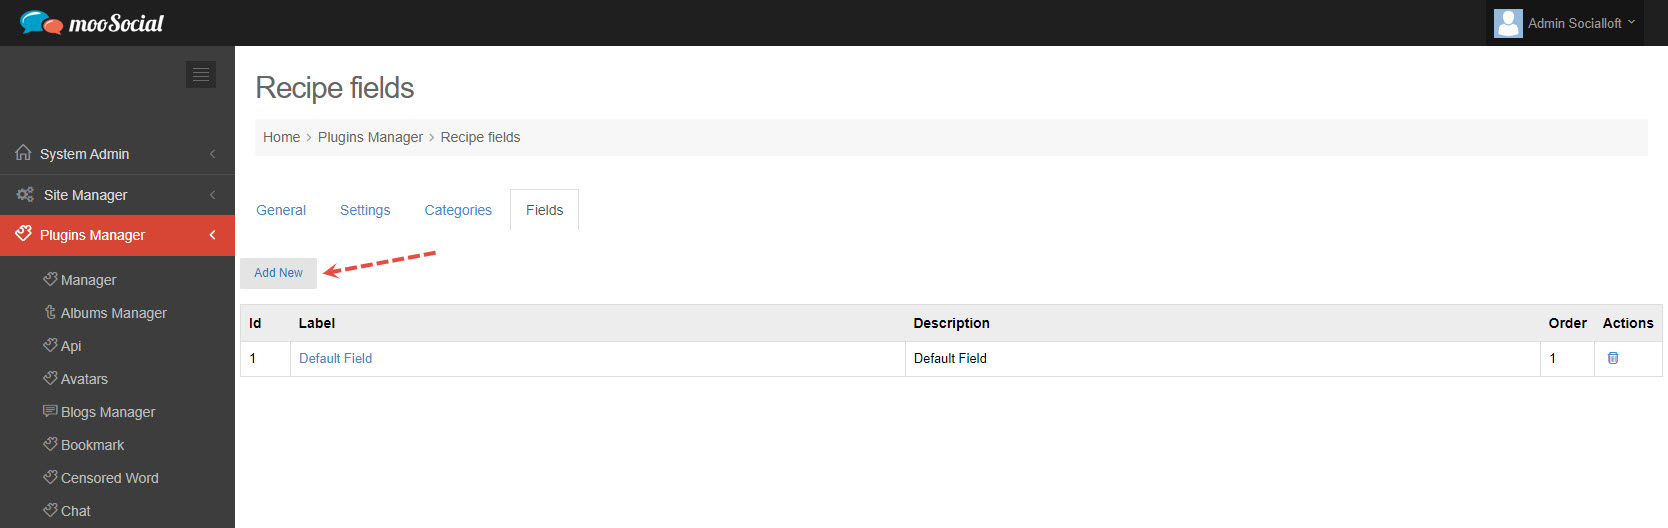
Click the Add New button => show pop-up
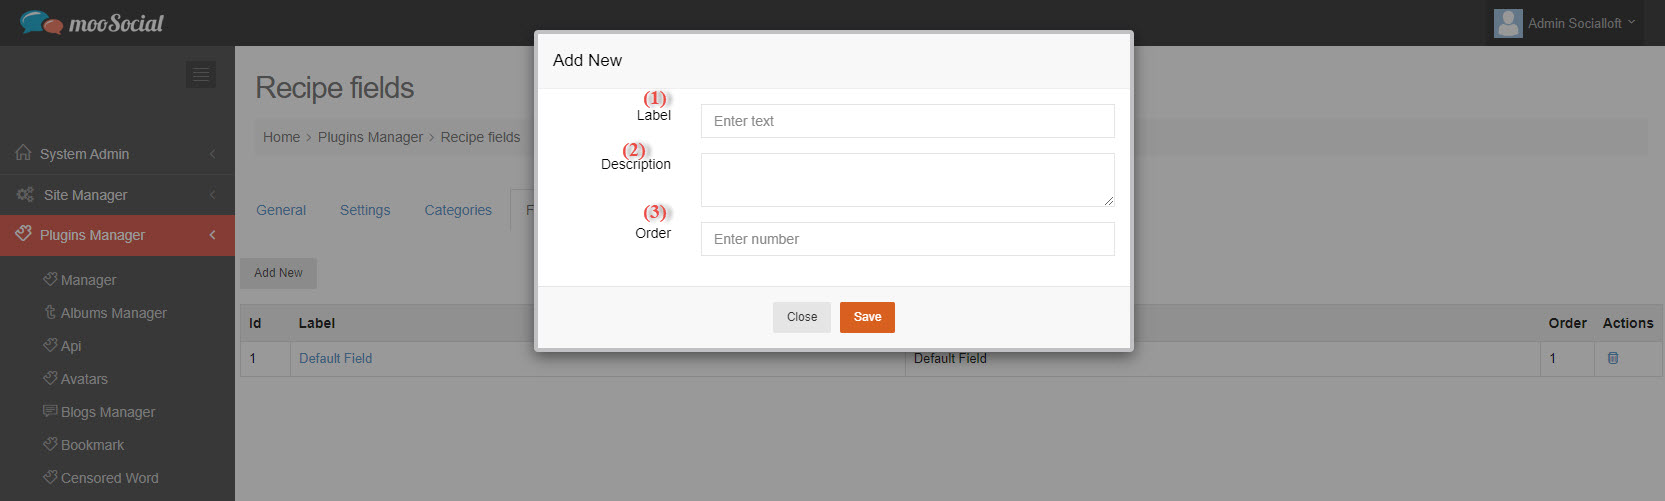
Fill in the blank fields:
(1) Label: enter label of field.
(2) Description: enter description.
(3) Order: enter order number.
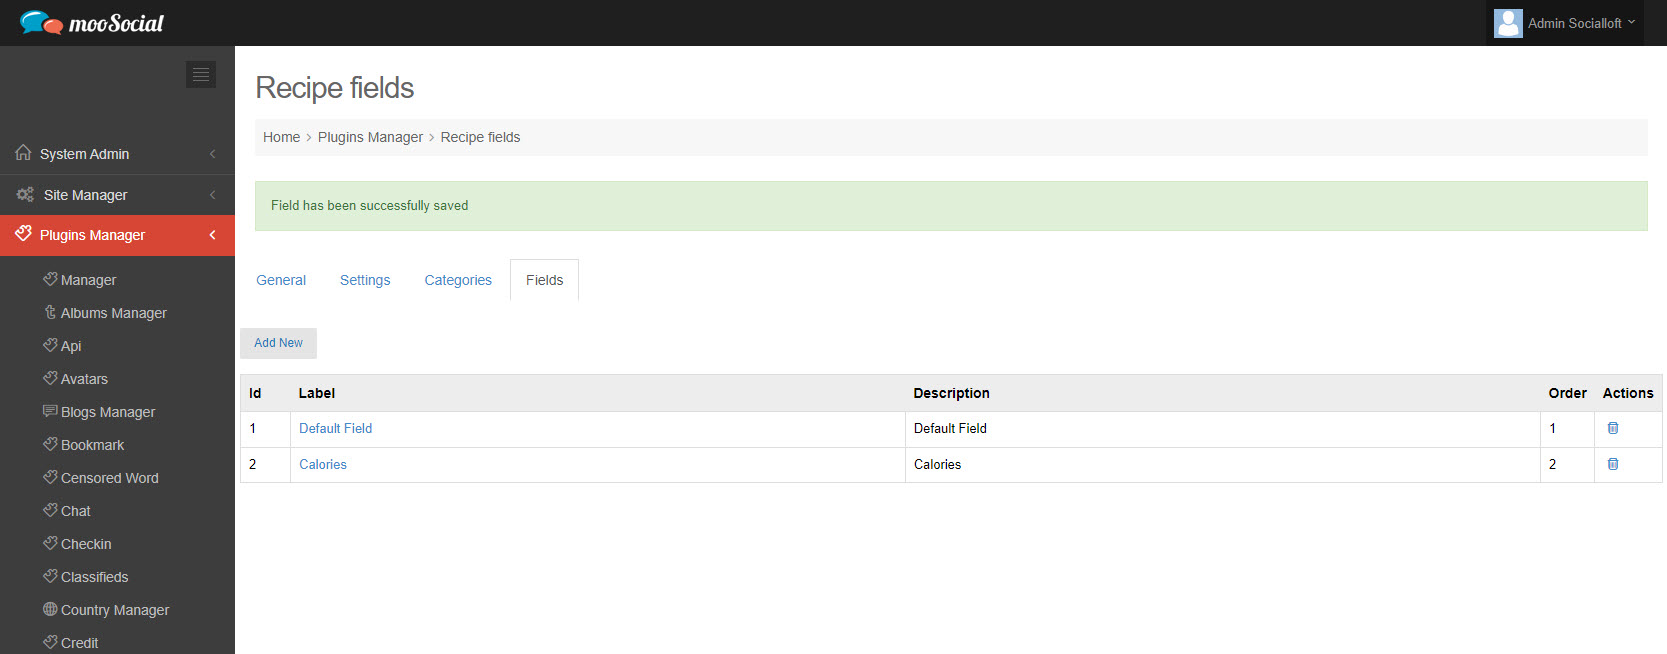
=> Click the Save button. The field has been saved successfully.
(Front-end) Members will see the Nutrition fields when they post a new recipe.
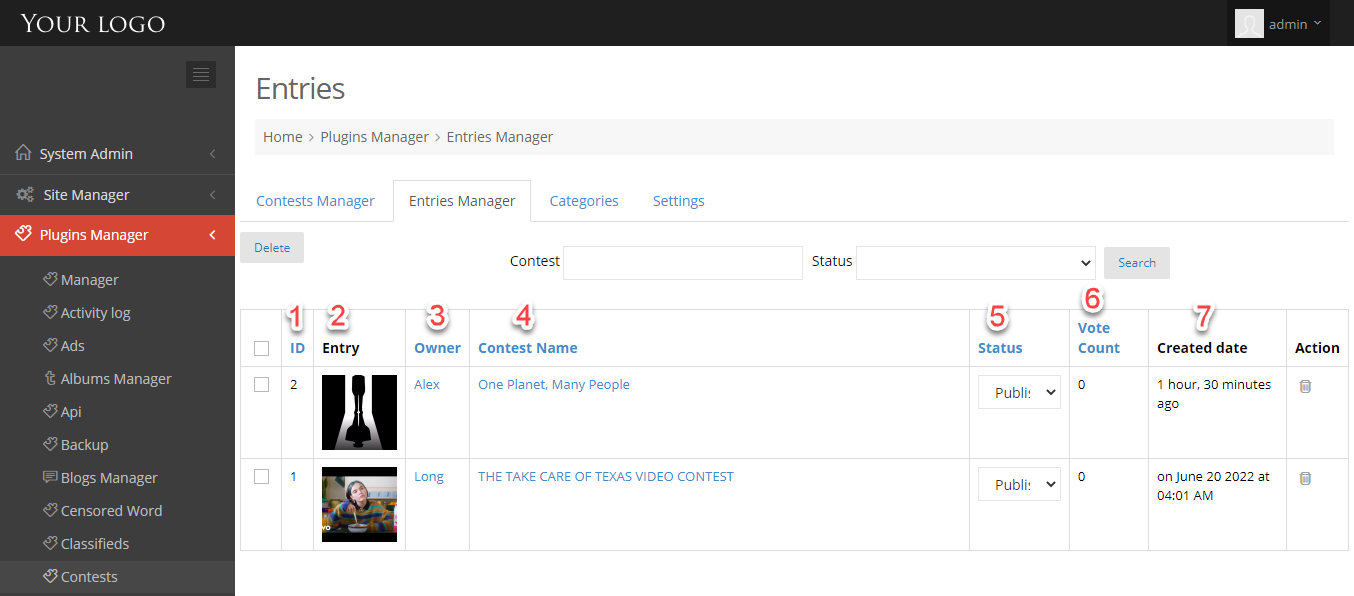
All entries that users upload to join to contests will be displayed here. Admin can easily manage them by following this instructions.
1. Go to Admin Control Panel.
2. At Plugins Manager sidebar >> click on Contests.
3. Click on Entries Manager tab.
SEARCH ENTRIES
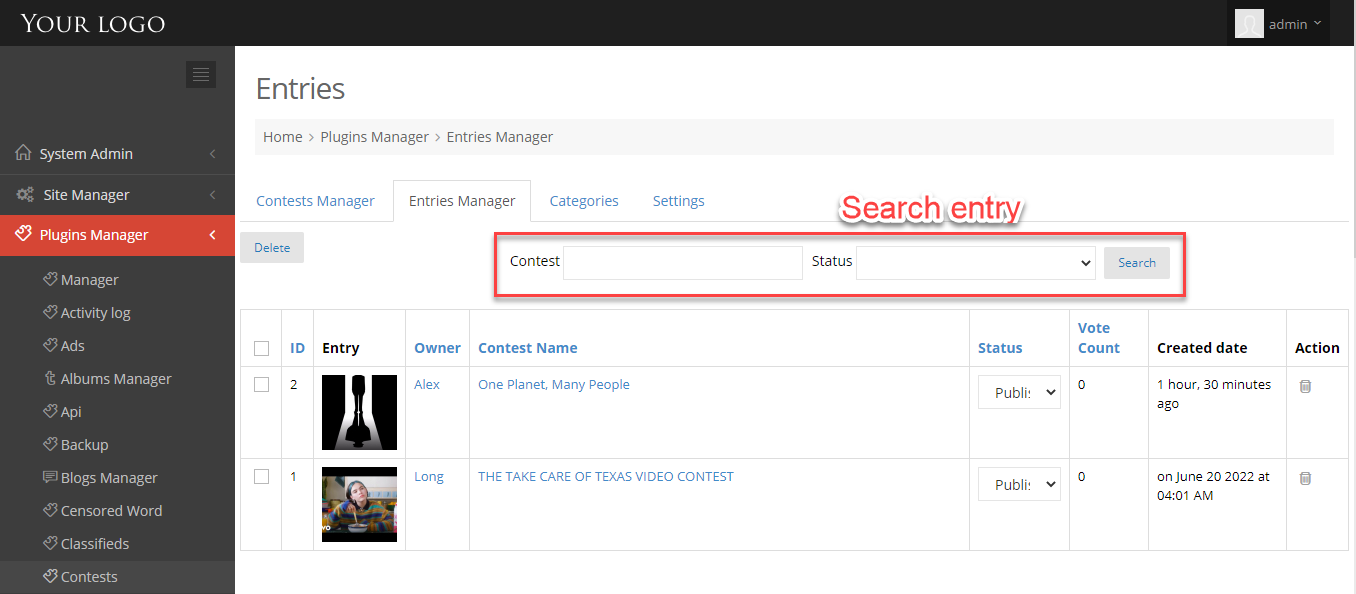
You can search by:
- Enter contest title,
- Choose status: published, pending, win.
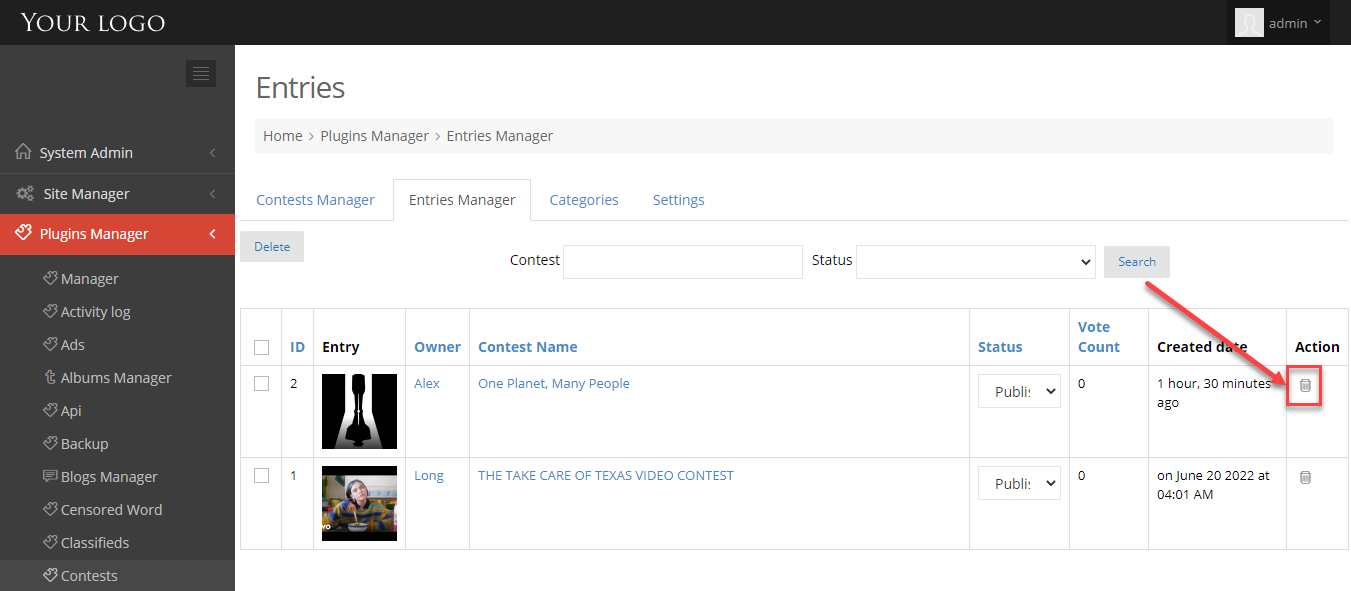
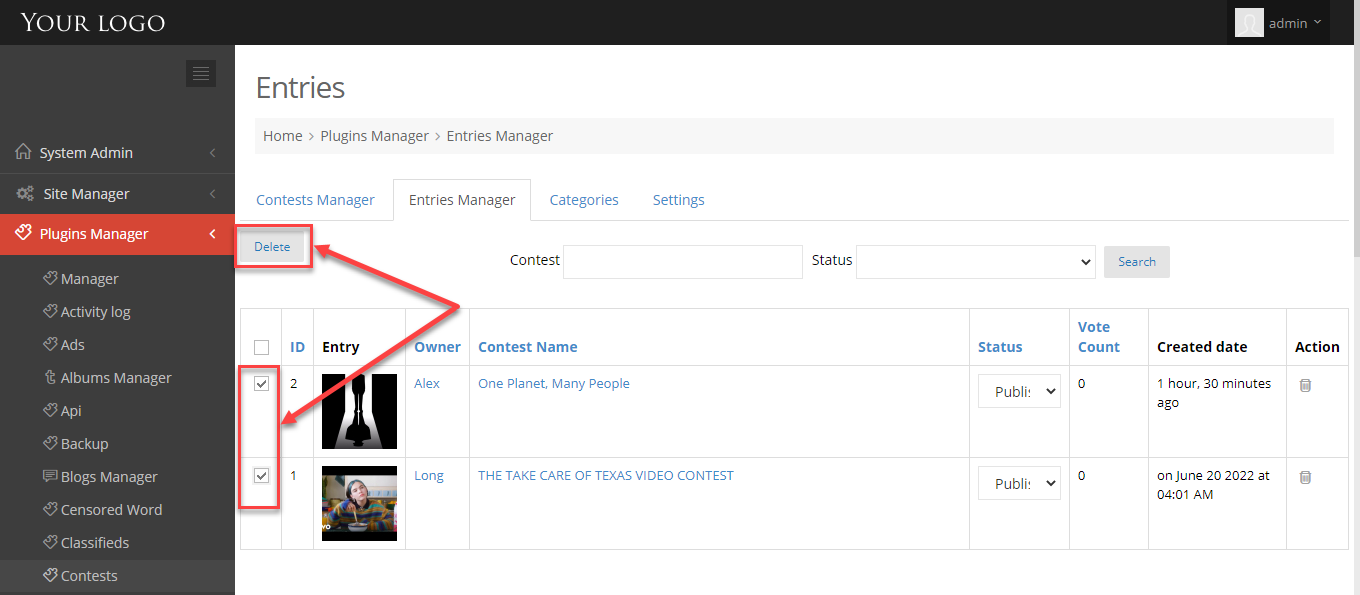
DELETE ENTRIES
You can delete entries by 2 ways:
1. Click on delete option at Action column to delete each entry.
2. Tick on the entries you want to delete and click on Delete button.
MANAGE ENTRIES
1. Entry ID.
2. Entry item.
3. Entry owner.
4. Contest name.
5. Entry Status (published, win): when user upload an entry, it will be assign Published status. And when the contest ends, admin can change entry status to Win to set this entry won the contest.
6. Vote count: the number of votes of entry.
7. Entry create date.
A guide on what contest settings do and how to use them.
1. Go to Admin Control Panel.
2. At Plugins Manager sidebar >> click on Contests.
3. Click on Settings tab.
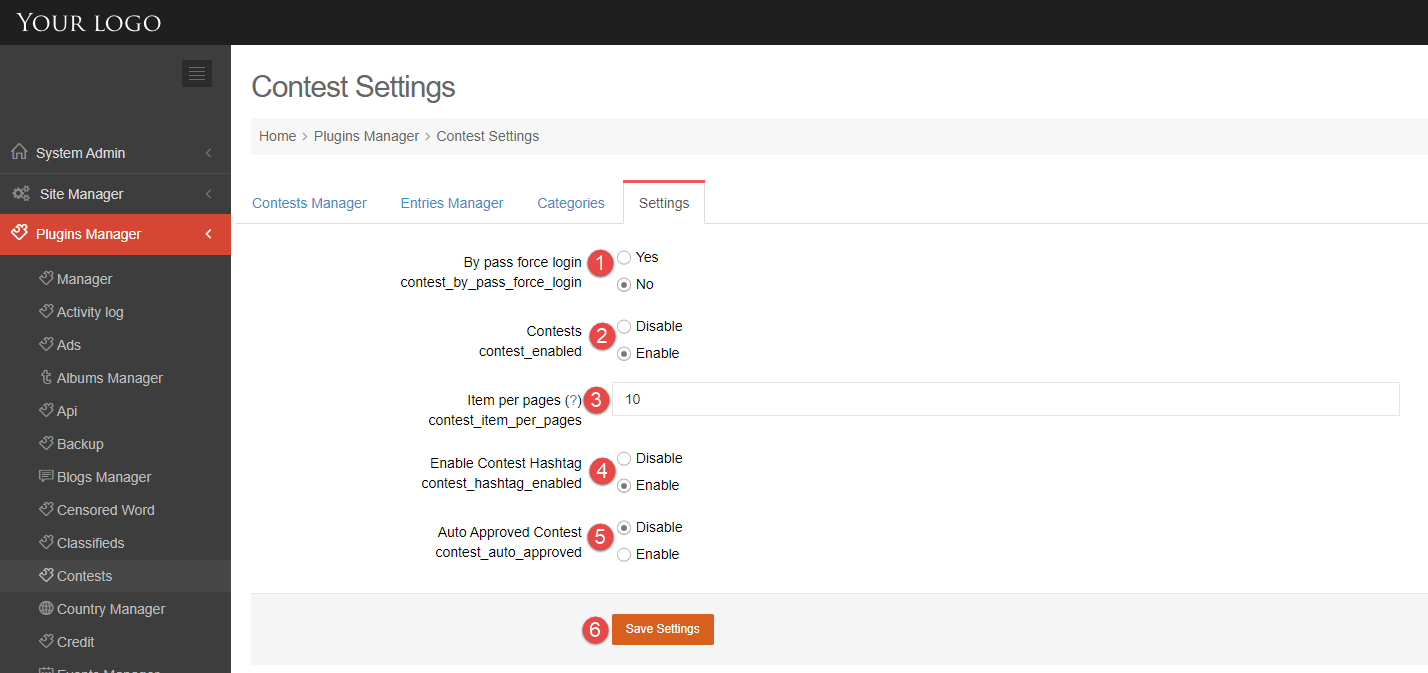
1. Enable or disable by pass force login.
2. Enable or disable Contest plugin.
3. Enter the number of item per page.
4. Enable or dis able Contest hashtag.
5. Enable or disable Auto approved contest.
6. Save settings.