With the Elearning plugin, the course can be broken down into several lessons. This tutorial will show you how to add a lesson (Topic or Video or Quiz type) to your course.
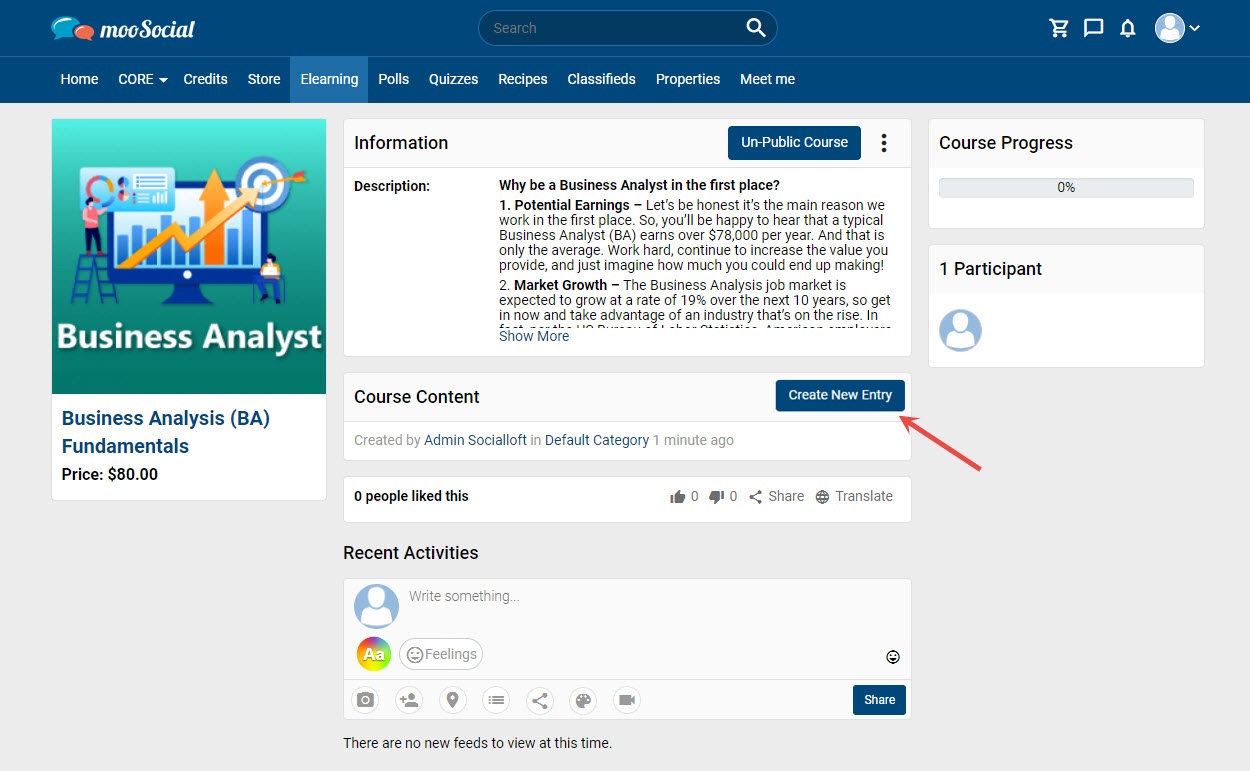
At the Course detail page, click on Create New Entry button.
Go to Create New Entry page: Select a lesson type.
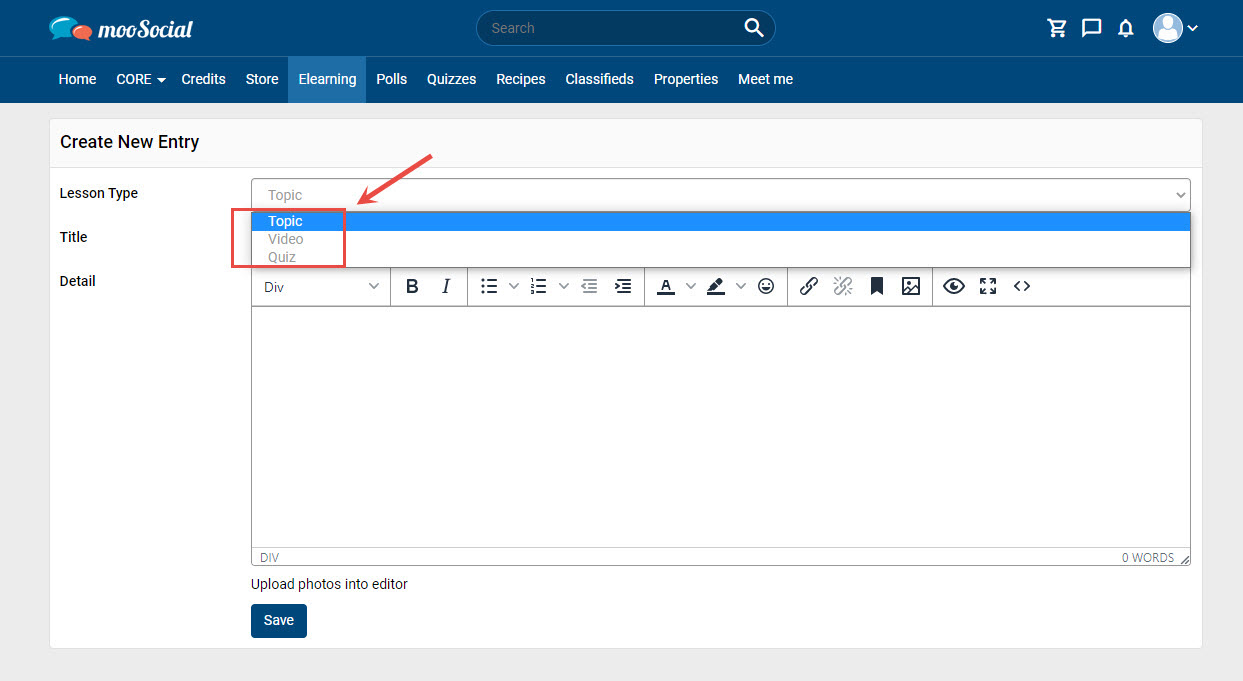
There are 3 different types of lessons in the E-learning plugin: Topic, Video and Quiz.
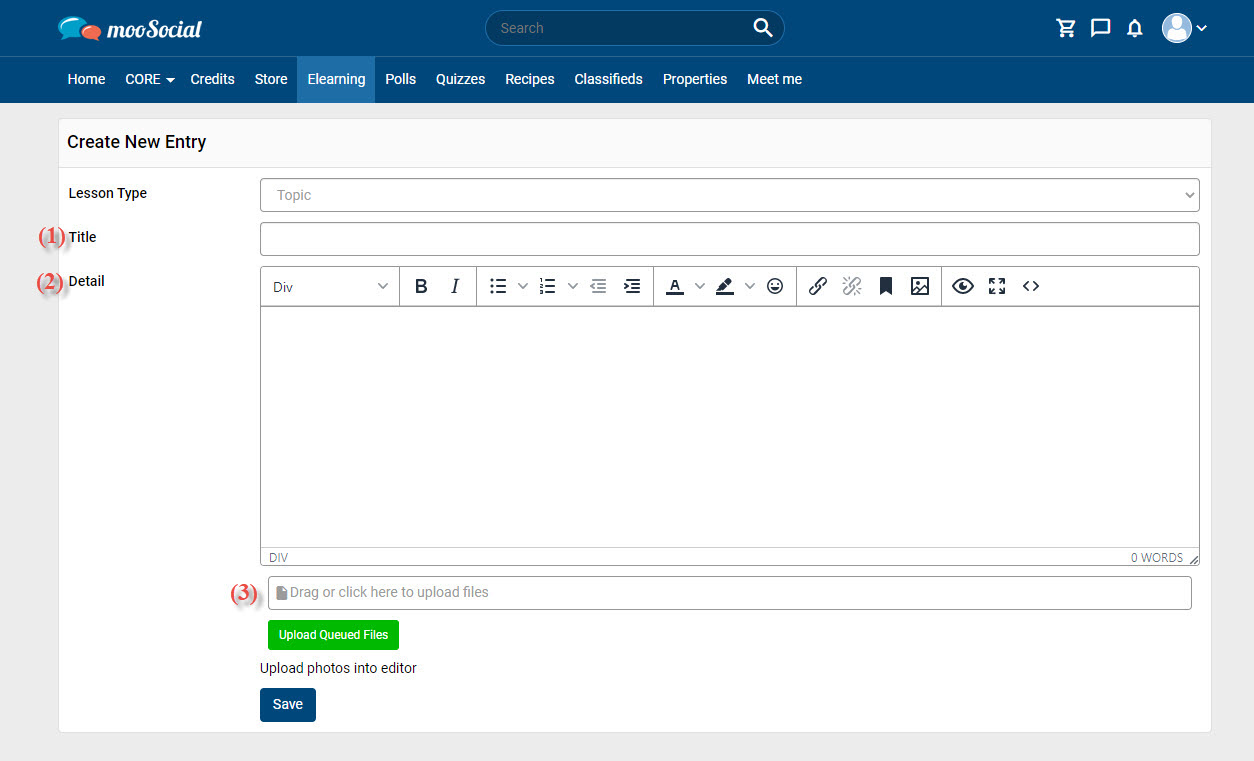
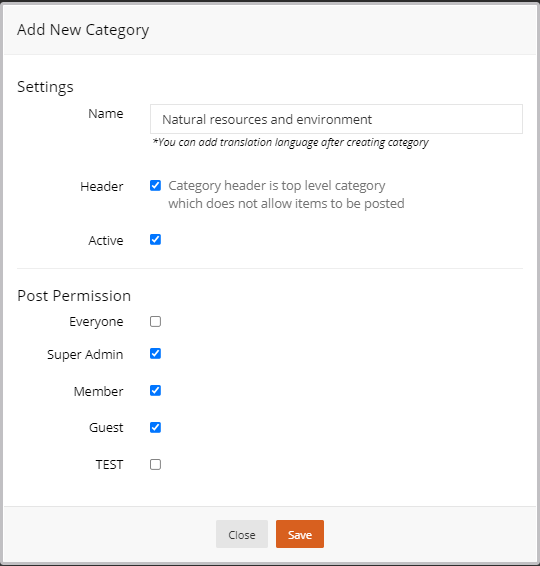
Fill in the blank fields:
(1) Enter title.
(2) Enter details.
(3) Click here to upload attachment files (photos, documents,..)
=> Click the Save button. The topic lesson has been added successfully.

(1) Click here to return to Course Detail page.
(2) Click here to update the course progress.
(3) Lesson options: Edit Lesson/Delete Lesson.
(4) Click here to add sub-topics to the lesson.
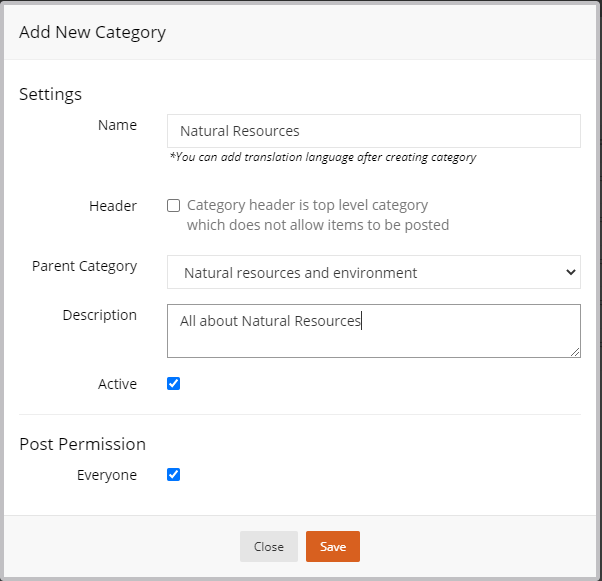
With Lesson Type: “Topic”, users can add Topic/Video/Quiz to the lesson. Click on Create Topic button => Go to Create Topic page.
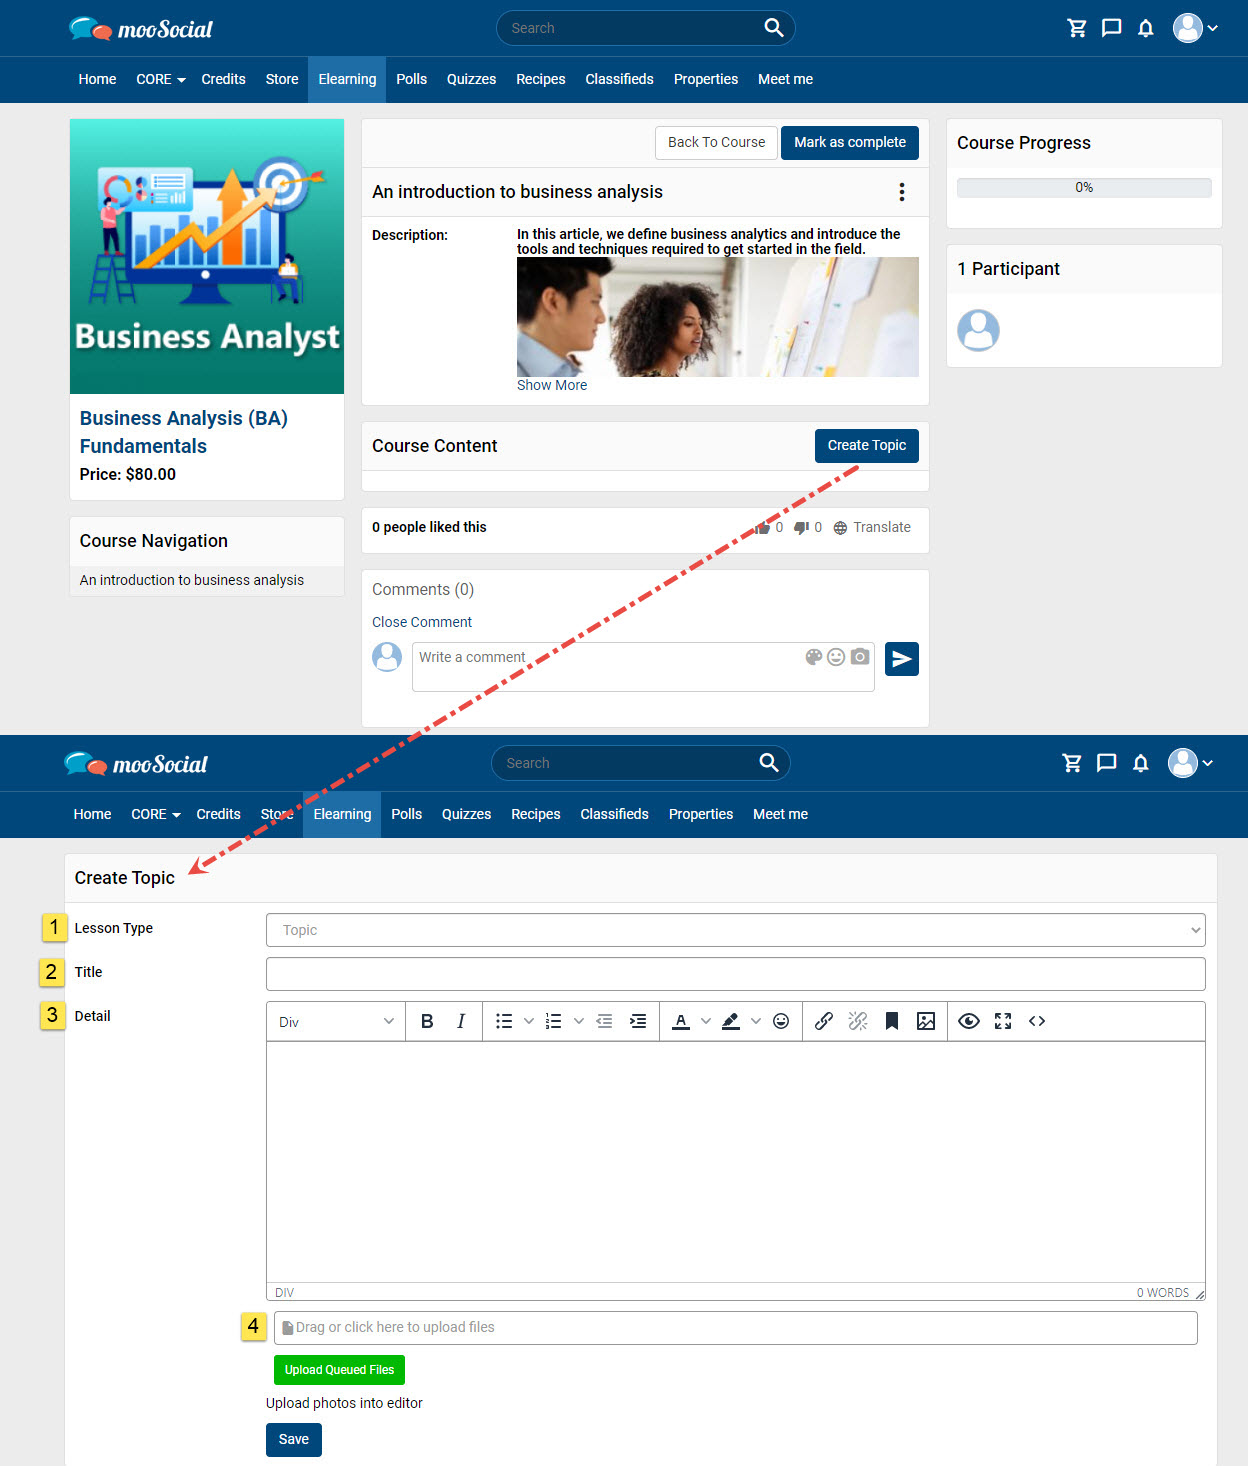
The processes for creating a topic are similar to those for creating a lesson.
[1] Select topic type: Topic/Video/Quiz
[2] Enter title.
[3] Enter details.
[4] Click here to upload attachment files (photos, documents,..)
=> Click the Save button.
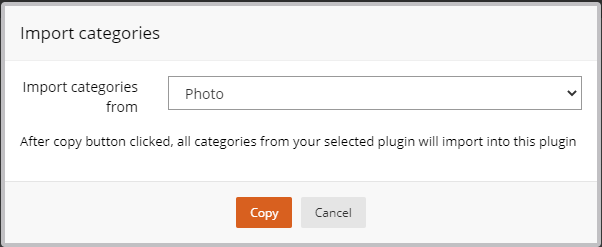
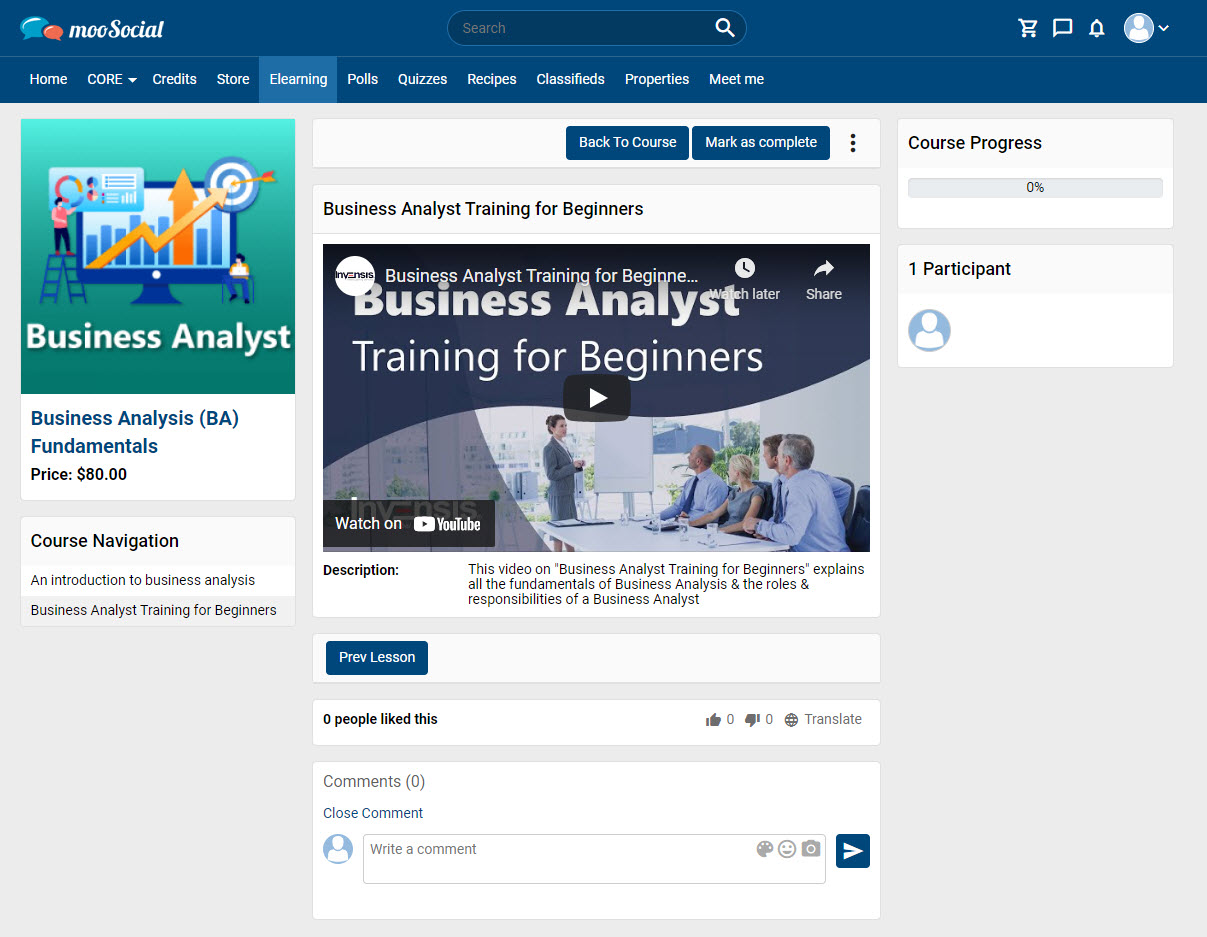
There are two ways to include video in your course: Use video from Youtube/Vimeo or Upload Video file from computer/mobile device.
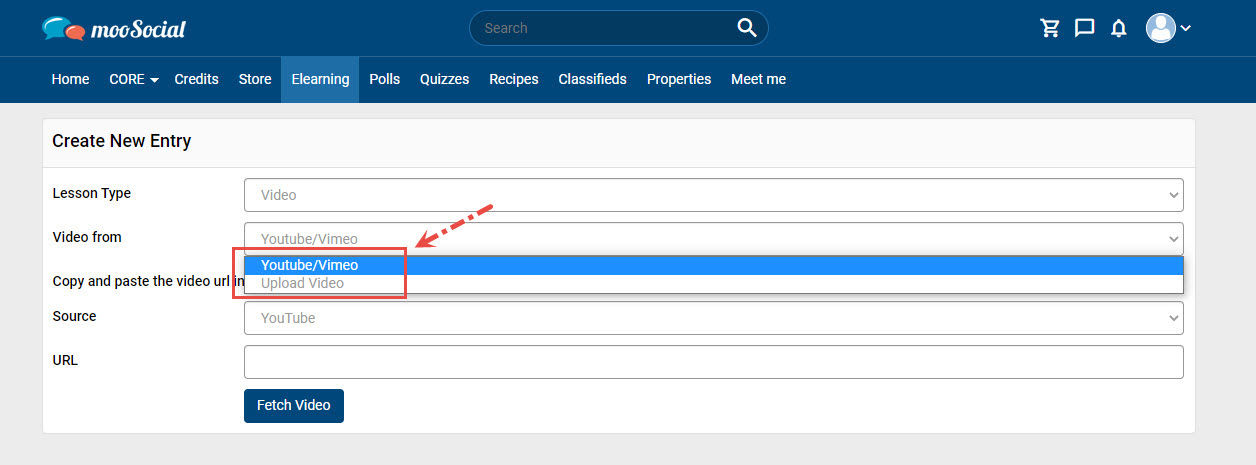
* Video from: Youtube/Vimeo
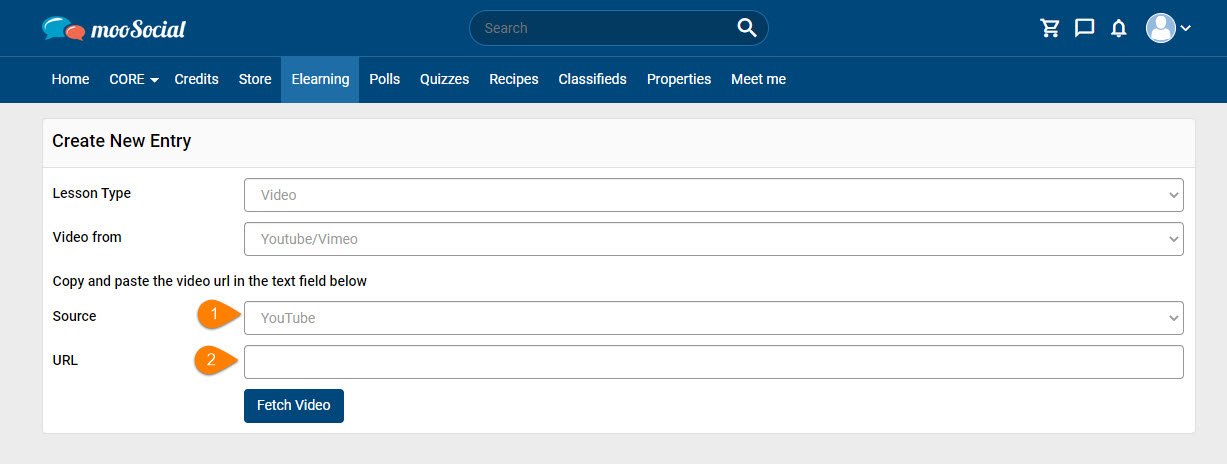
(1) Select video source: Youtube or Vimeo.
(2) Paste the URL
=> Click the Fetch Video button. The video lesson has been added successfully.
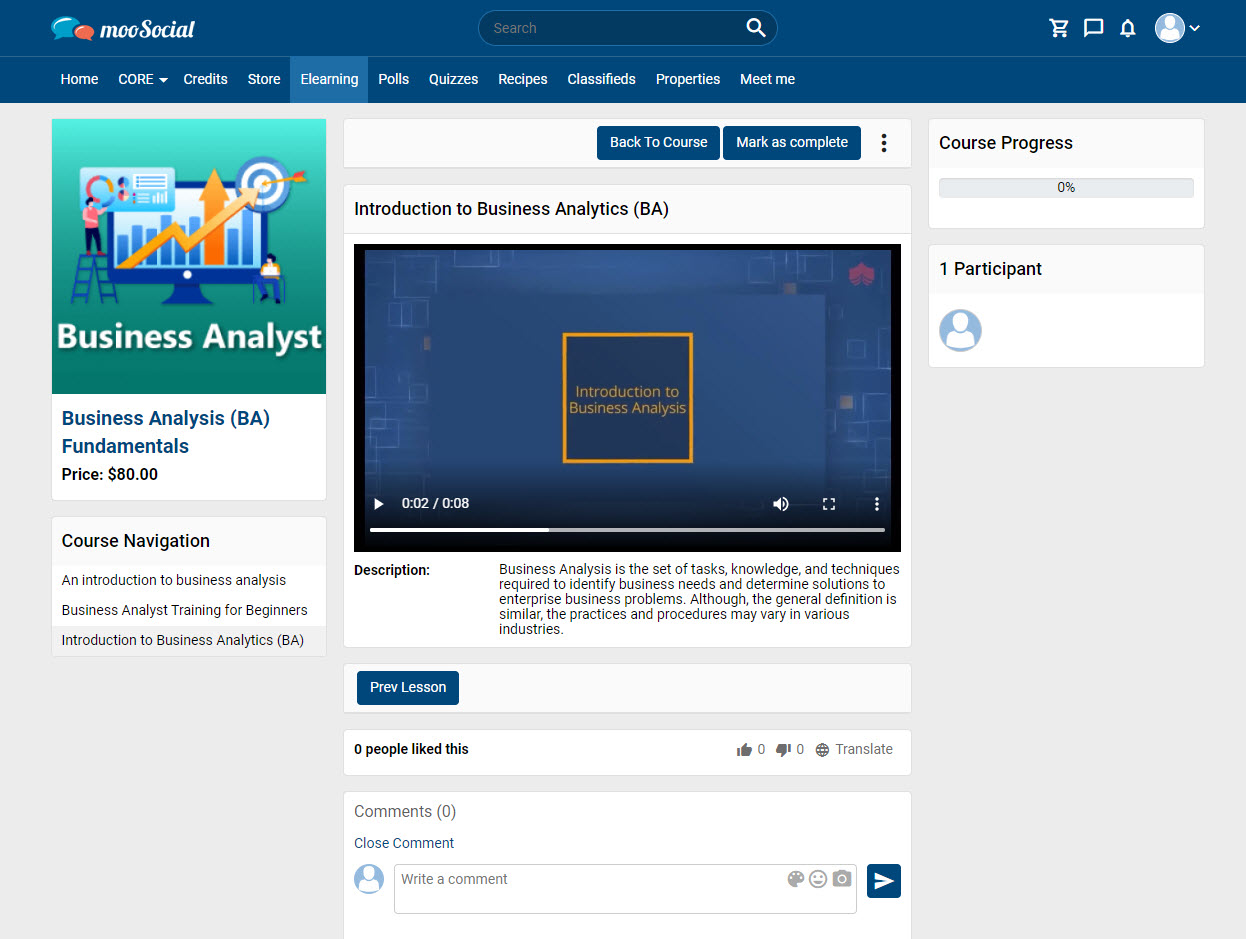
* Video from: Upload Video

(1) Enter the video title.
(2) Enter the description.
(3) Click here to upload video.
=> Click the Upload Queued Files button => Save button. The video lesson has been added successfully.
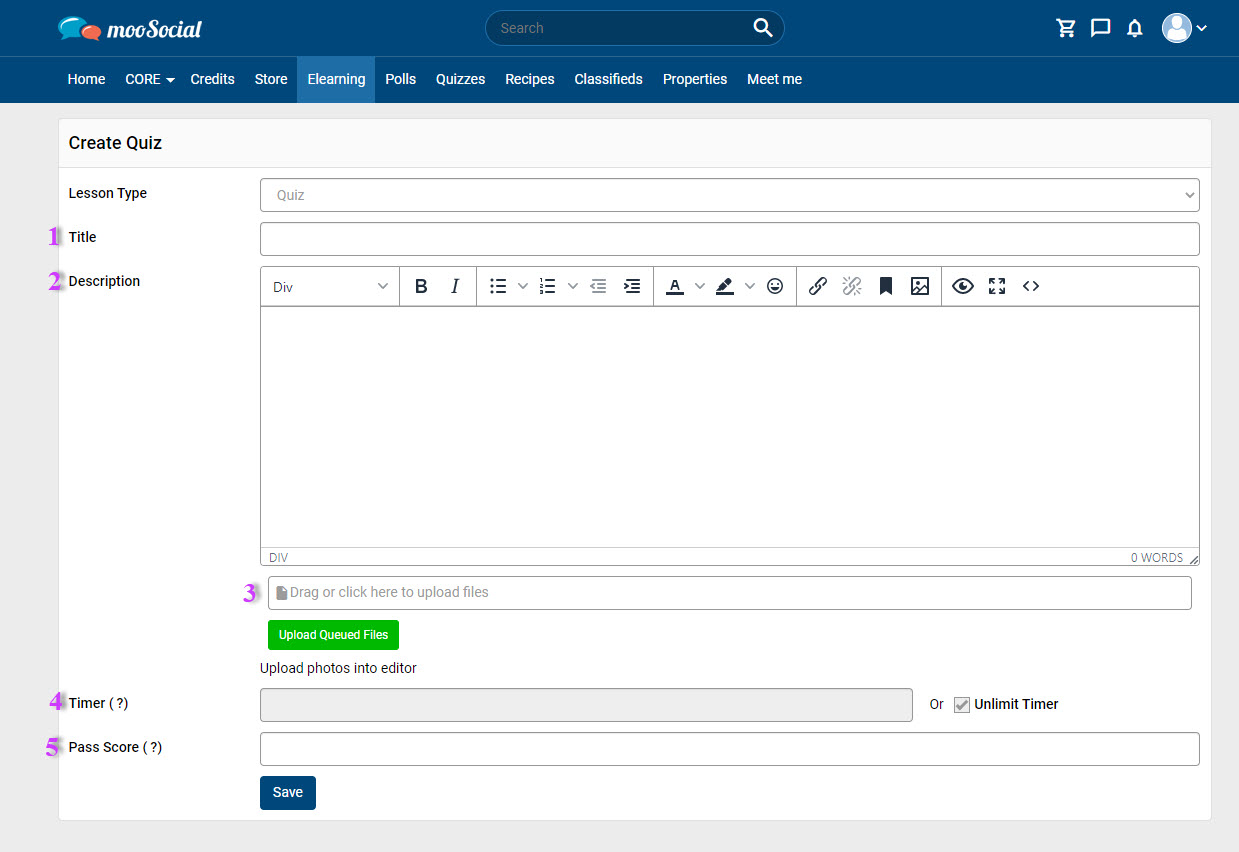
Fill in the blank fields:
- Enter title.
- Enter description.
- Click here to upload attachment files (photos, documents,..)
- Enter the time or choose the unlimited time option.
- Enter the pass score.
=> Click the Save button. The quiz lesson has been added successfully.
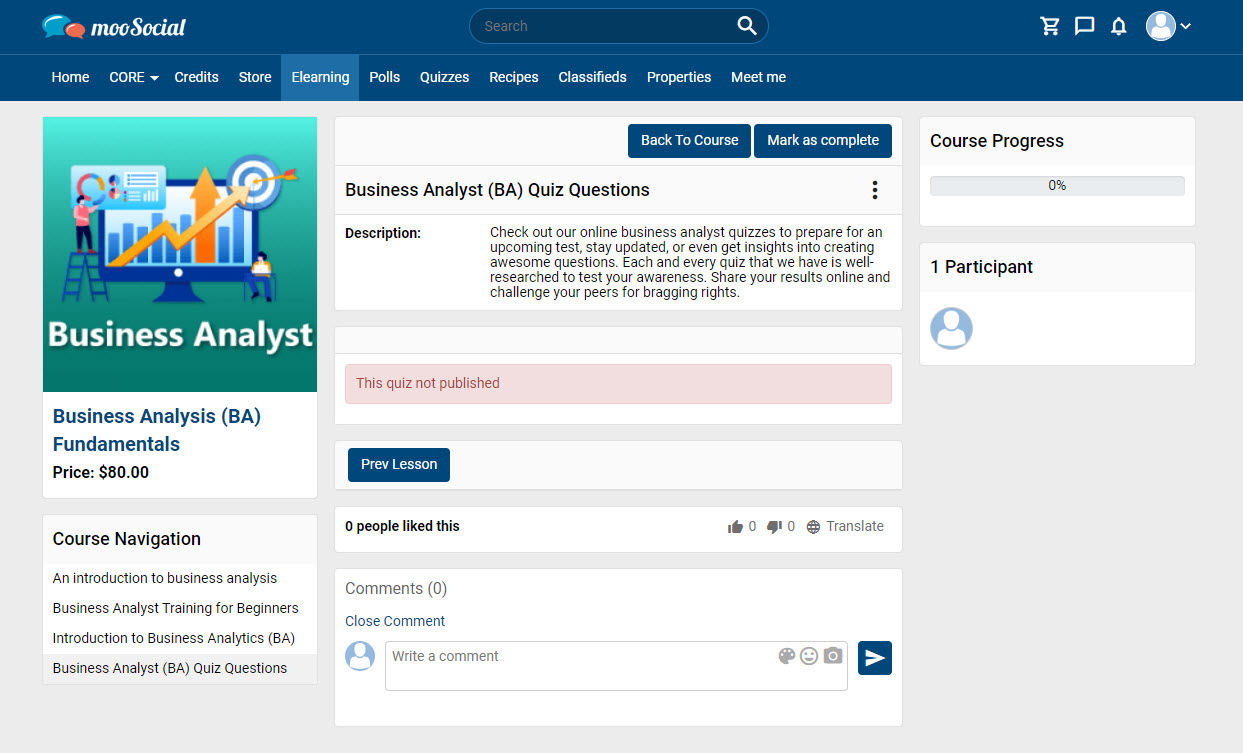 After creation, the quiz will be in “un-published” state. You need to create at least two questions to publish the quiz.
Follow these steps to create quiz questions:
(1) Click on option icon => Select Add Question => Go to Quiz Questions page.
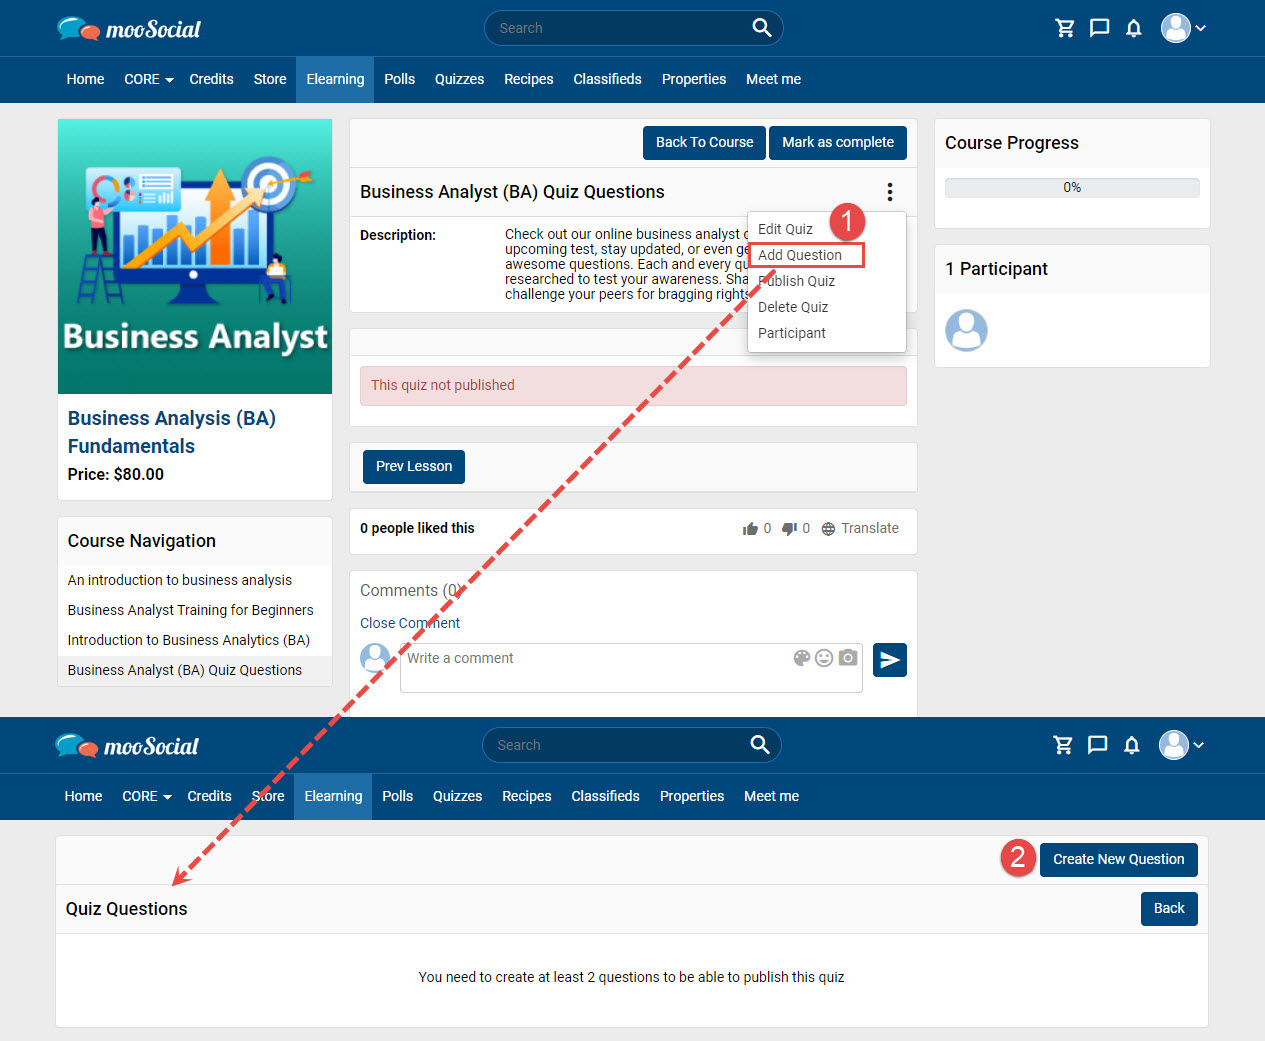
(2) Click on Create New Question button => show expand.
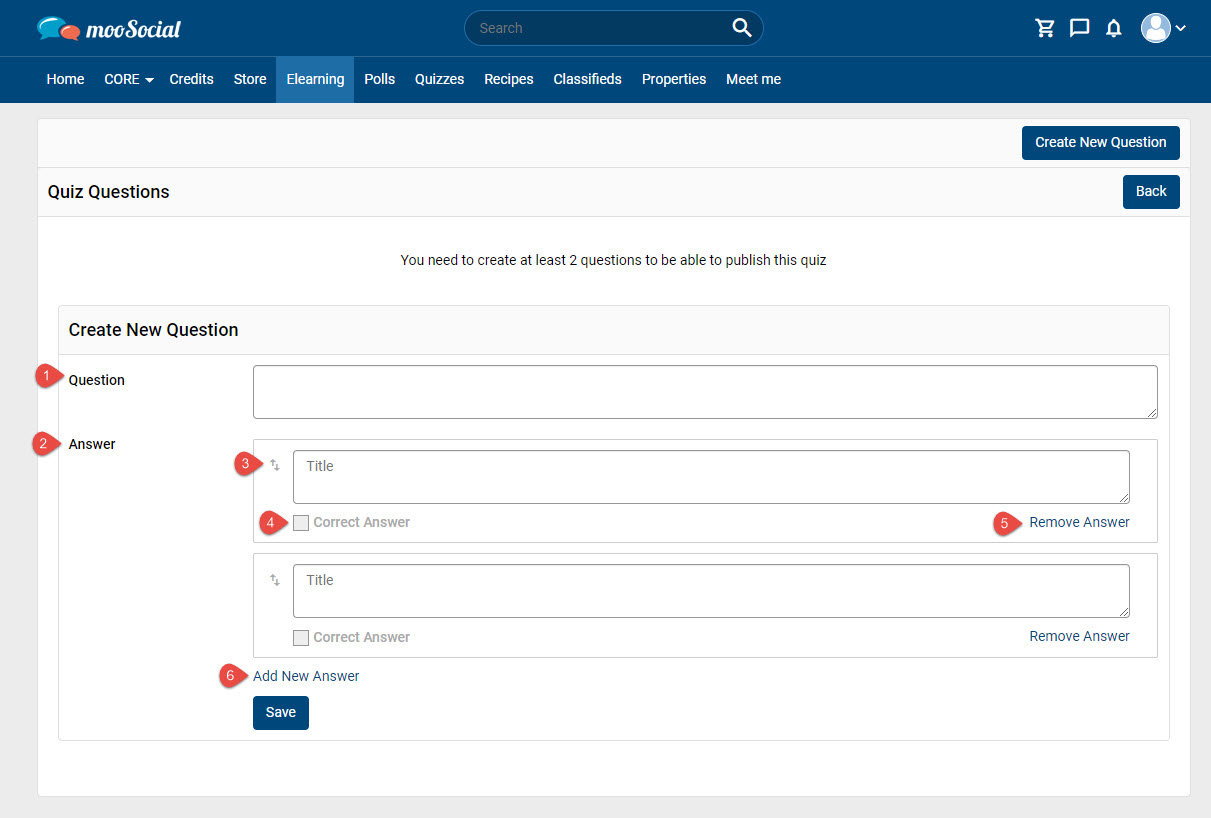
- Enter question.
- Enter answer.
- Drag and drop to change the order of answers.
- Tick here if the answer is correct.
- Click here to remove the answer.
- Click here to add new answer.
=> Click the Save button.
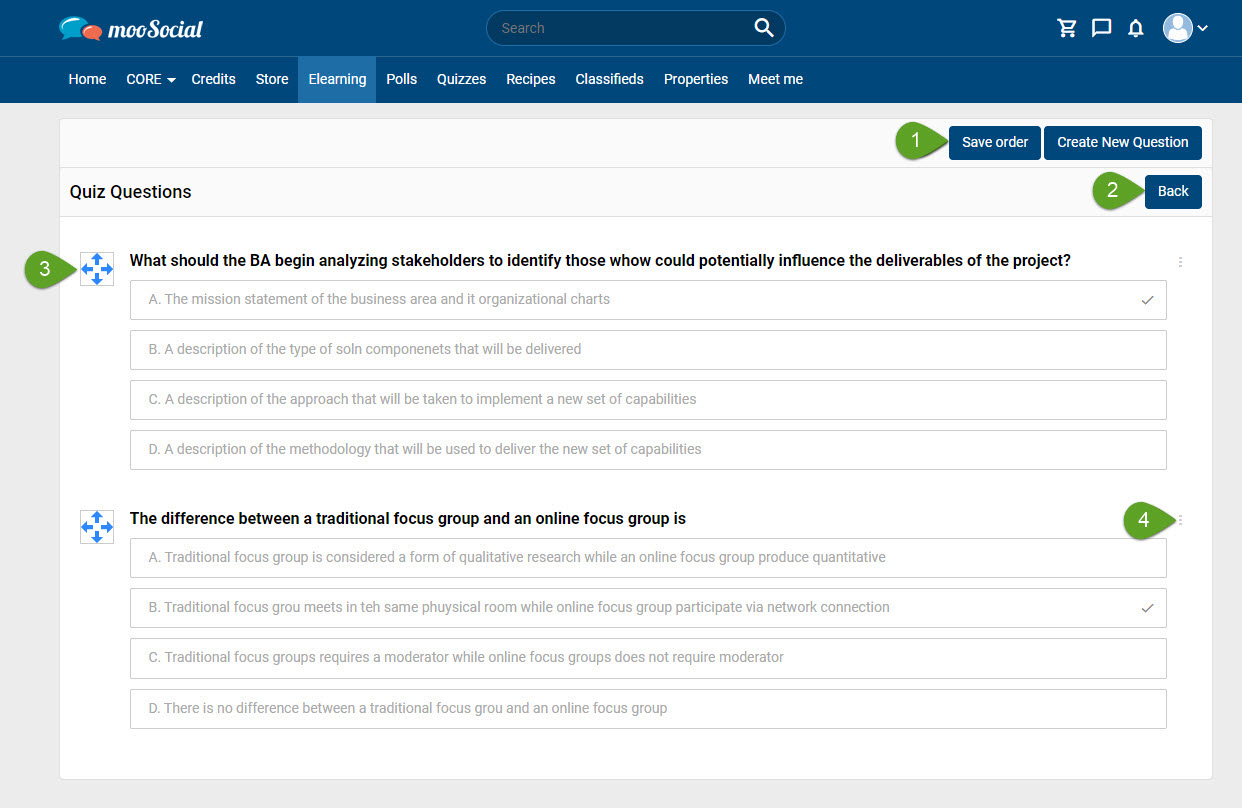
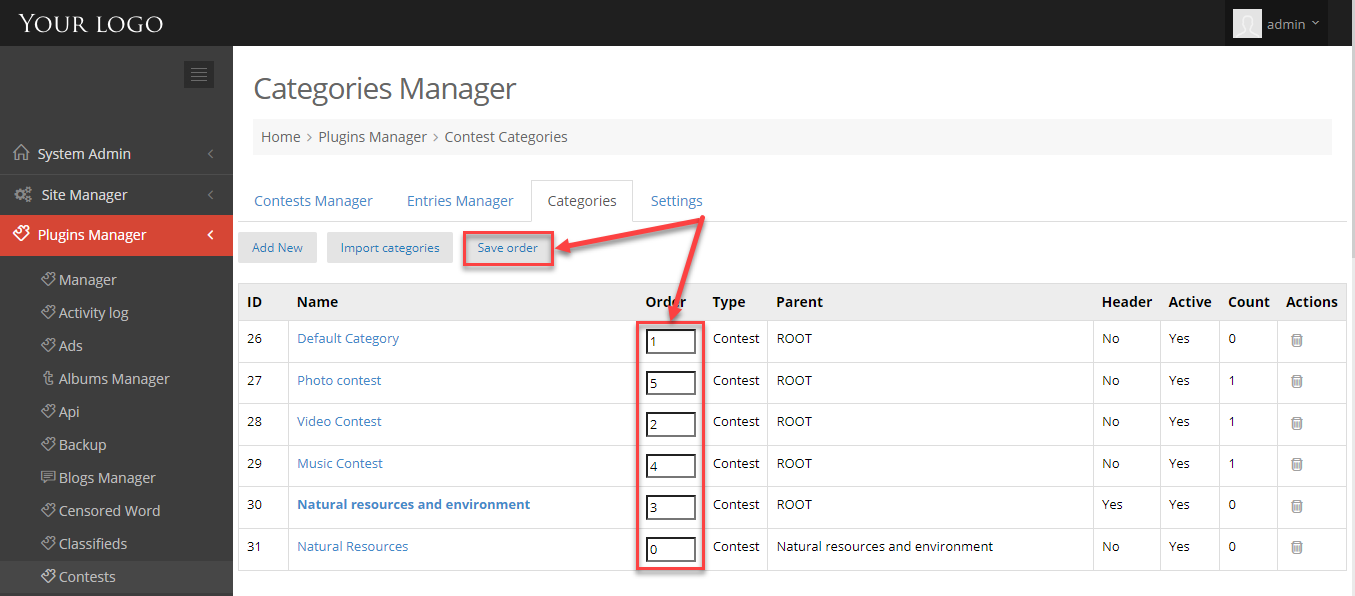
1. Click here to save the order.
2. Click here to return to Quiz Lesson Detail page.
3. Drag and drop to change the order of questions.
4. Quiz Question options: Edit question /Delete question.
After creating quiz questions, to “publish” the quiz follow the steps below:
Step 1: At the Quiz Lesson Detail page, click the options icon.
Step 2: Select “Publish Quiz” on the drop-down list.
Step 3: Click the Publish button on the Confirm pop-up.
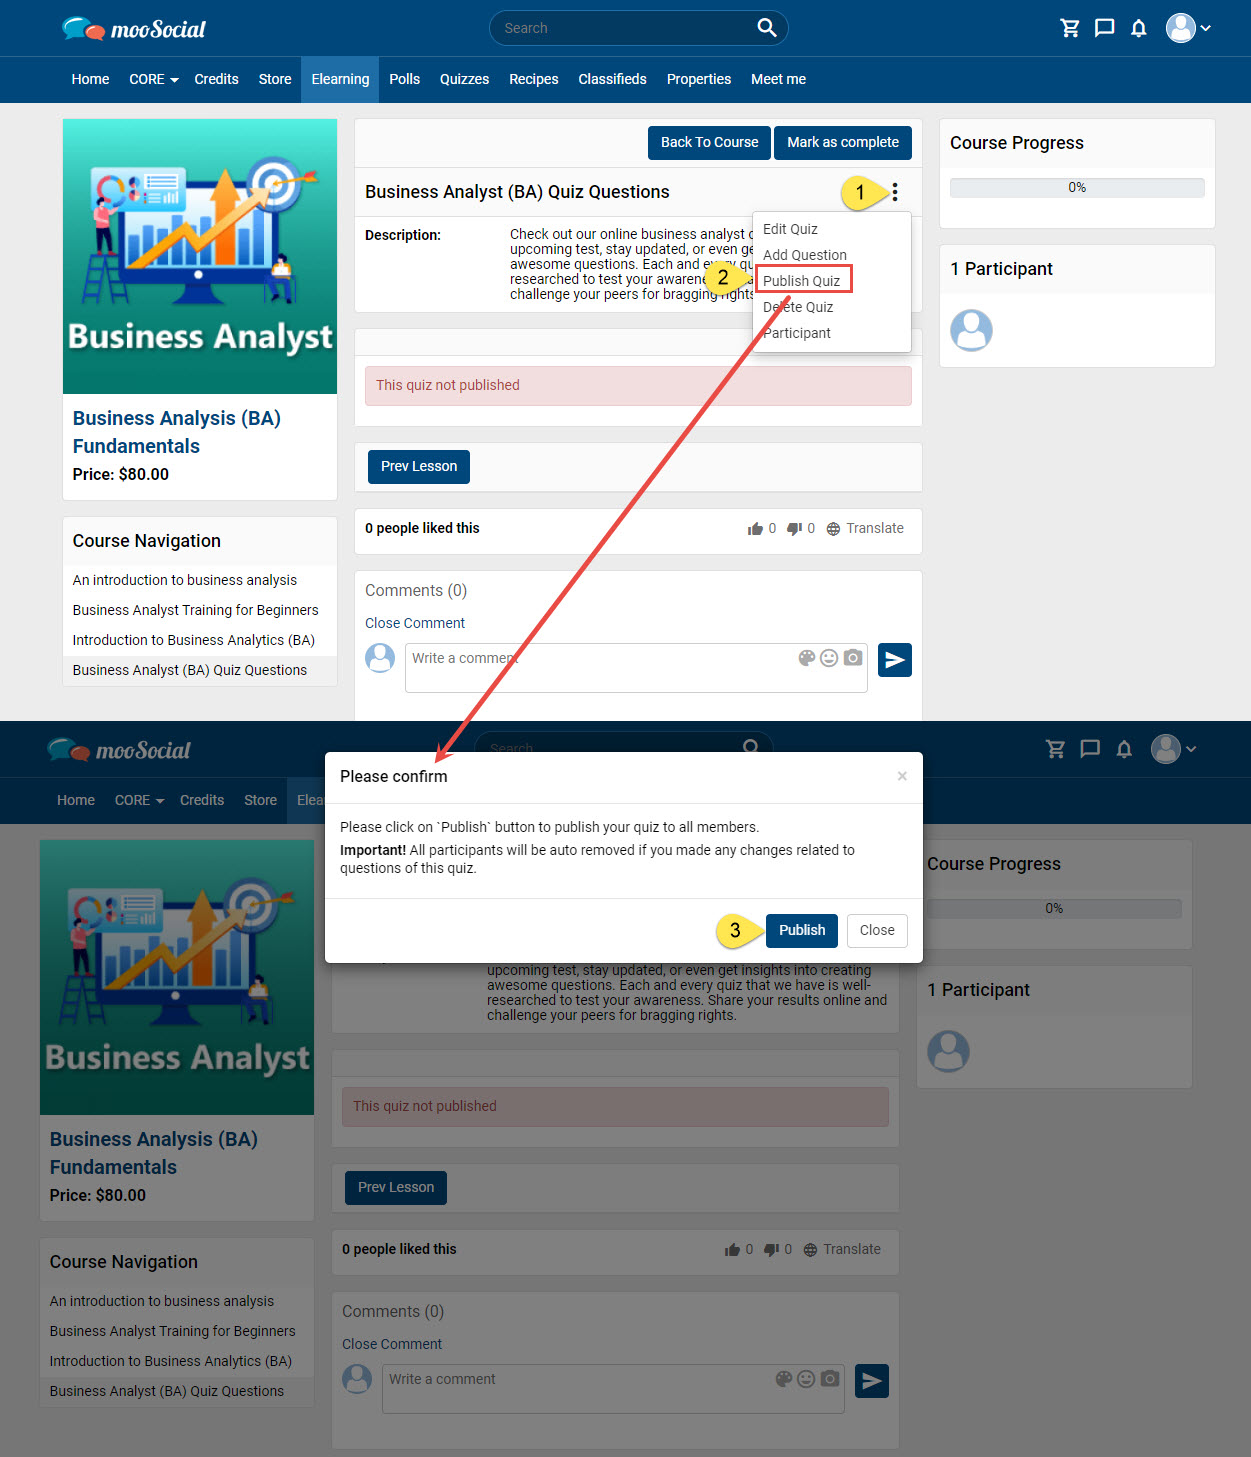
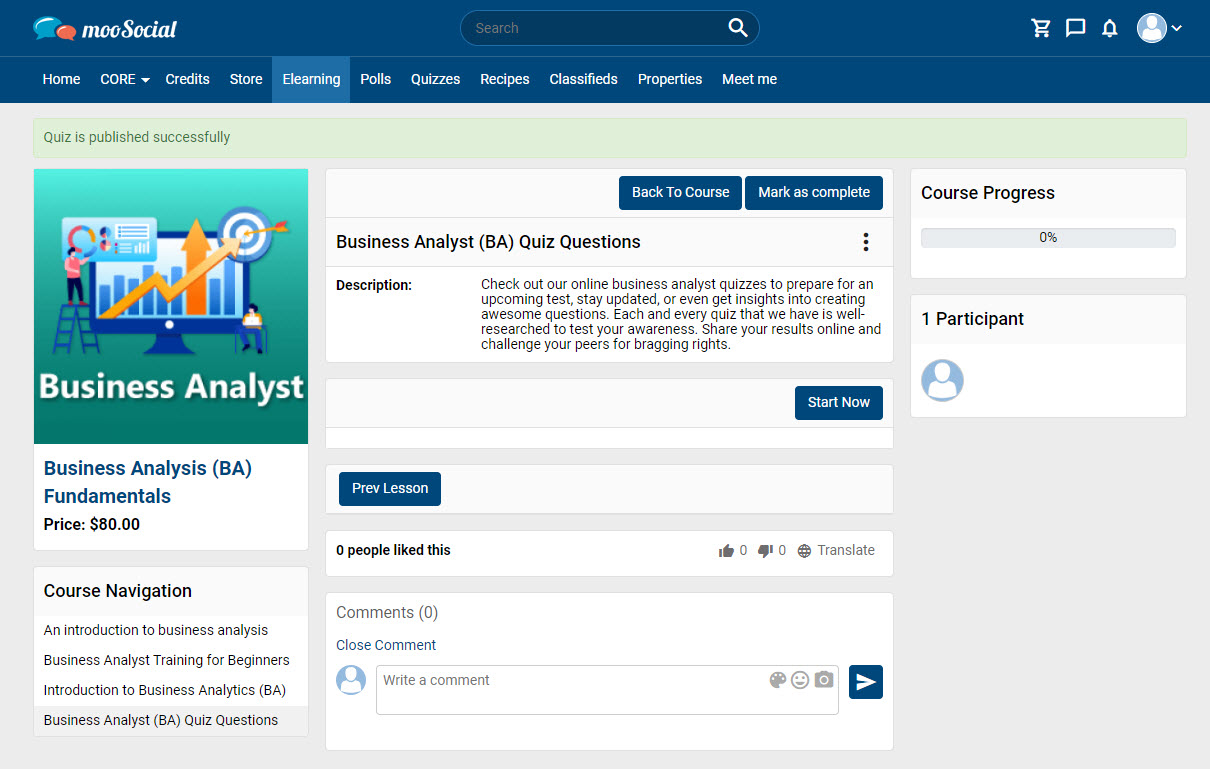
The Quiz lesson has been published successfully.
Hopefully, this article was helpful for you.