You can only set up a one-time or recurring plan on your platform. Both types cannot be used at the same time.
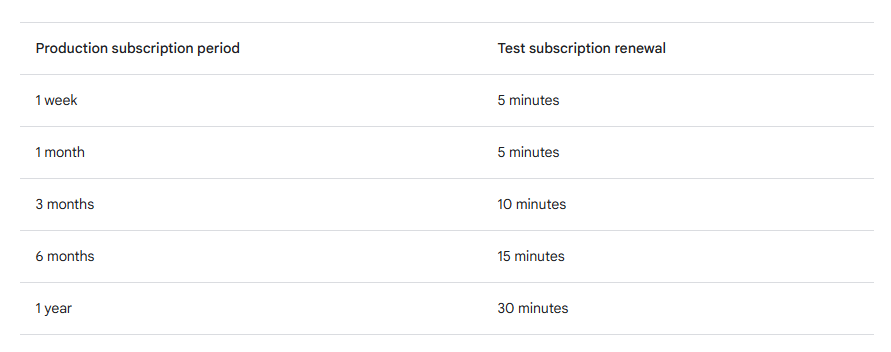
To find out how to create test account and how to test in-apps purchase with real device, please refer How to set up in apps purchase in Android (for dev)
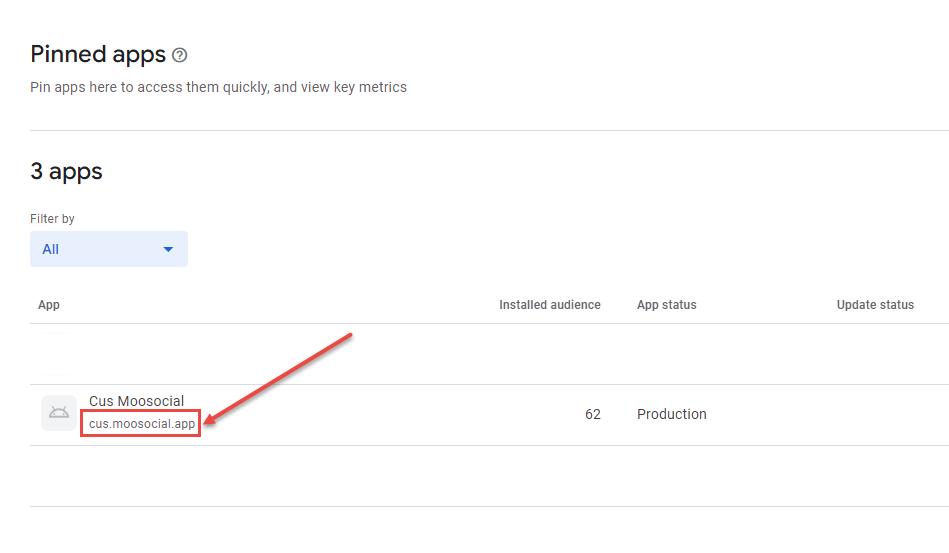
ADD ANDROID APP PACKAGE NAME
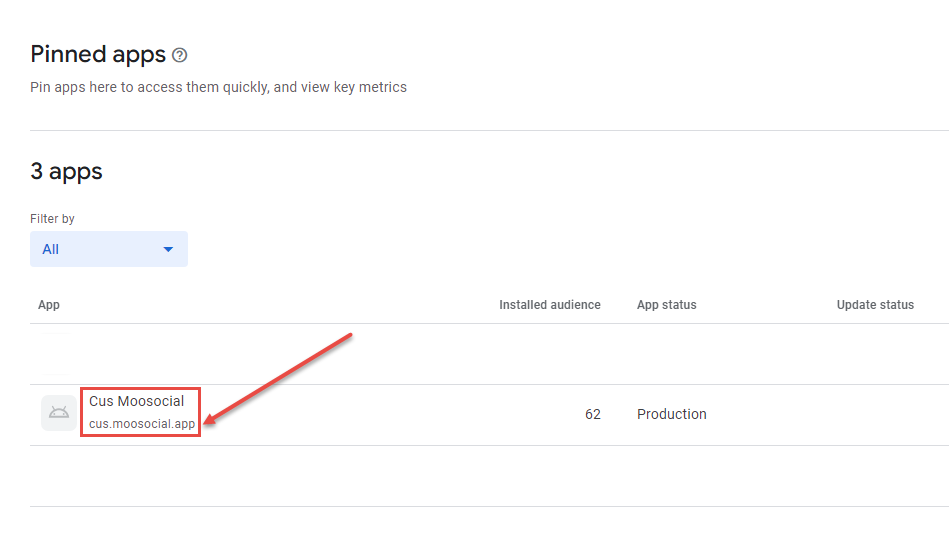
- Go to Google Play Console: https://play.google.com/console
- Copy your App Package name
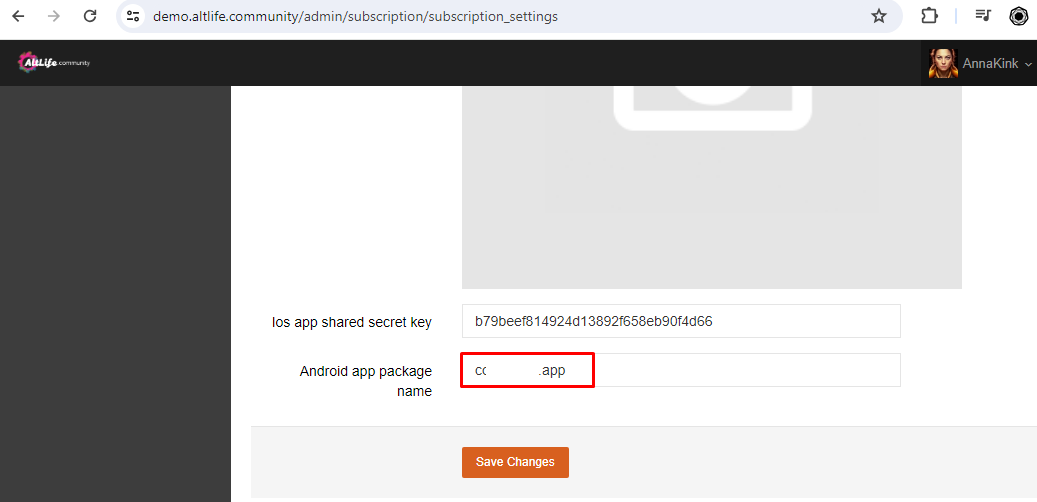
3. Open Admin Panel, click on Subscription menu
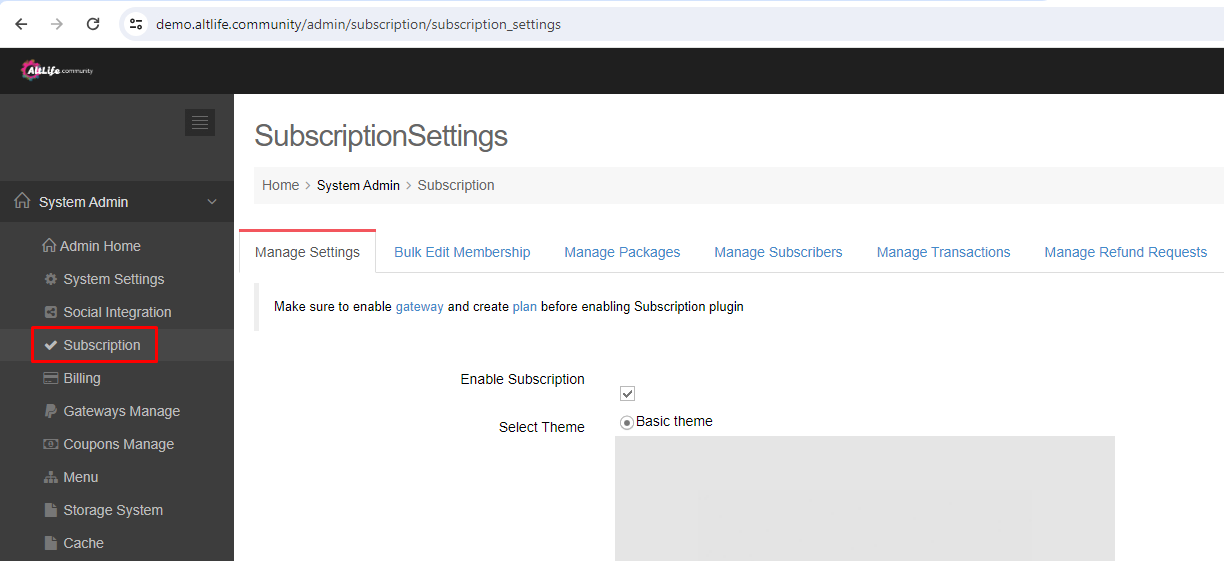
4. Paste the App Package name that you copy to Android app package name field and save changes
SET UP IN-APPS PURCHASES FOR BUYING RECURRING SUBSCRIPTION
- Open your site, go to AdminCP -> System Admin -> Subscription -> Manage Packages.
- Edit Package -> create new Plan -> setting all information and click the Save Changes button
(1) Plan Type: select One Time plan
(2) Title: enter plan title
(3) Price: enter plan price
(4) Plan Duration: setting plan duration
(5) Expiration Reminder: setting expiration reminder
(6) Show at: select Manage Membership
(7) Android Product Id: enter Android Product Id. This is a unique alphanumeric ID. After you use an Android Product ID for one product, it can’t be used again, even if the product is deleted.
(8) Ios Product Id:
(9) App recurring: tick on
(10) Enable Plan: tick on

3. Go to Play console: https://play.google.com/apps/publish
4. Select your app
5. Scroll to Monetize, click on Subscription (under Product)

6. Click on Create subscription button

7. Enter Product ID and Name and click the Create button. Product ID is the Android Product Id that you create in step #2.
Product ID must be unique for your app, and they can’t be changed or reused after they’ve been created.

8. After creating a new subscription, you will be redirected to this subscription detail page. At Base plans and offers section, click on Add base plan.

9. Enter base plan information
(1) Base plan ID: enter a base plan ID. The base plan ID must be unique for your app, and it can’t be changed or reused after it’s been created.
(2) Type: select Auto-renewing.
(3) Billing period: select the period matches the Plan Duration that you setting in step #2.
(4) Grace period: can use the default value (3 days).
(5) Customer base plan and offer changes: select Charge immediately.
(6) Resubscribe: select allow.

10. Scroll to the Price and availability section, click on Set prices.

11. Select all the countries and click on Set price button.

12. Enter price and select currency that match the Price you setting in step #2 and click on Update button.

13. Click on Save button.
Note: Please do not delete products and base plan (step #7 and step #9). You cannot reuse the Product ID and Base plan ID even if you delete the package.
SET UP SERVER TO RECEIVE PLAY STORE SERVER NOTIFICATION
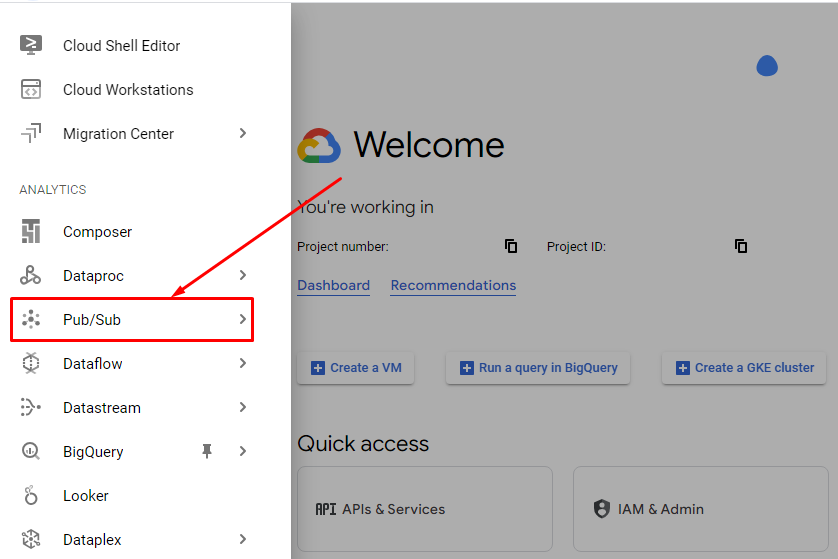
- Go to Google console: https://console.cloud.google.com/
- At Navigation menu, scroll to ANALYTICS section, click on Pub/Sub
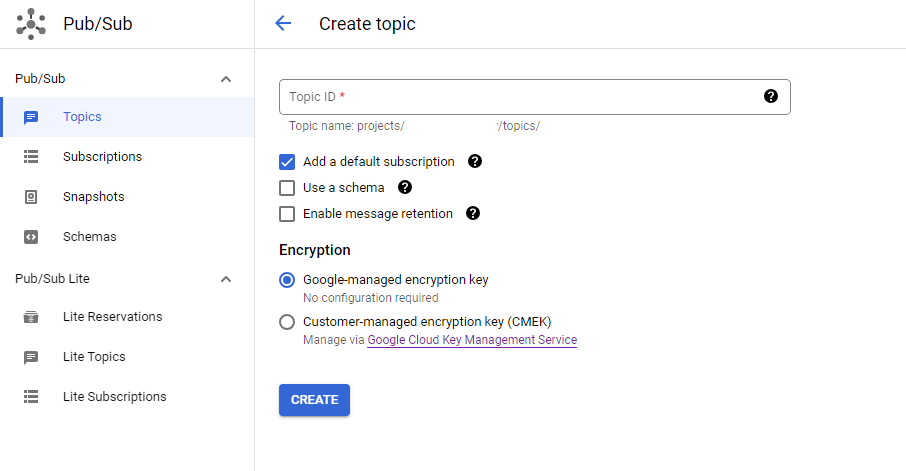
- Click on CREATE TOPIC
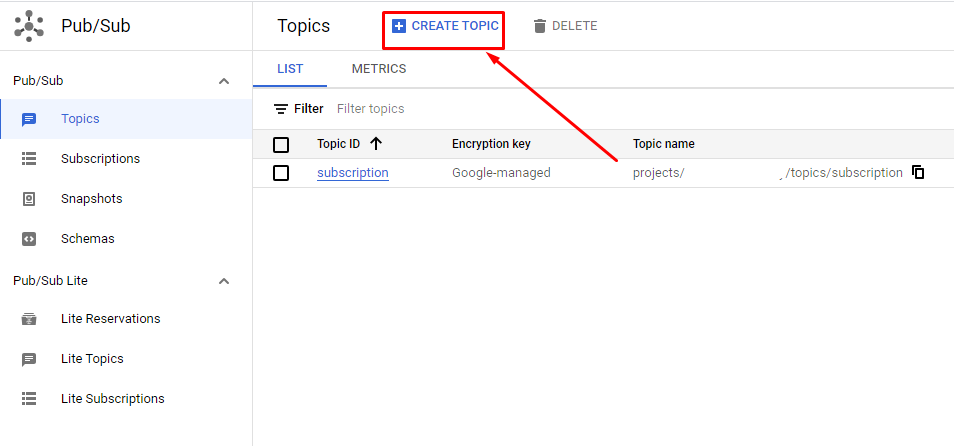
- Enter Topic ID and click on CREATE BUTTON
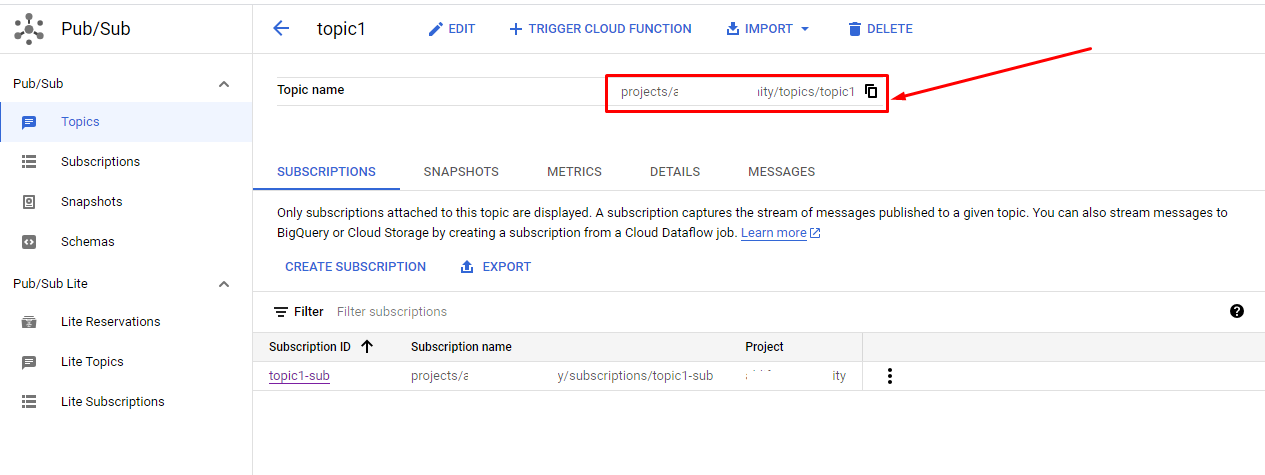
- After creating a new topic, you will be redirected to this topic detail page. Copy Topic name.
- Click on ADD PRINCIPAL button
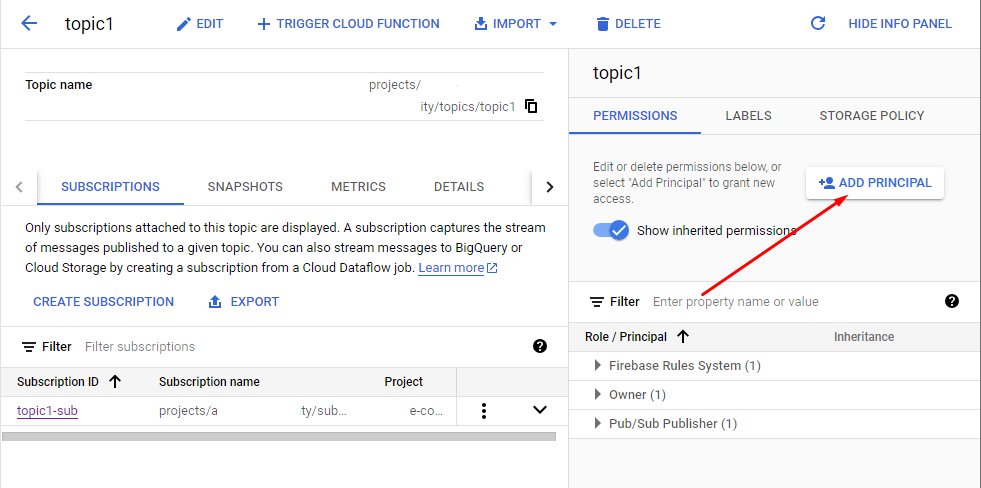

- Enter principal information and click on SAVE button
(1) New principal: enter “google-play-developer-notifications@system.gserviceaccount.com”
(2) Role: select Pub/Sub -> Pub/Sub Publisher

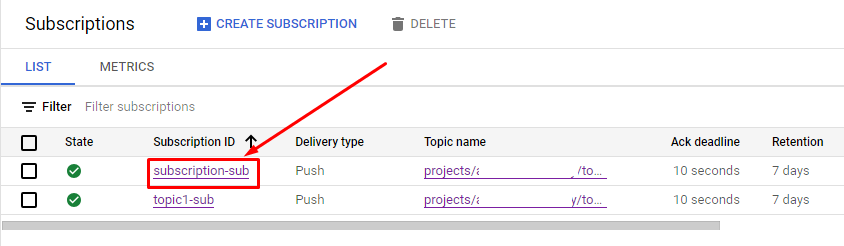
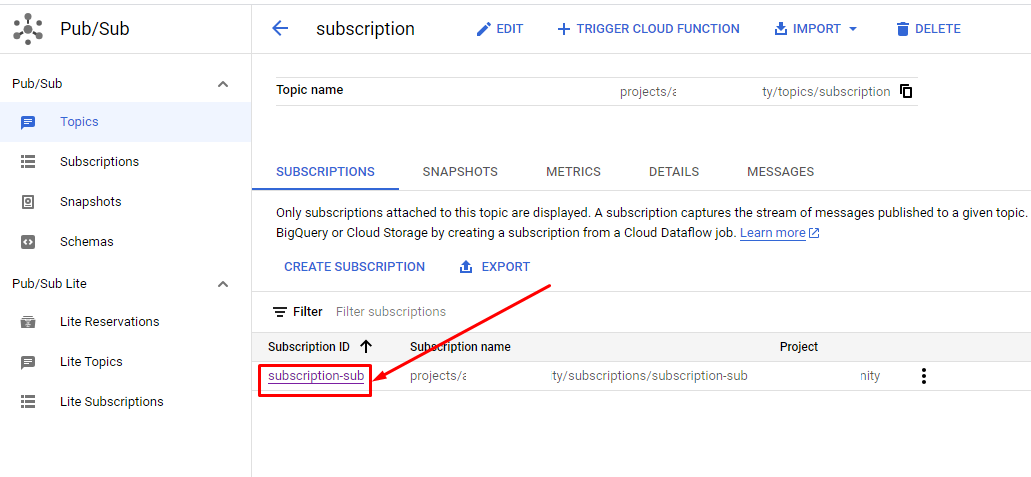
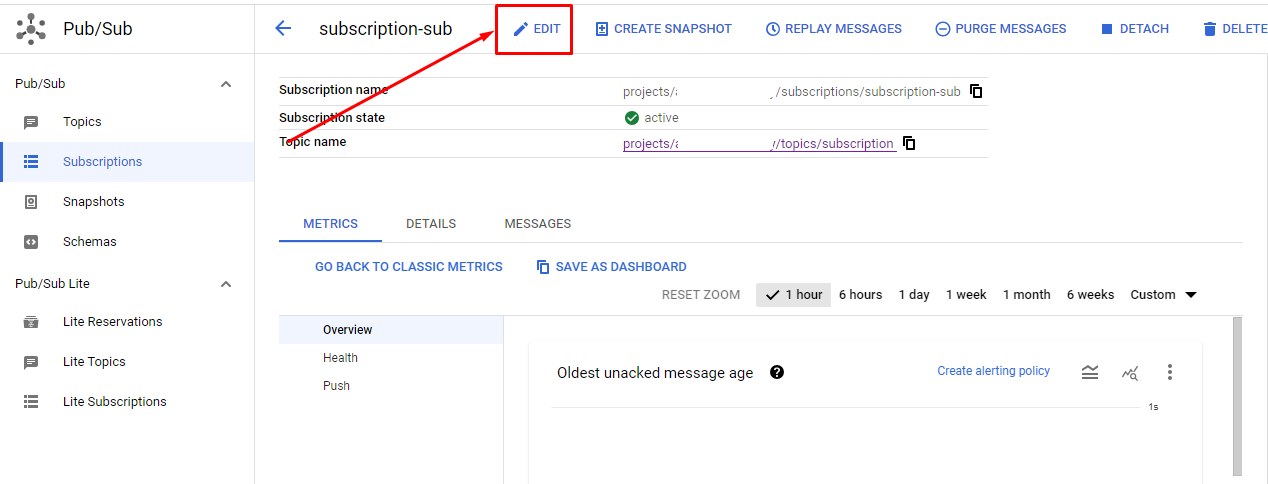
8. When creating a topic, the system will automatically create a subscription. Click on this subscription to view subscription detail page
9. Click on EDIT
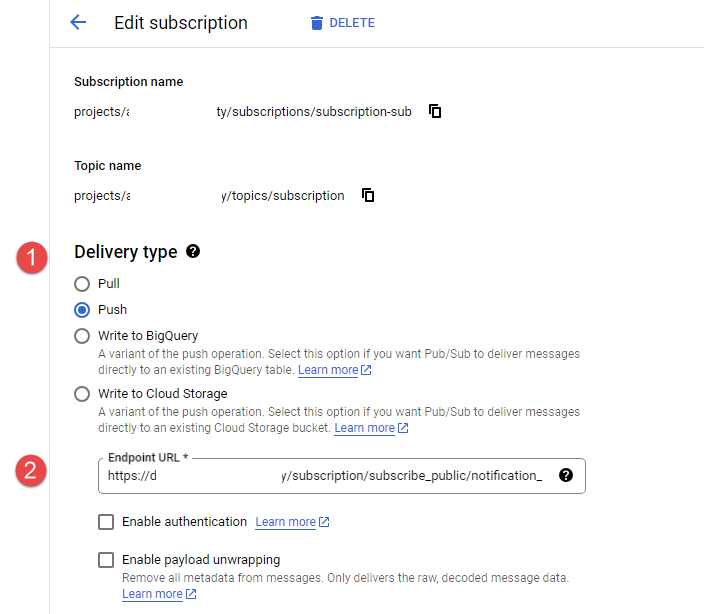
10. Setting subscription and click on UPDATE button
- Delivery type: select Push
- Endpoint URL: enter [yourwebsite]/subscription/subscribe_public/notification_android
Ex: https://moosocial.com/subscription/subscribe_public/notification_android
11. Go to Play console: https://play.google.com/apps/publish
12. Select your app
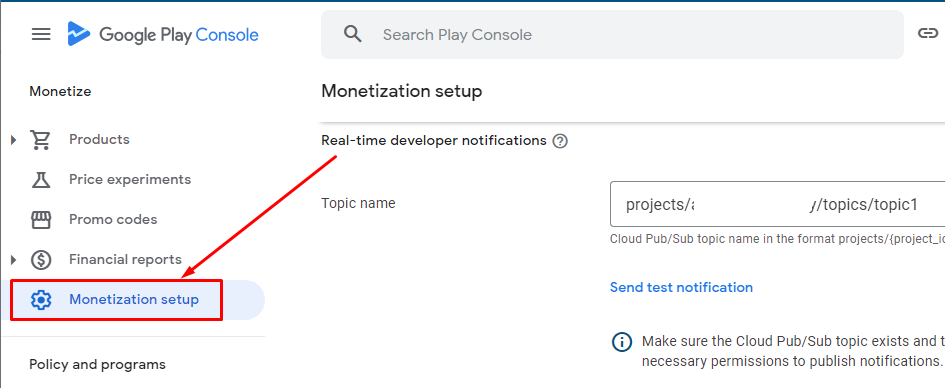
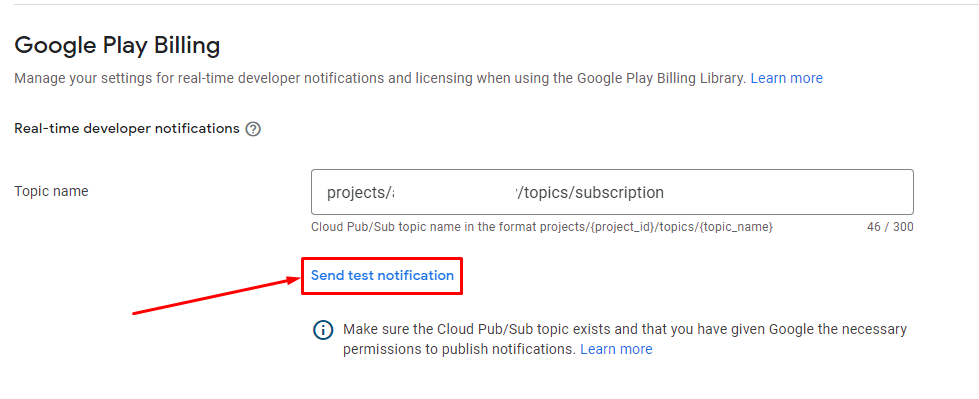
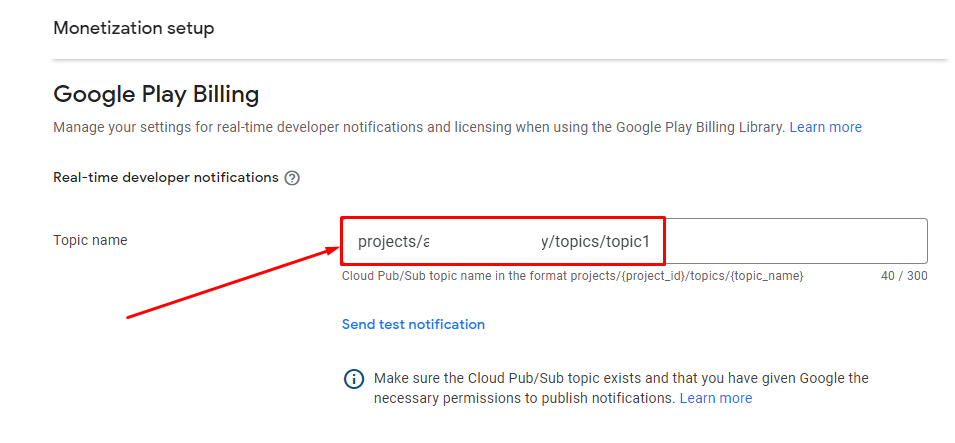
13. Scroll to Monetize, click on Monetization setup

14. Enter the Topic name that you copy in step #5 and click on Save Changes button
SETUP SERVICE ACCOUNT
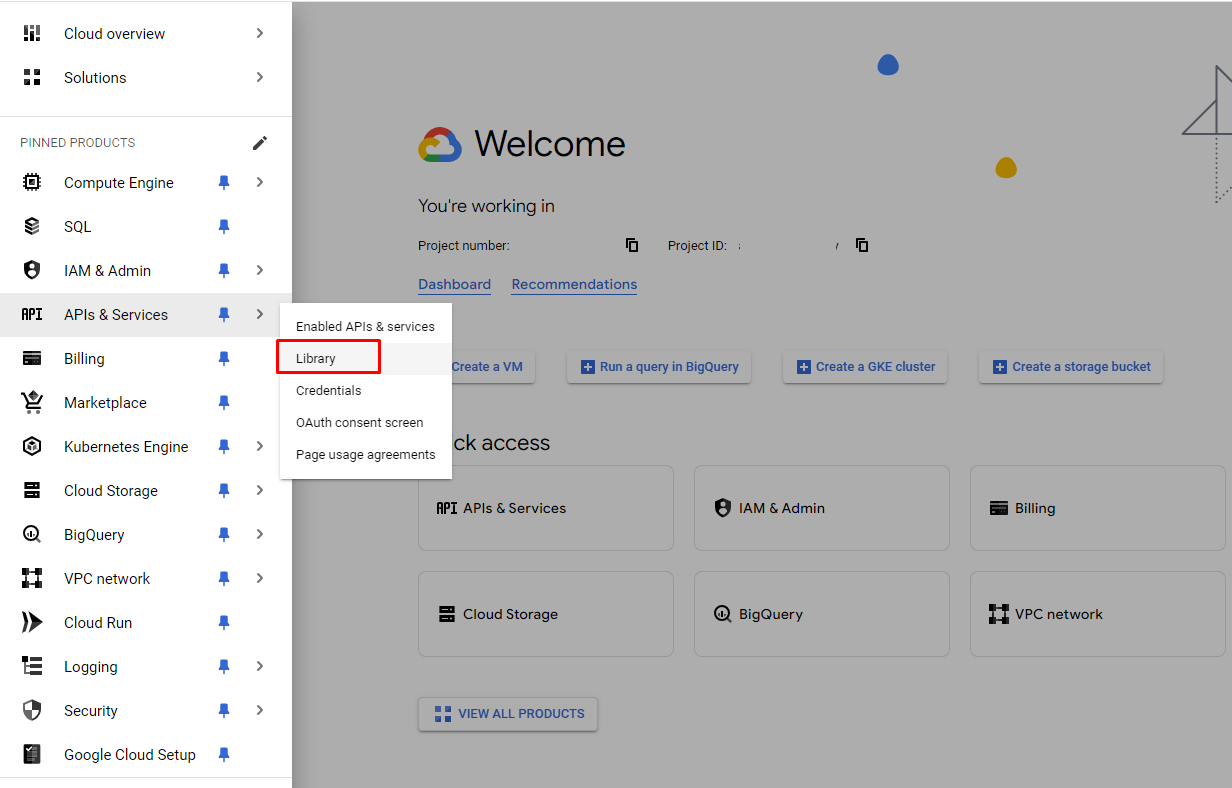
- Go to Google console: https://console.cloud.google.com/
- At Navigation menu, scroll to APIs & Services section, click on Library
- Search to find “Google Play Android Developer API”
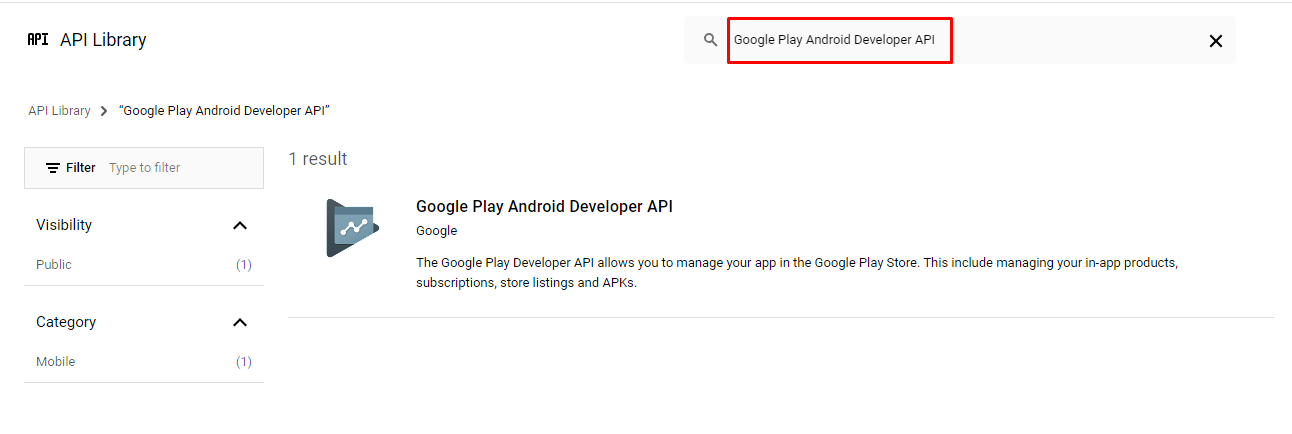
- Open Google Play Android Developer API and enable

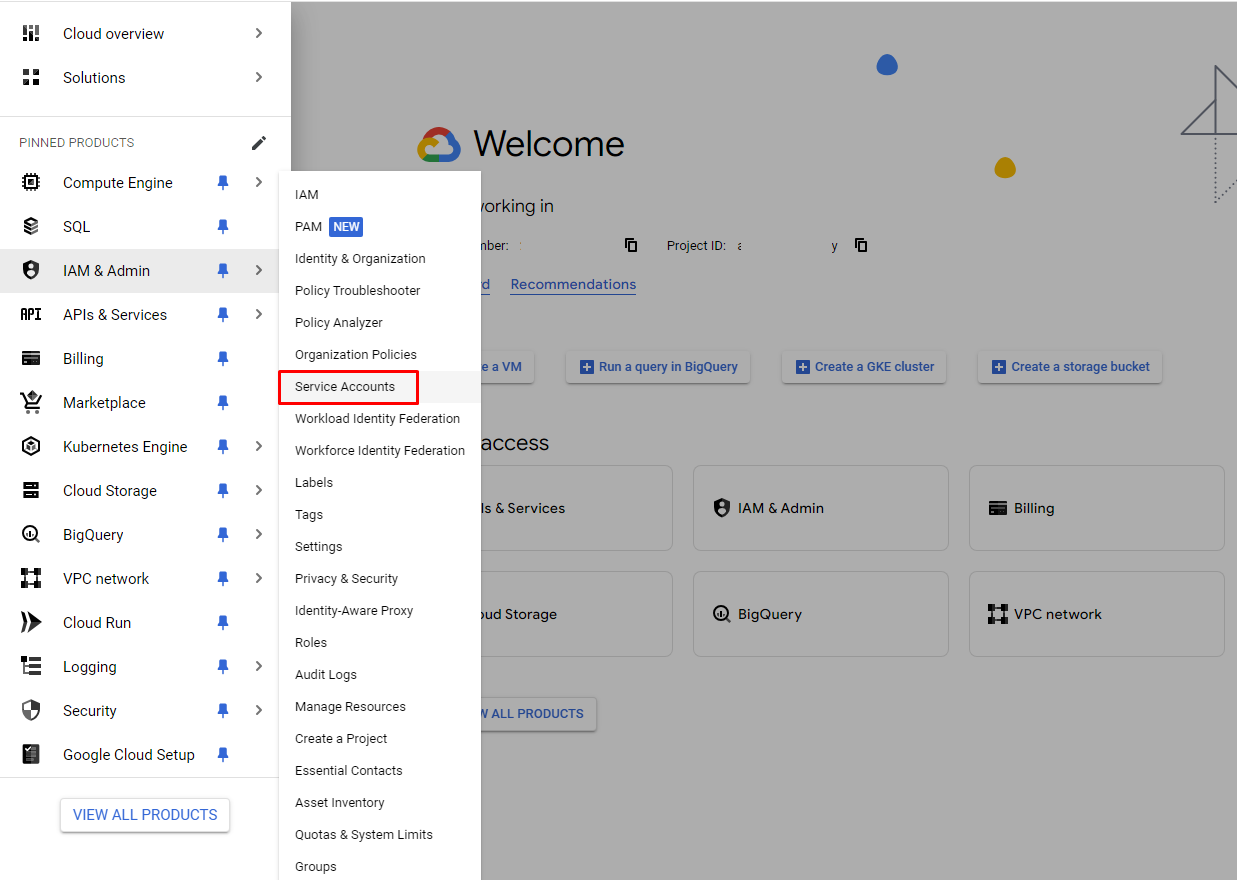
- At Navigation menu, scroll to IAM & Admin section, click on Service Accounts
- Click on CREATE SERVICE ACCOUNT
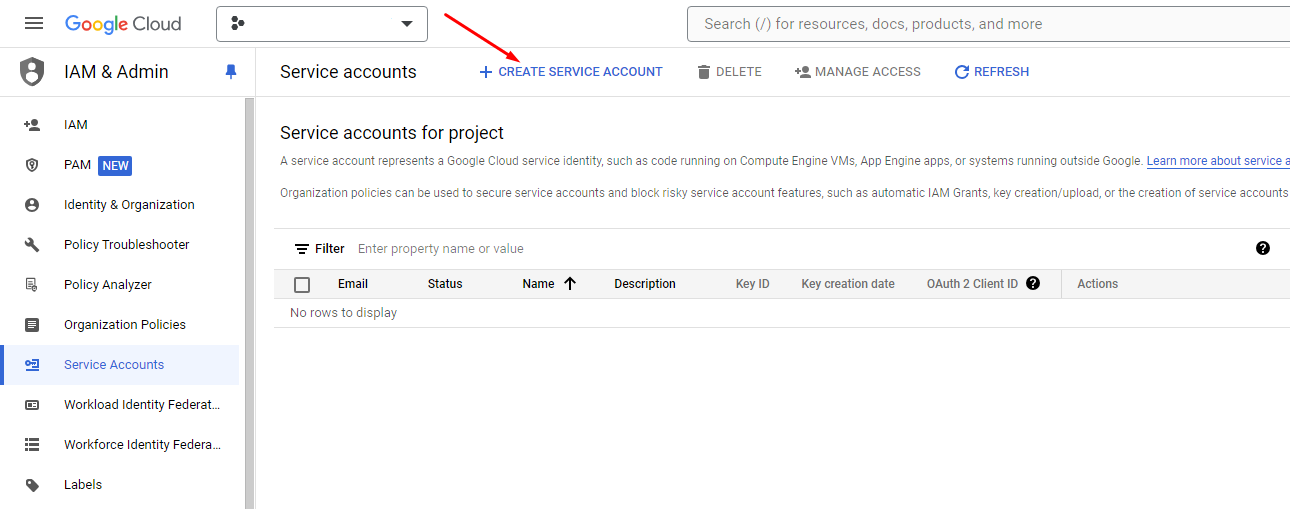
- Create service account
7.1. Service account details:

(1) Service account name: Enter an arbitrary Service account name
(2) Service account ID: Service account ID will be automatically generated from your Service account name. You don’t need to change it
(3) Service account description: This is optional field
(4). CREATE AND CONTINUE: click to create account and move to next step
7.2. Grant this service account access to project:

(1) Select a role: Open dropdown and select Basic -> Editor
(2) ADD ANOTHER ROLE: click to add more role
You need to add one more role: IAM -> Security Admin
(3) CONTINUE: click to move to next step
7.3. Grant users access to this service account
You do not need to set up this step. Click Continue

- There is an email that will be automatically generated. Please copy this email for use in the next stage. I will refer to this email as Email (1) for the rest of the tutorial.
Click on the email just created.

- Select KEYS

- Click on CREATE KEY button, select Create new key

- Select Key type is JSON and click on CREATE button

Now, you will download a json file. Please change the file name to “service_account.json” and keep this file for use in the next stage.
UPLOAD JSON FILE
- Go to your host server -> open database
- Redirect to ../app/Plugin/Subscription/Lib/
- Upload the file “service_account.json”
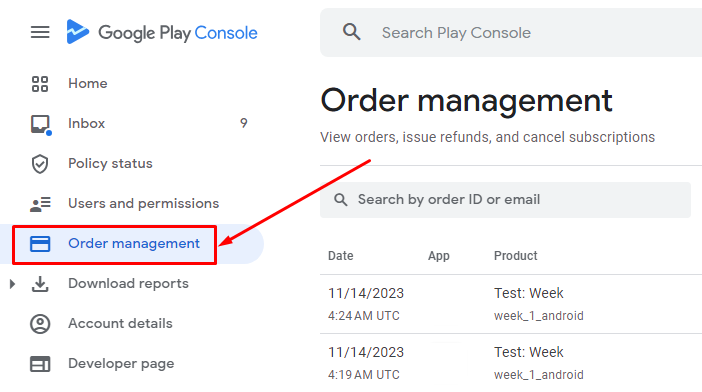
ADD USERS AND PERMISSIONS
- Go to https://play.google.com/console/
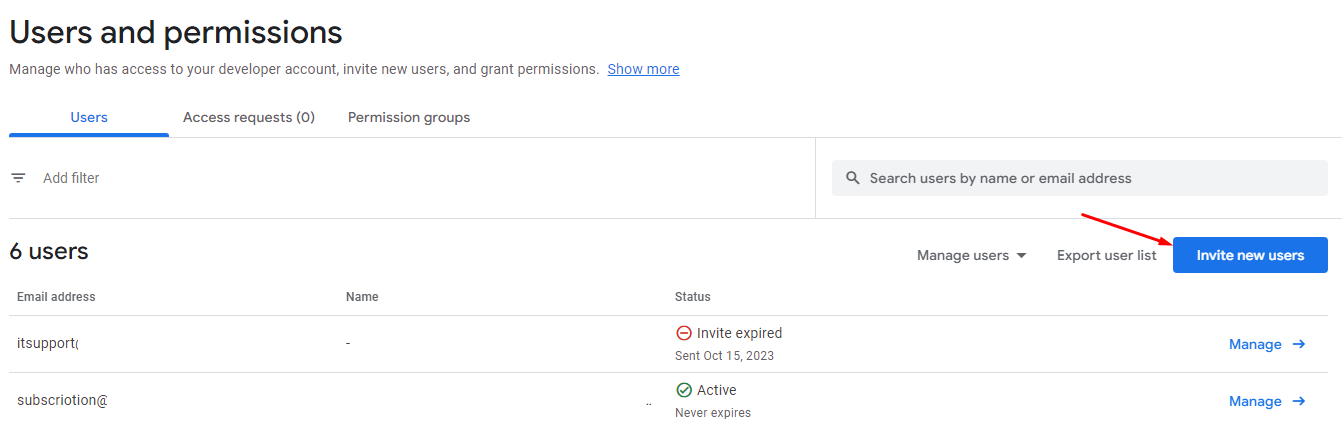
- Click on Users and Permissions menu
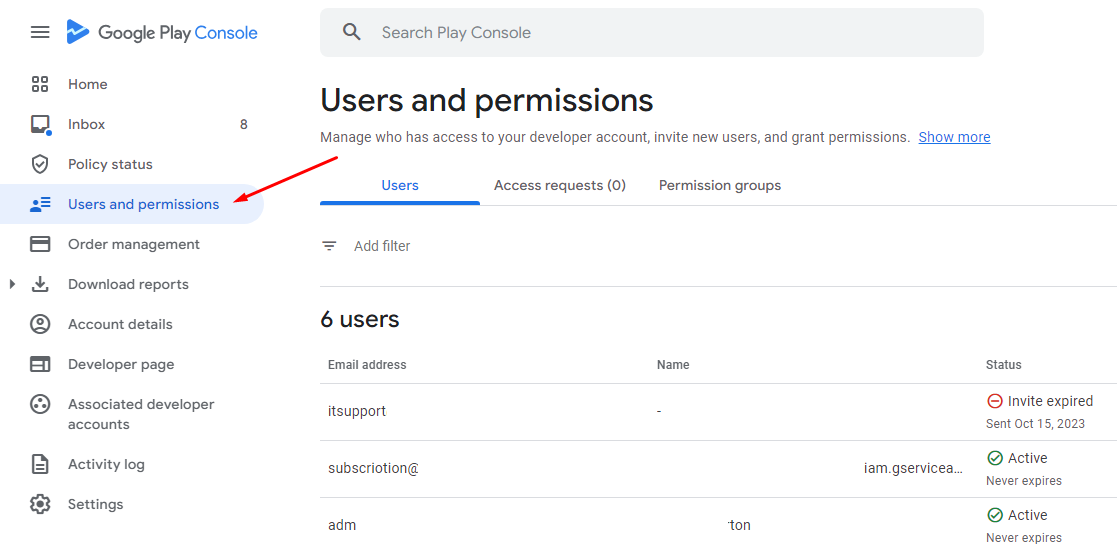
- Click on Invite new users
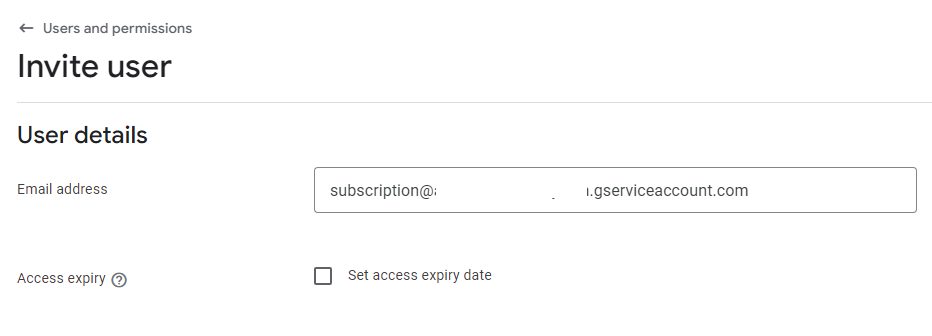
- Email address: Enter Email (1)
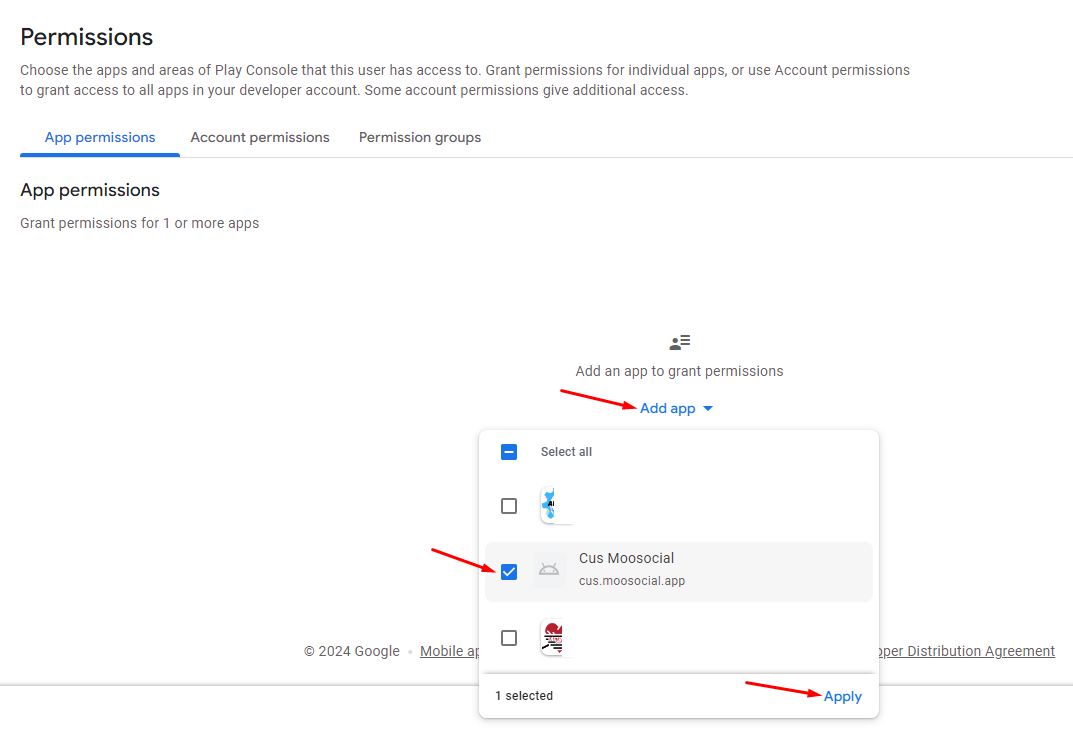
- Click on Add app, select the app you want to set up users and click on Apply
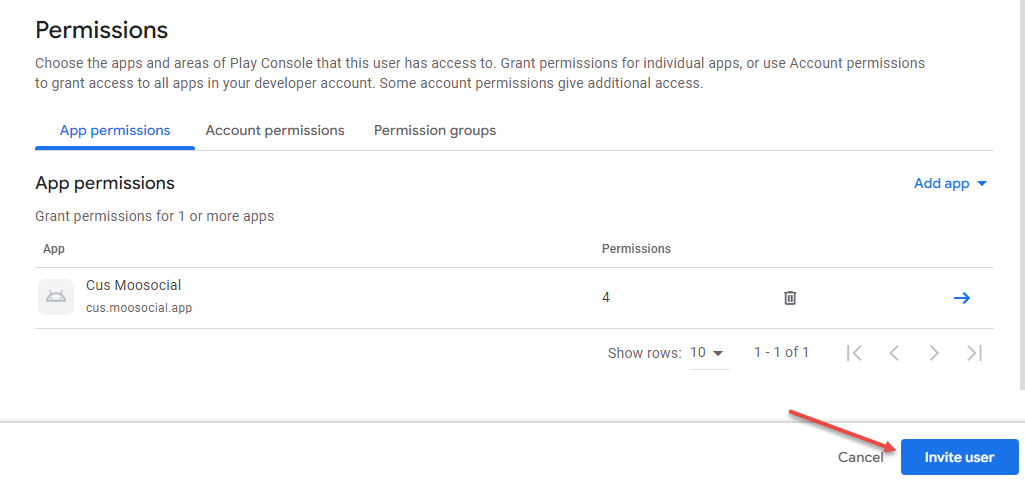
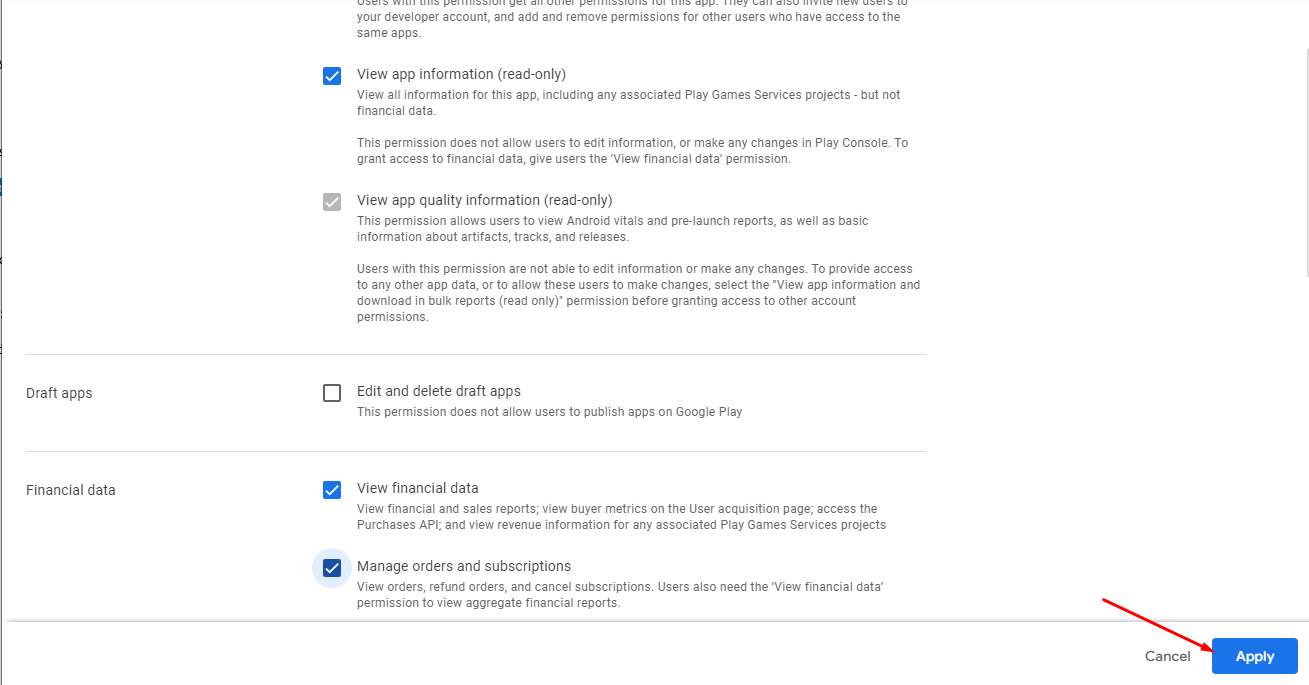
- Select the permissions and click on Apply:
- View app information (read-only)
- View app quality information (read-only)
- View financial data
- Manage orders and subscriptions
- Click on Inviter user and confirm to send invite