Custom fields are a useful feature that allows you to add additional data/information to your posts. This article will show you how to add these extra fields to a category.
There are two ways for adding new fields to a listing category.
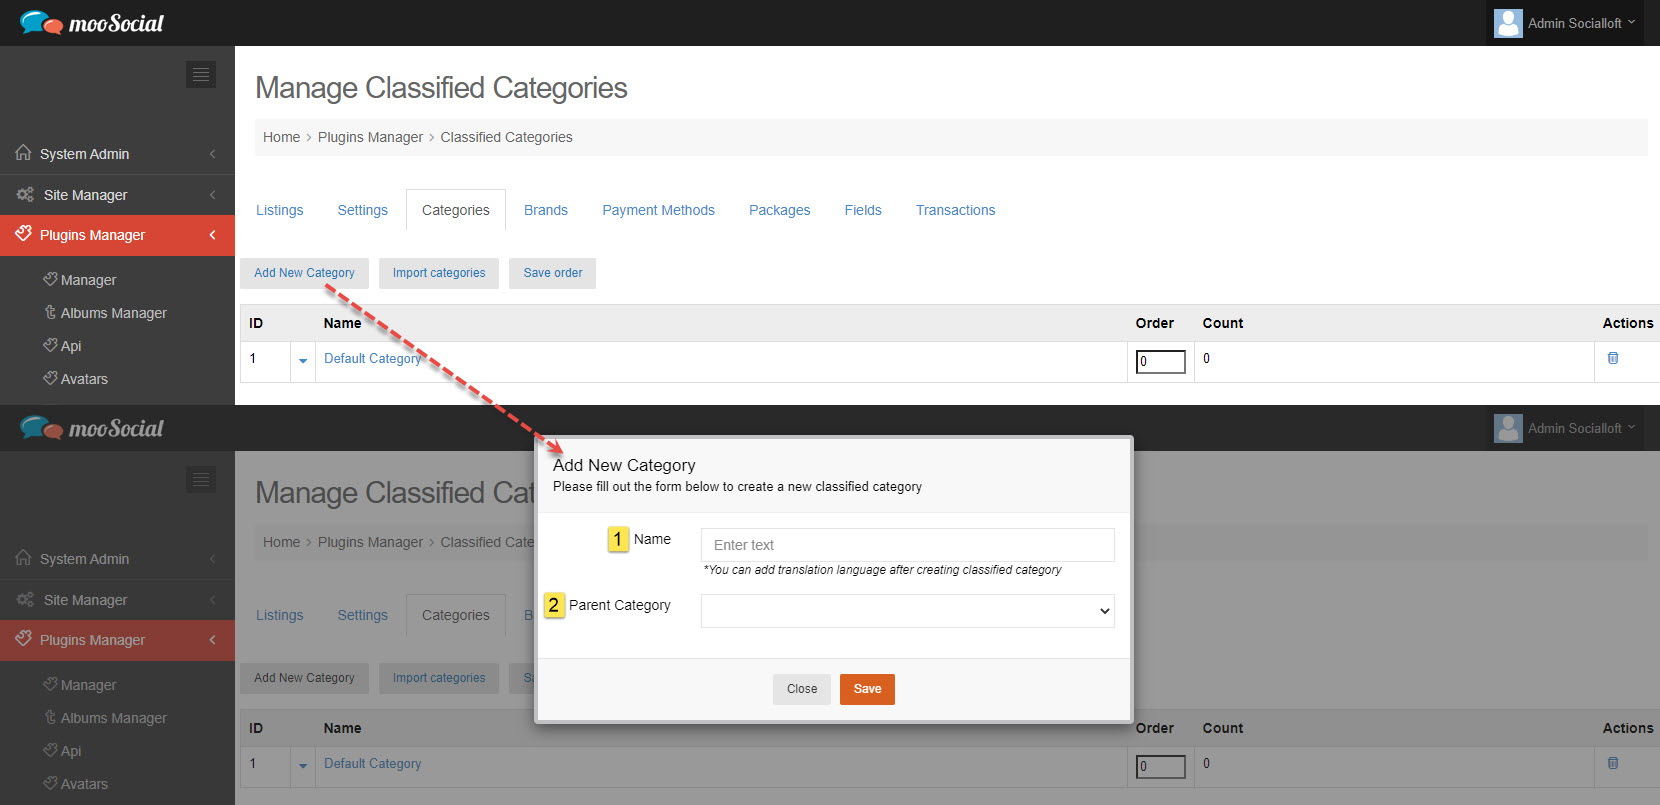
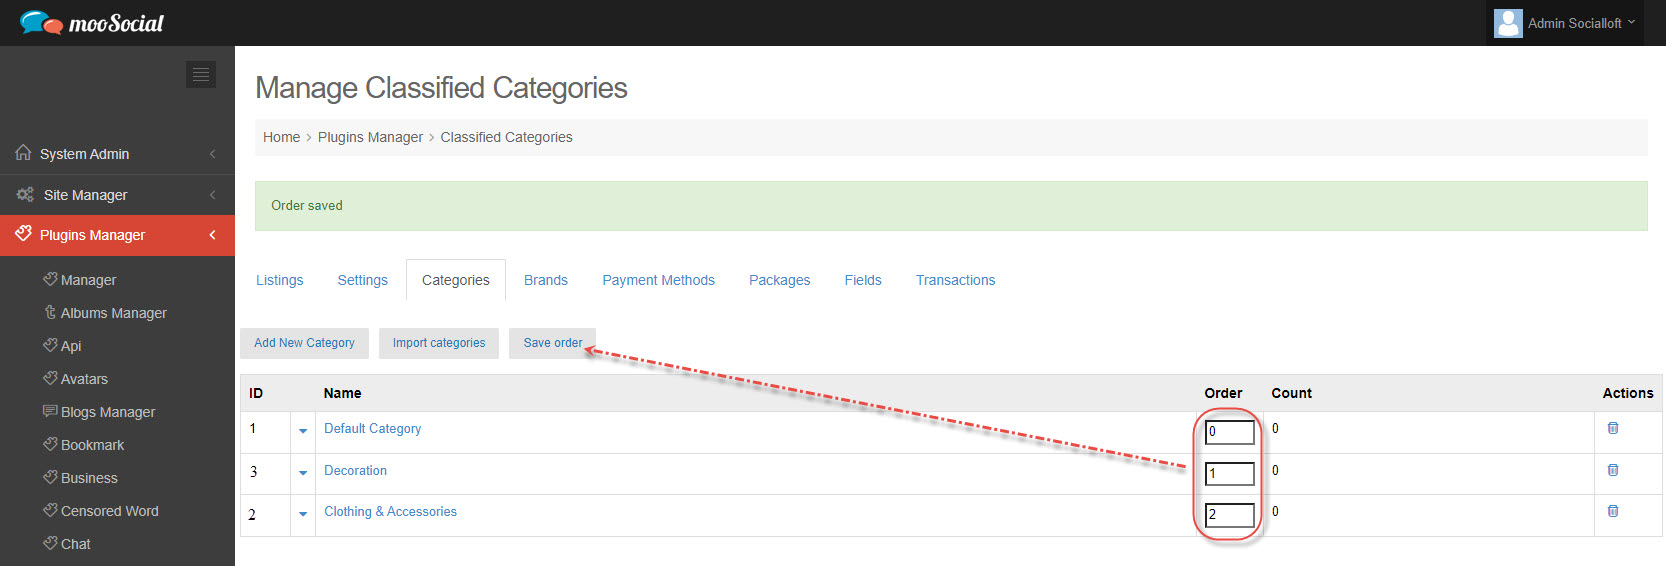
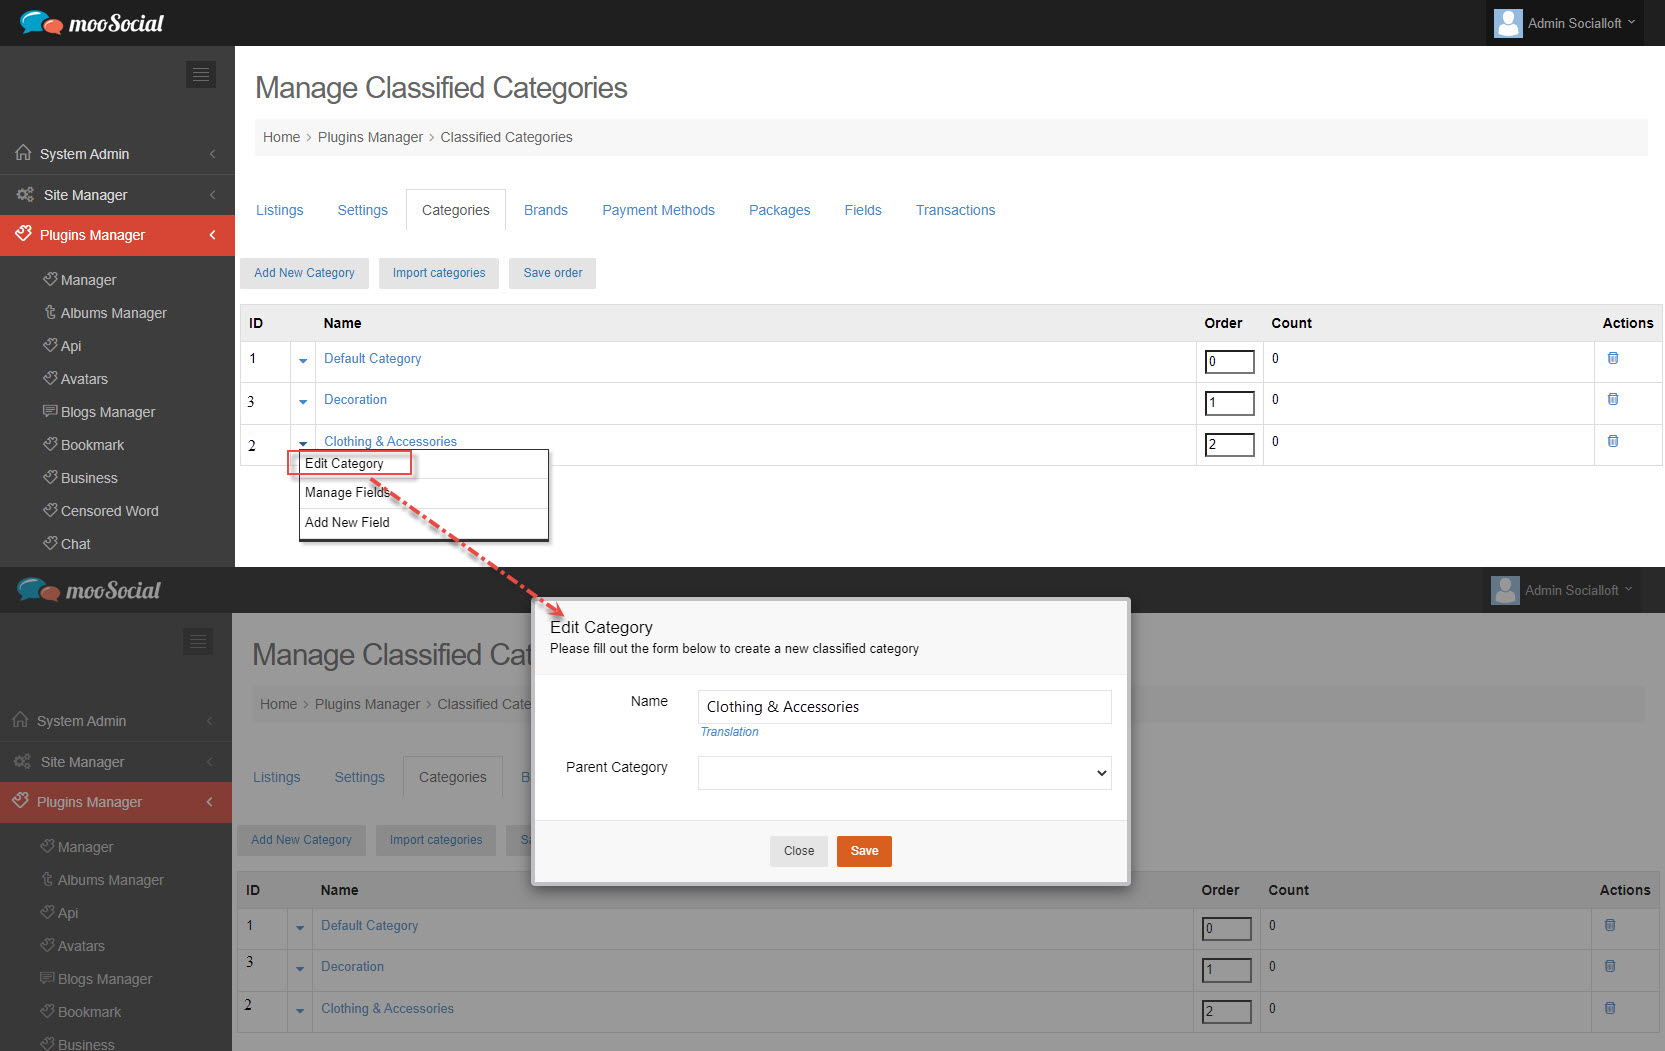
(1) Access Admin Dashboard => Plugins Manager => Classifieds => Categories tab

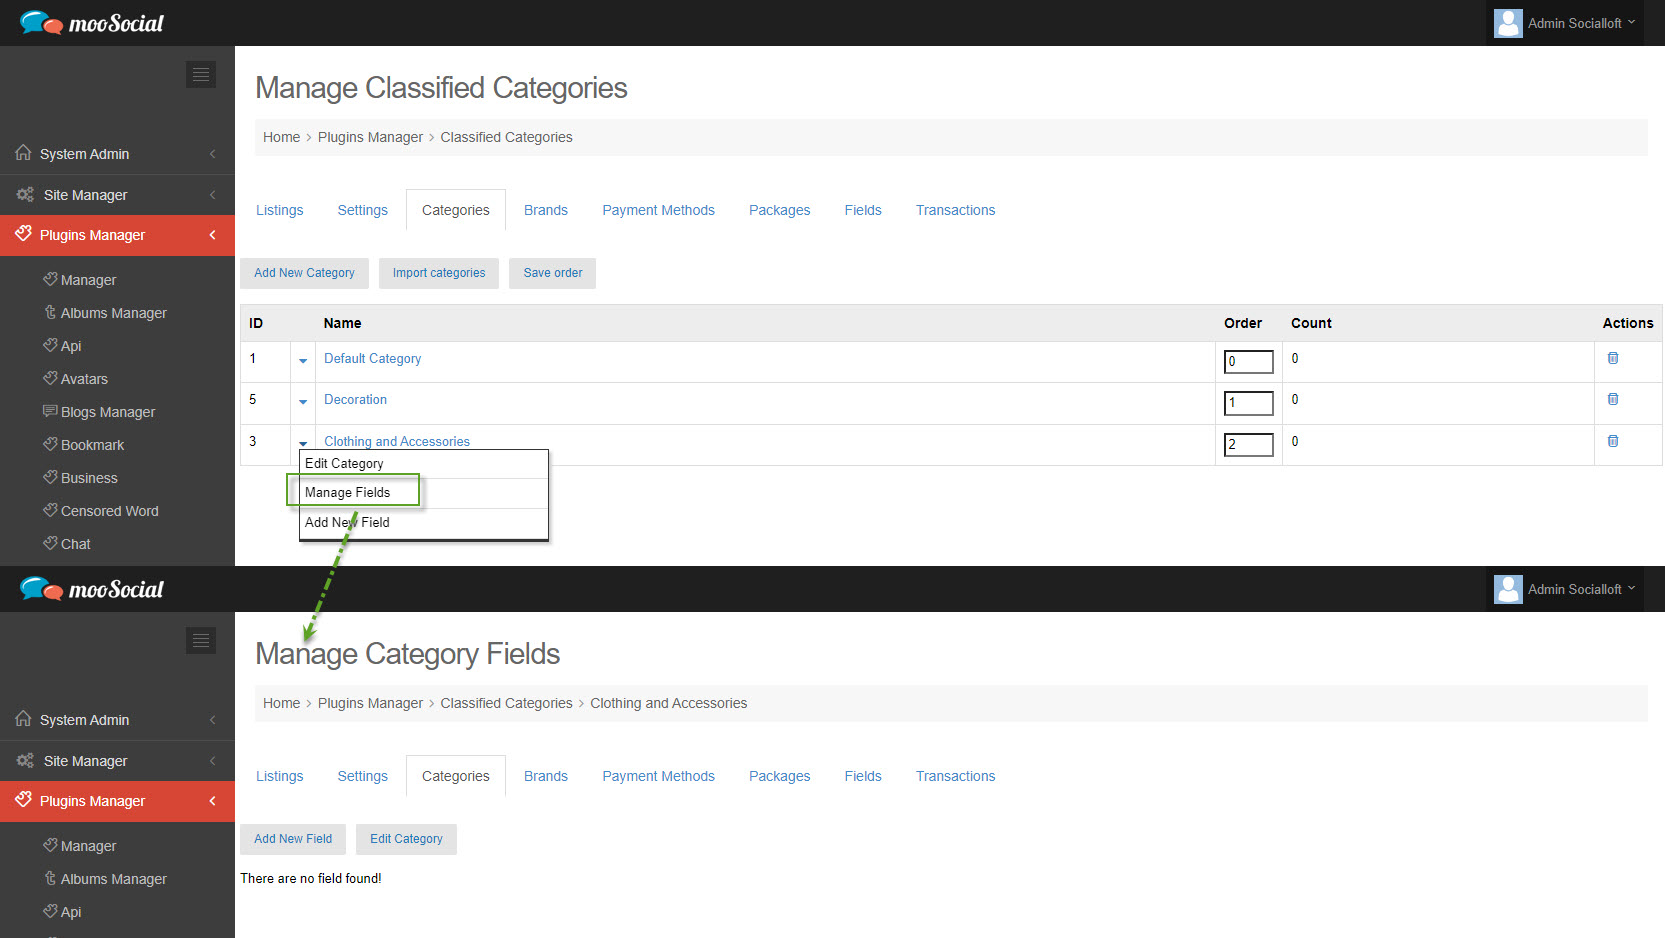
Click the down arrow => select Manage Fields option on the drop-down list => Go to Manage Category Fields page.

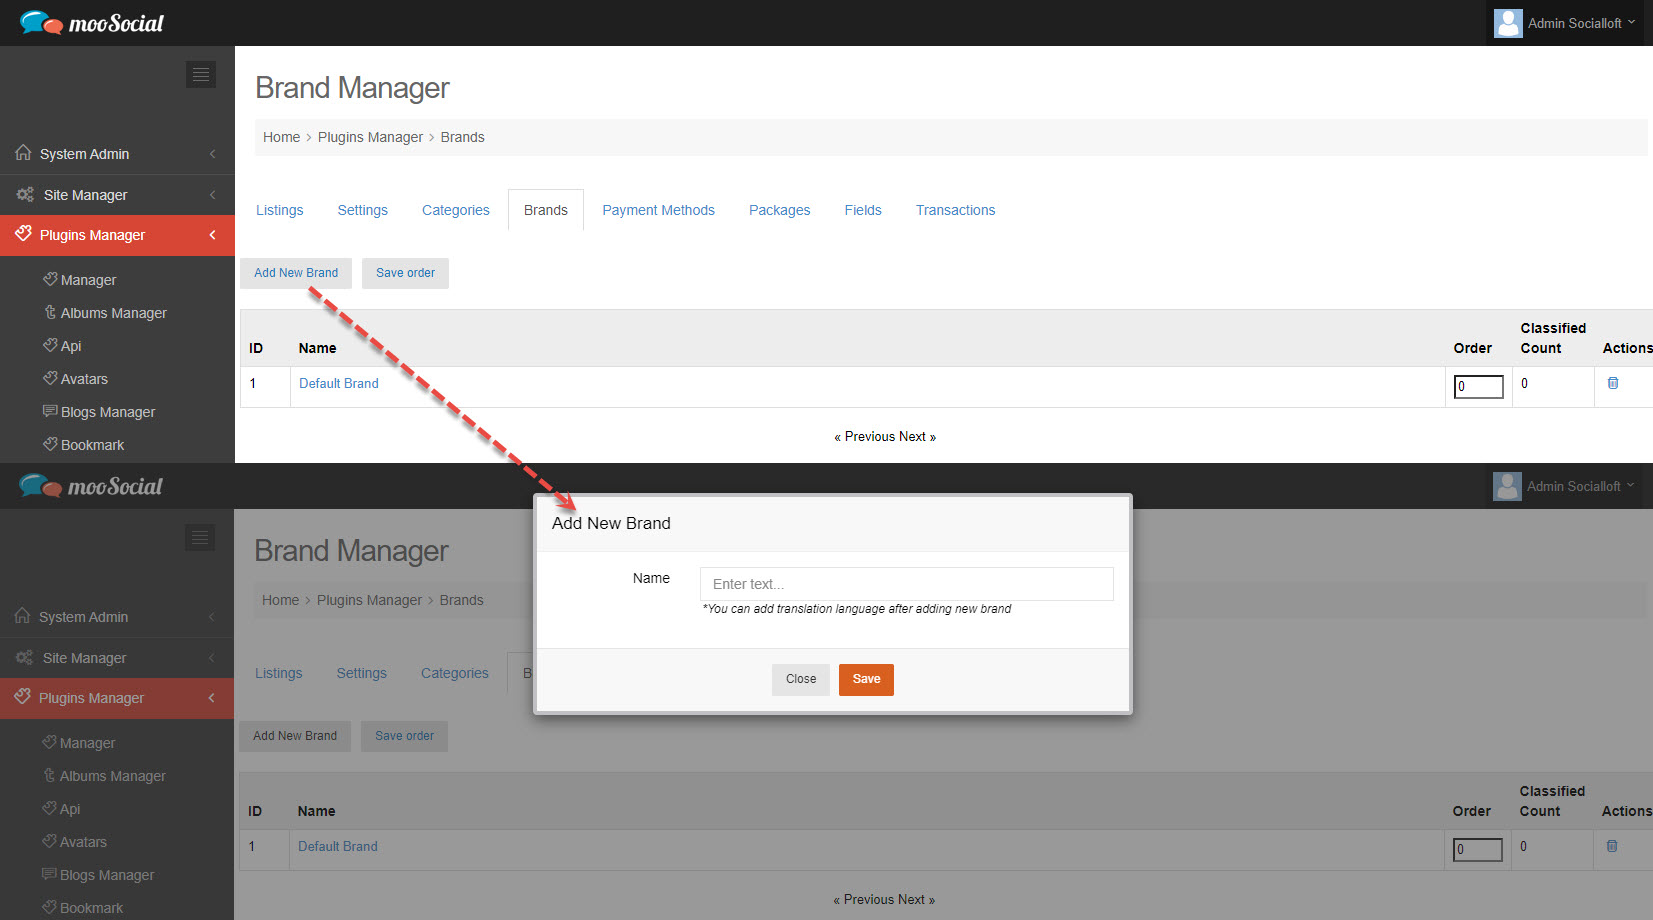
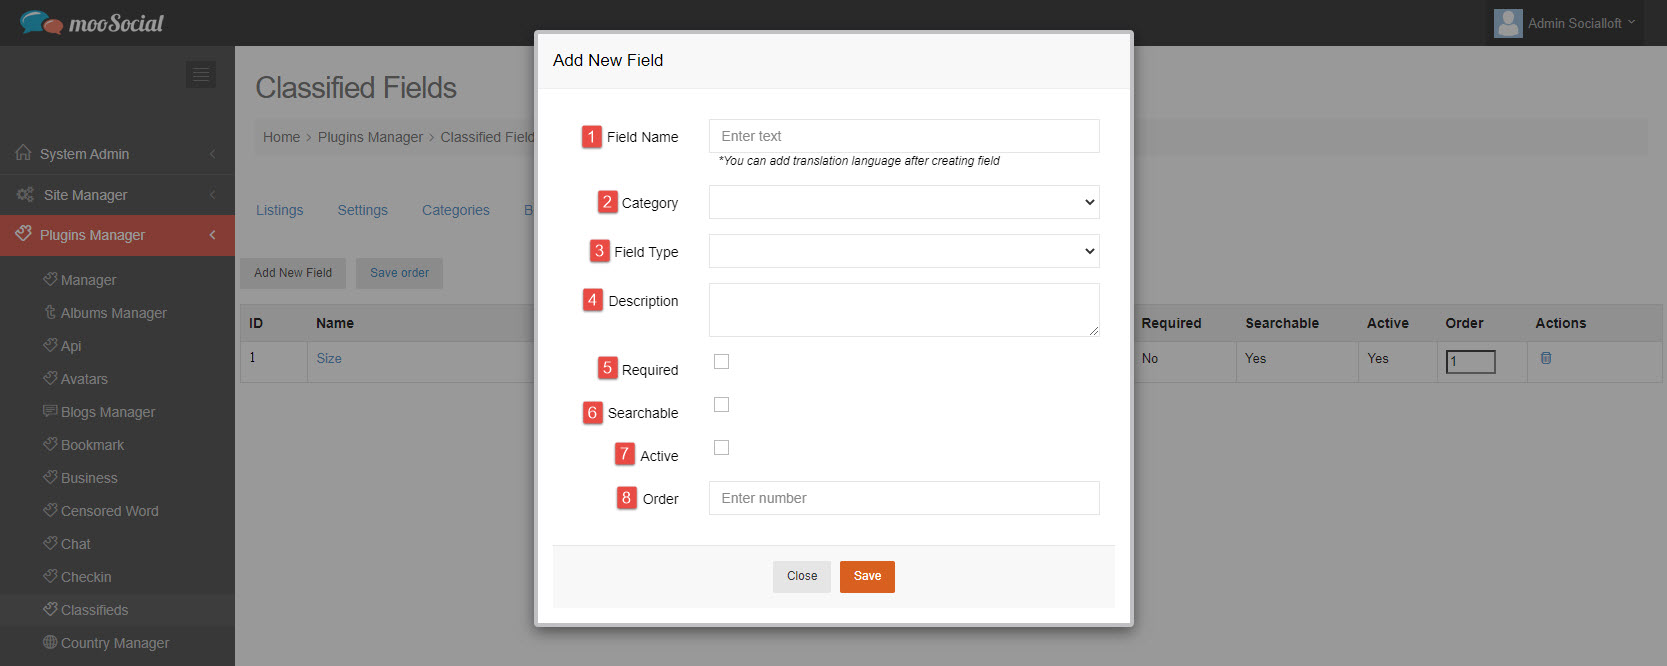
Click Add New Field button => show pop-up.
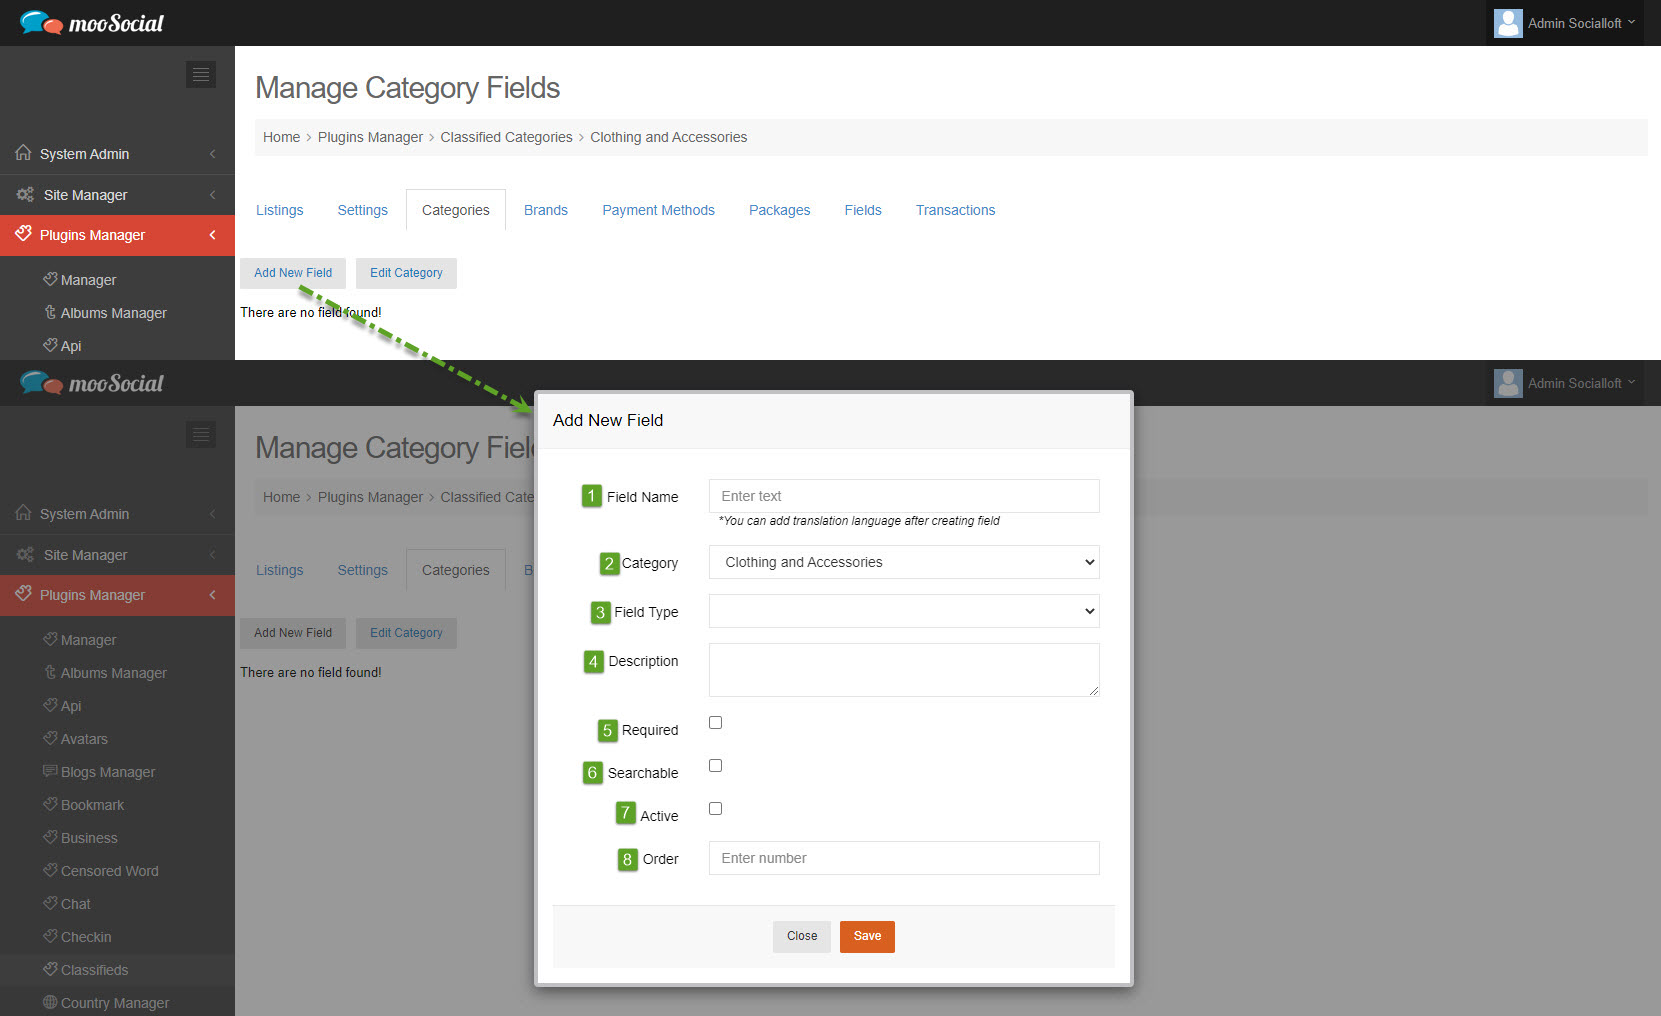
Fill in these fields:
[1] Field Name: enter text.
[2] Category: select Property Category
[3] Field Type: select field type
[4] Description: enter the content.
[5] Required checkbox: tick here to make this category field is a mandatory field.
[6] Searchable checkbox: tick here to allow members to use the search and filter functions with this category field.
[7] Active checkbox: tick here to enable the field.
[8] Order: enter number to arrange the field position on list.
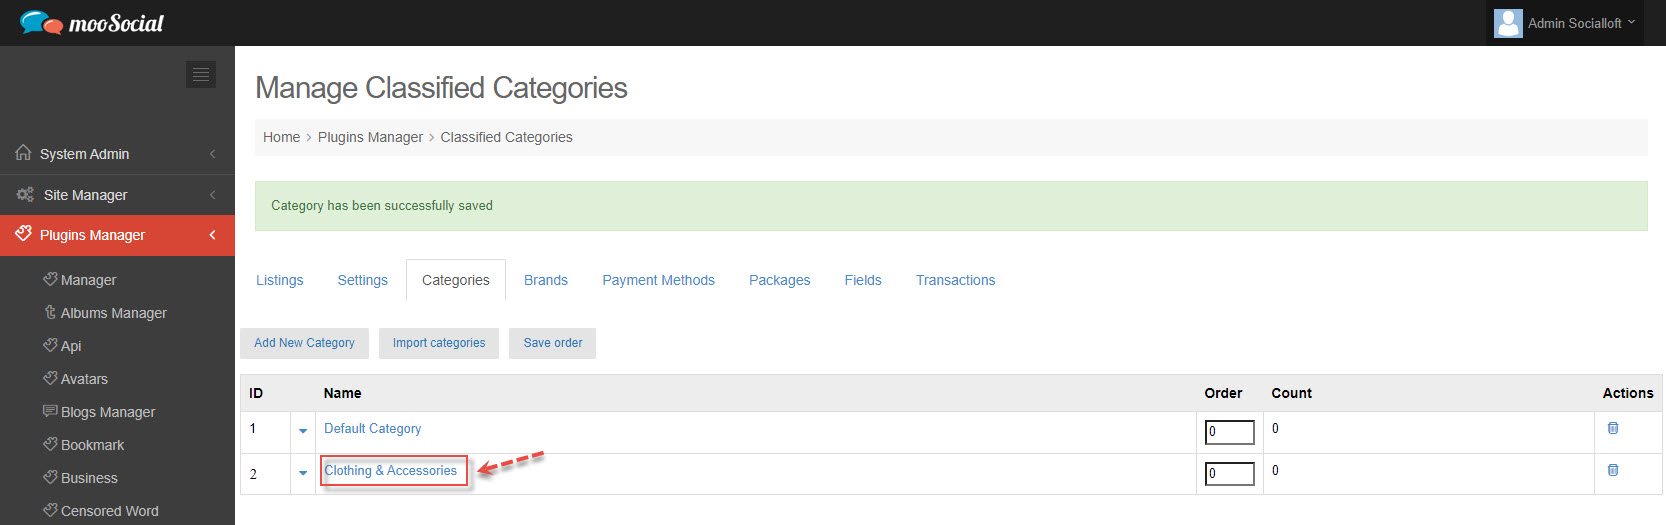
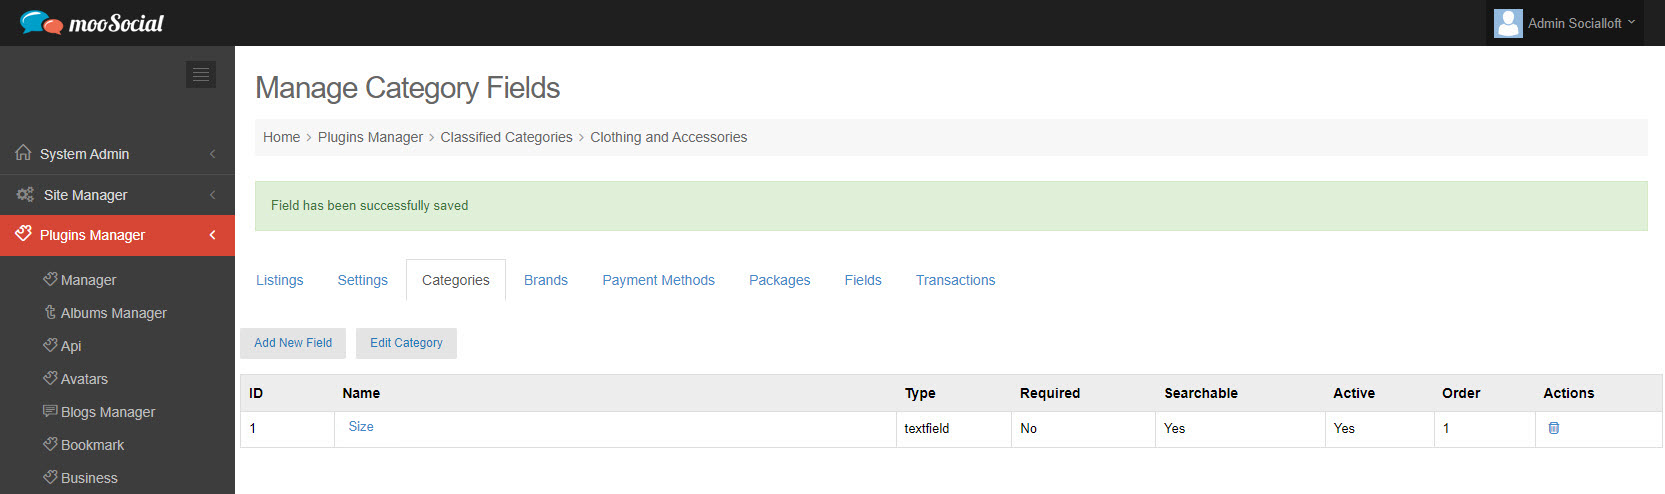
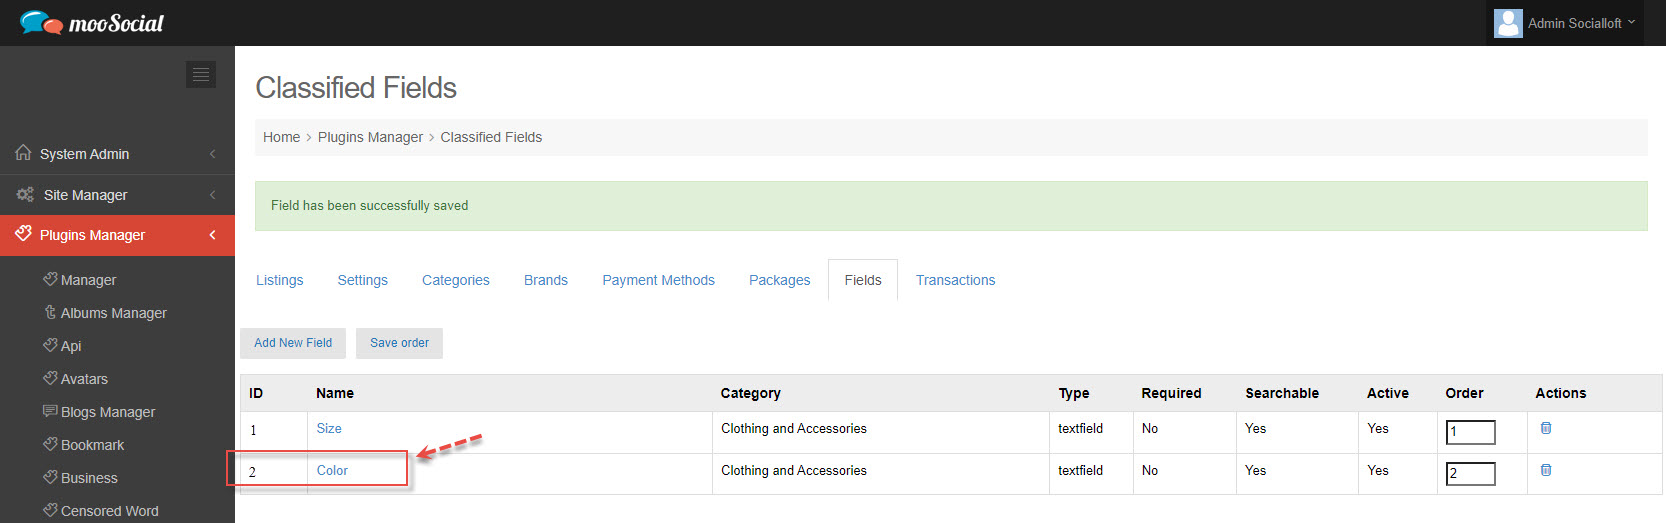
=> Click the Save button. The Fields have been saved successfully.
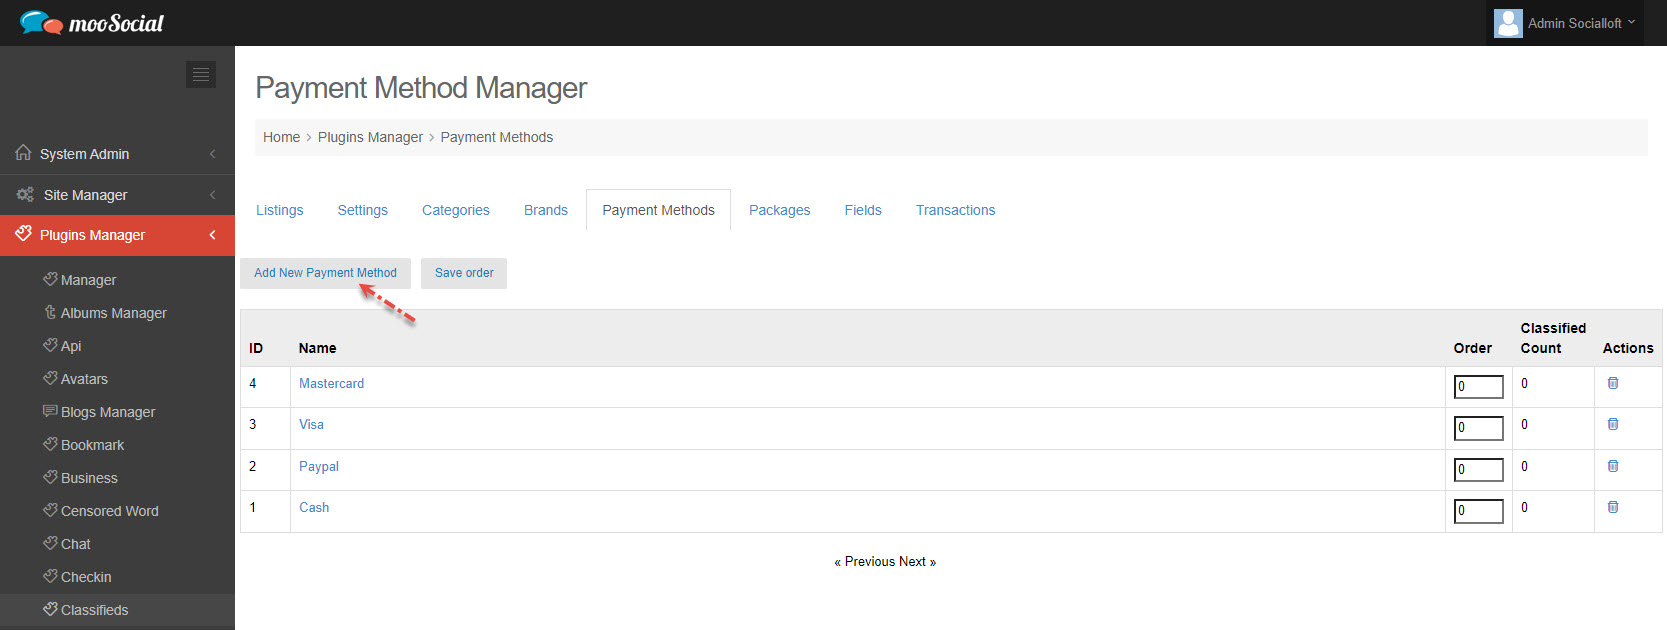
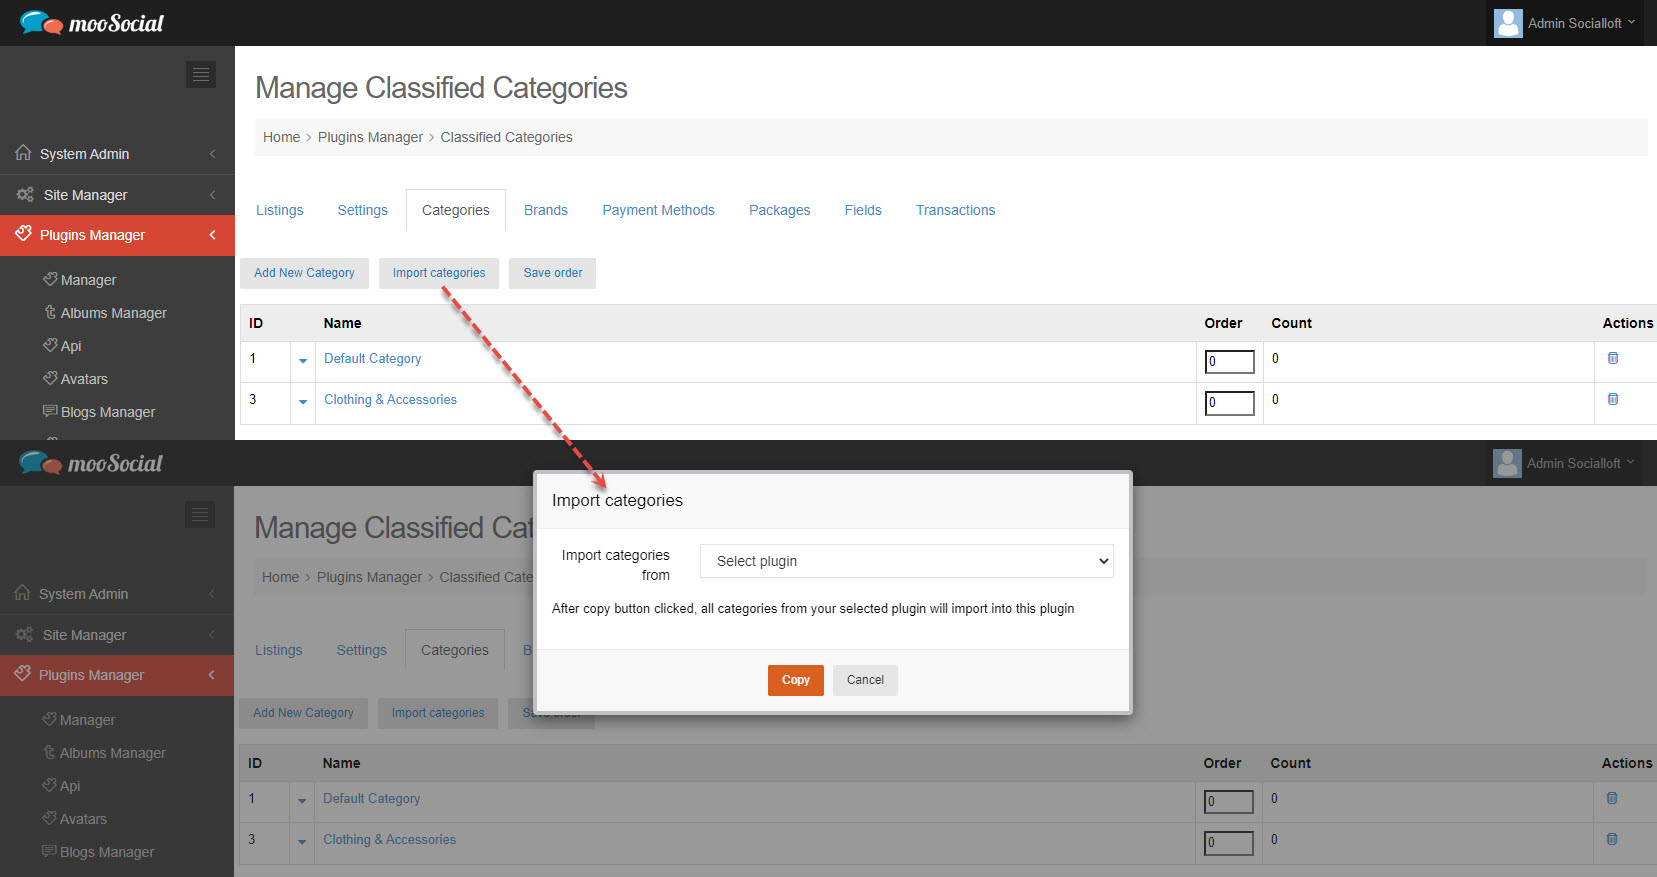
(2) Access Admin Dashboard => Plugins Manager => Classifieds => Fields tab
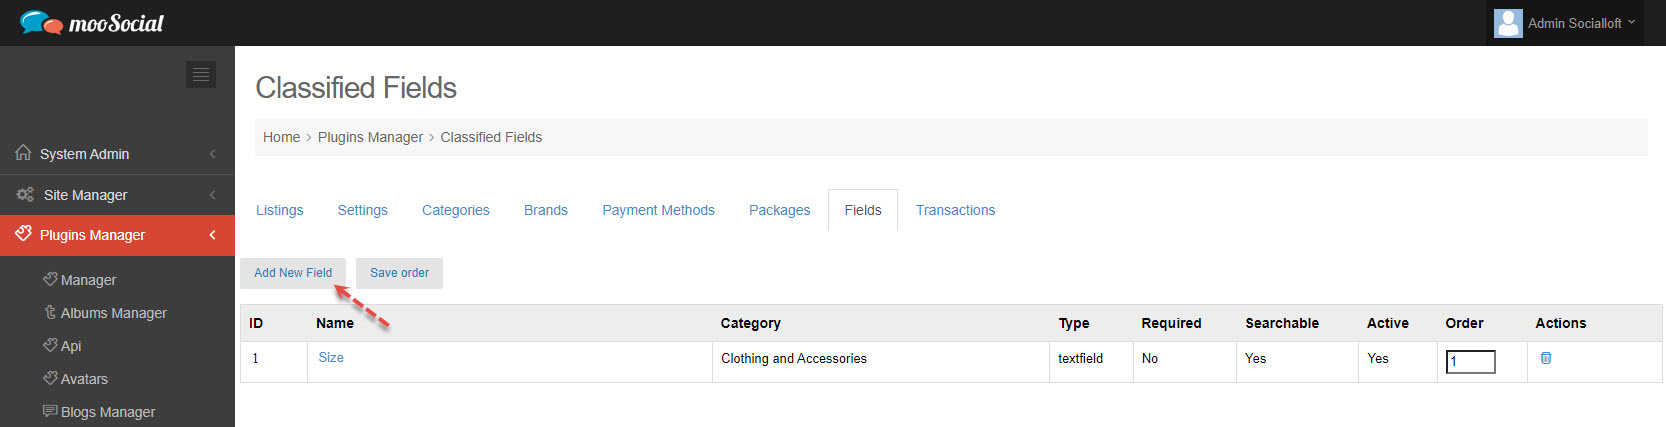
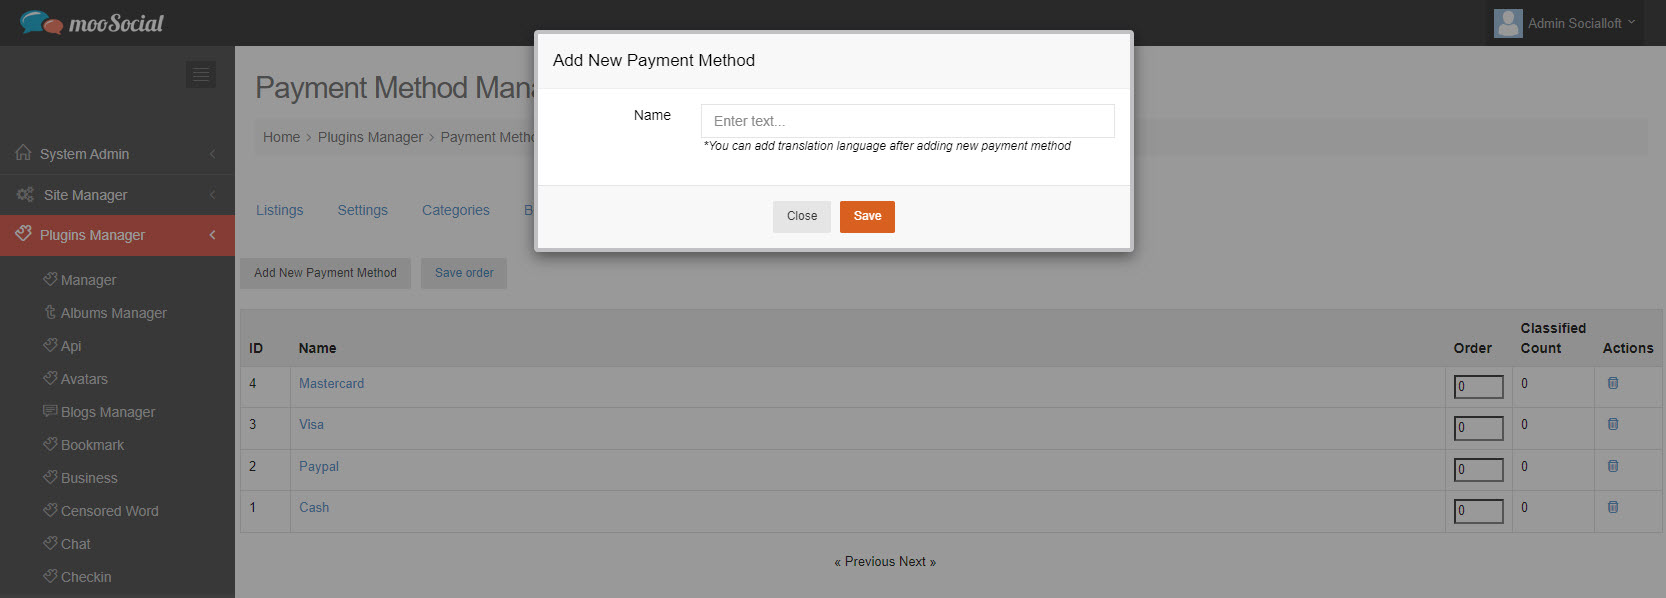
Click the Add New Field button=> show pop-up.
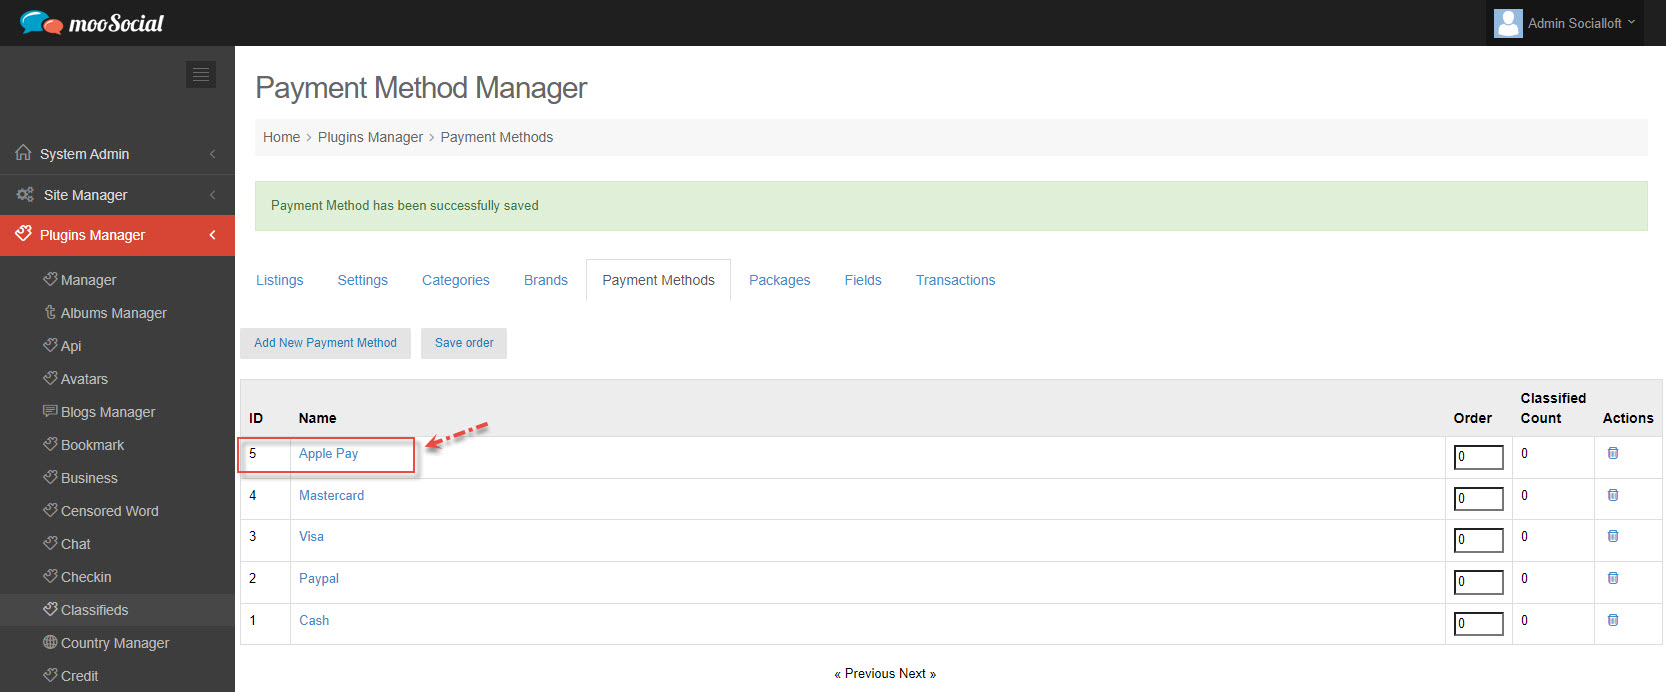
Fill in the blank fields in the same way (1) => Click the Save button.
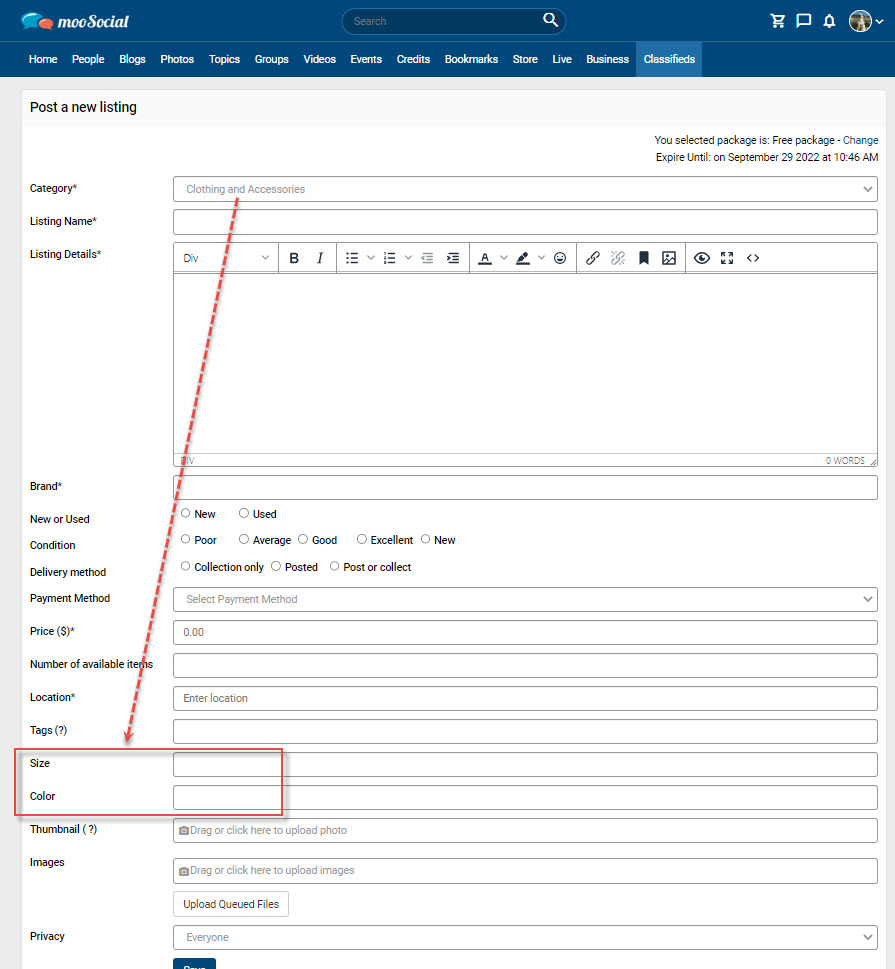
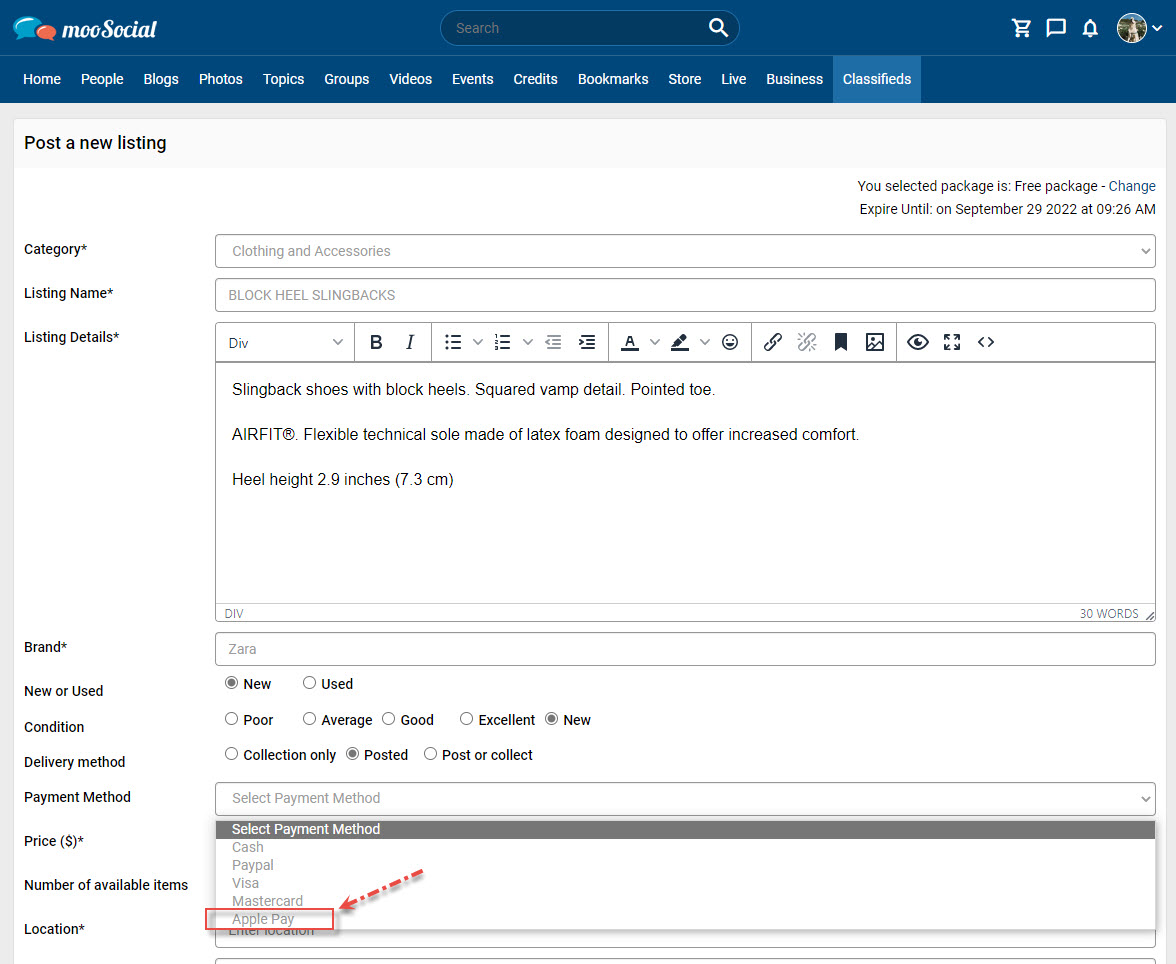
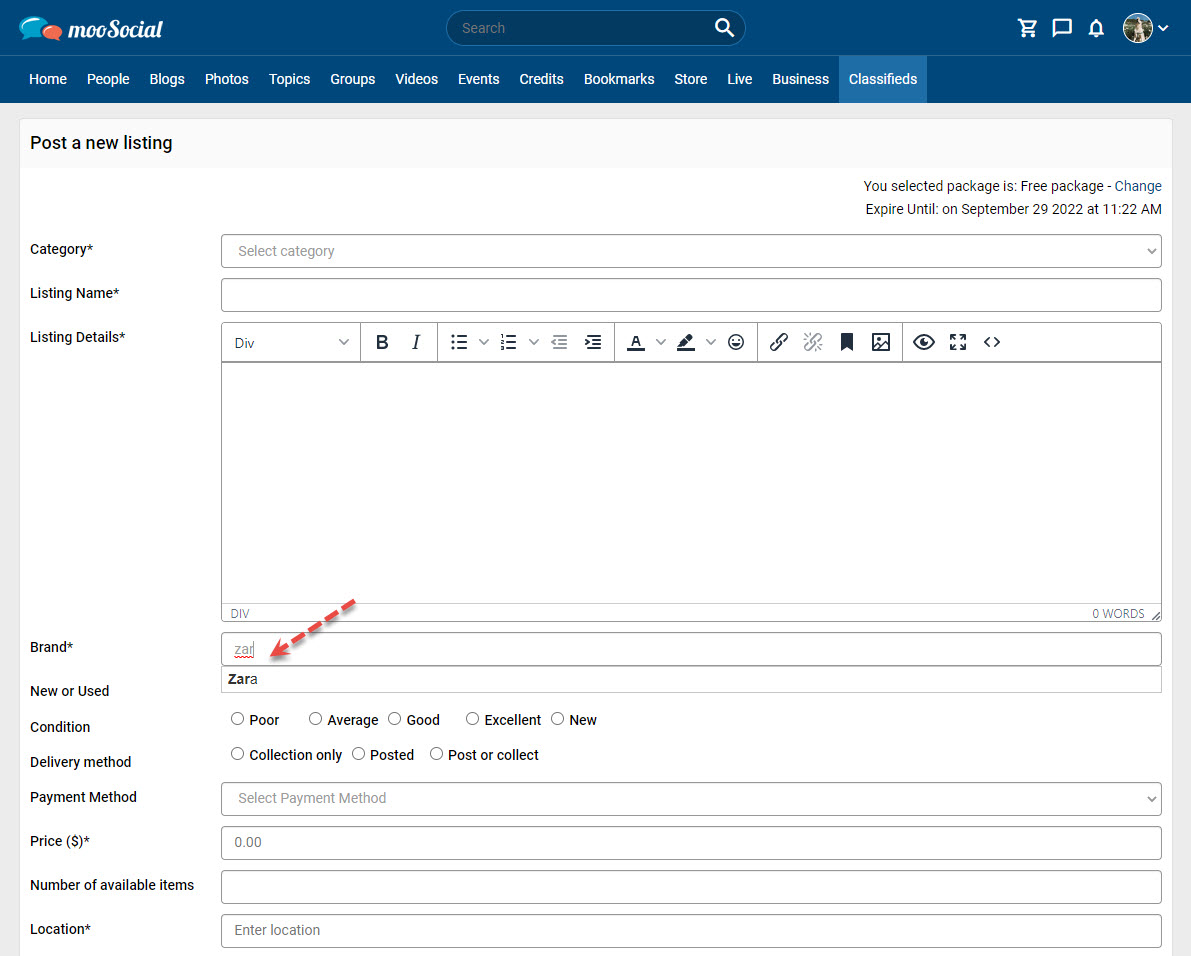
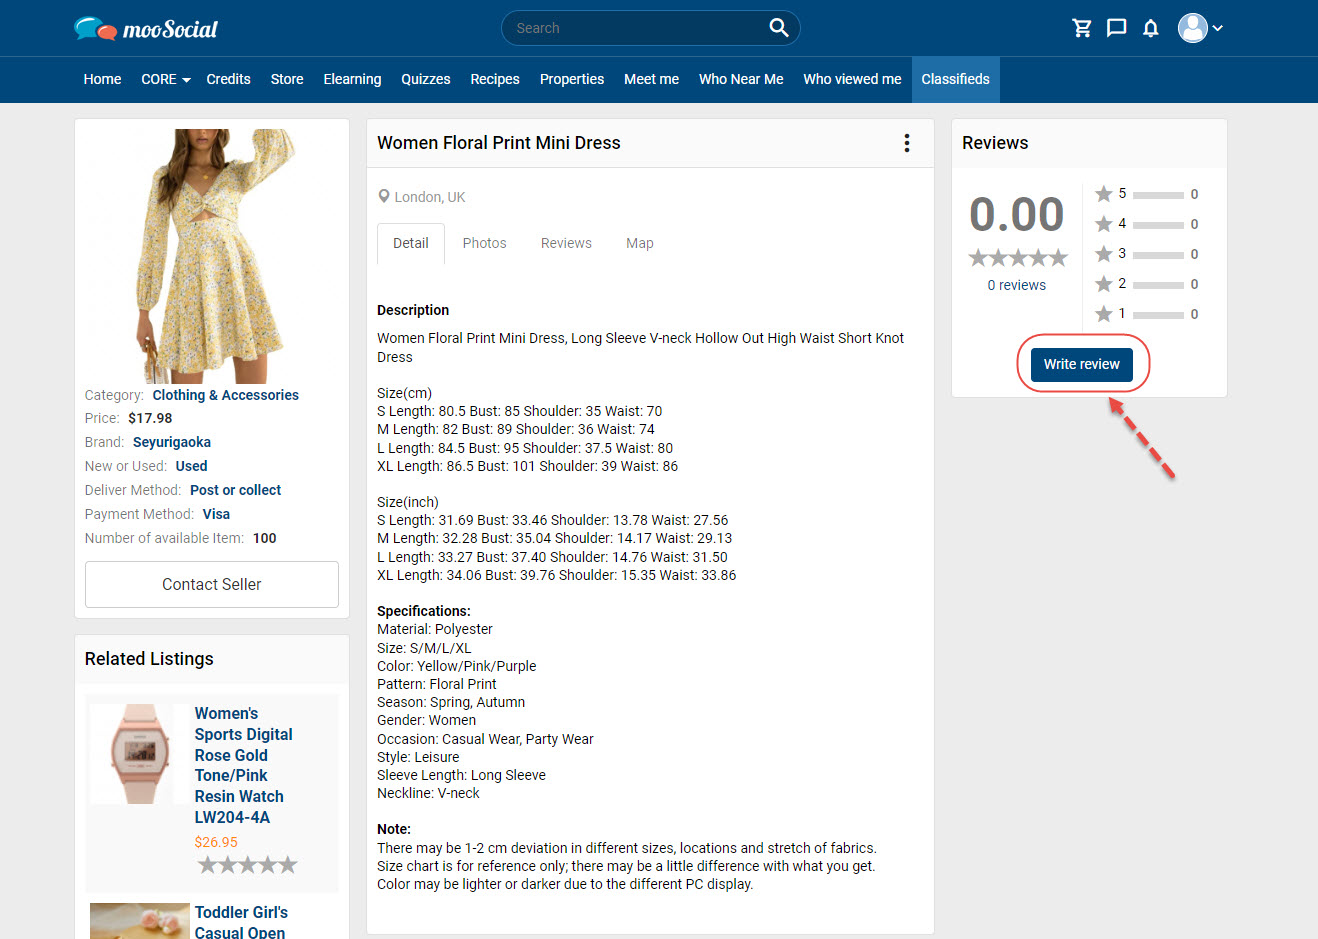
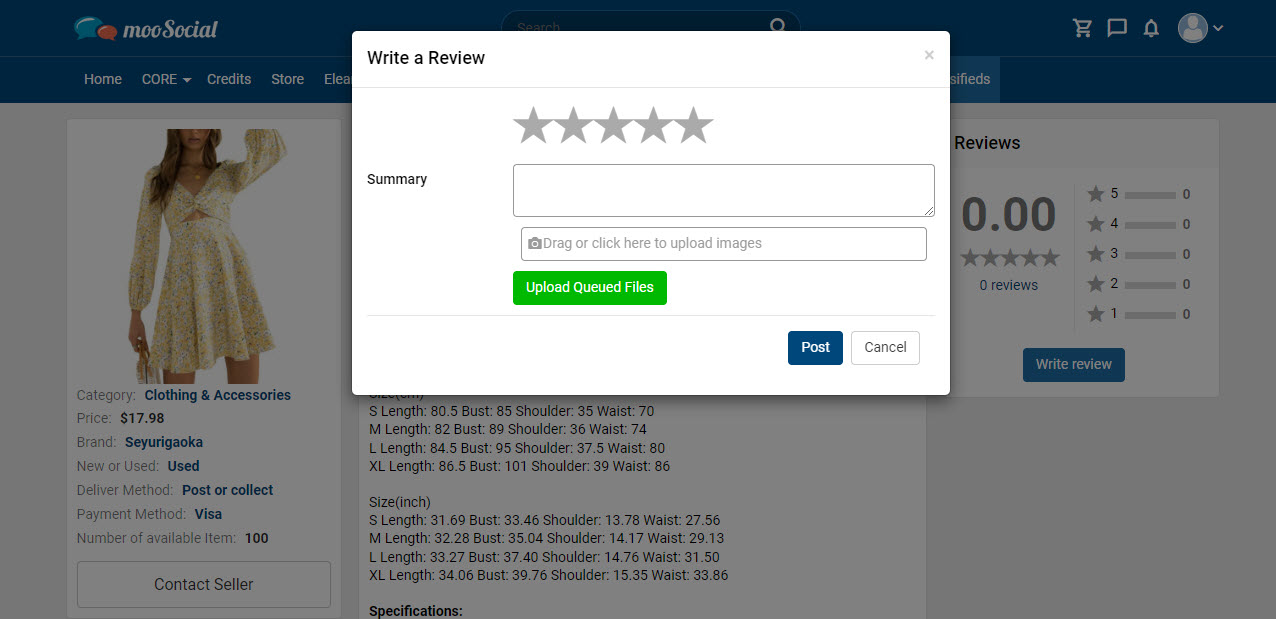
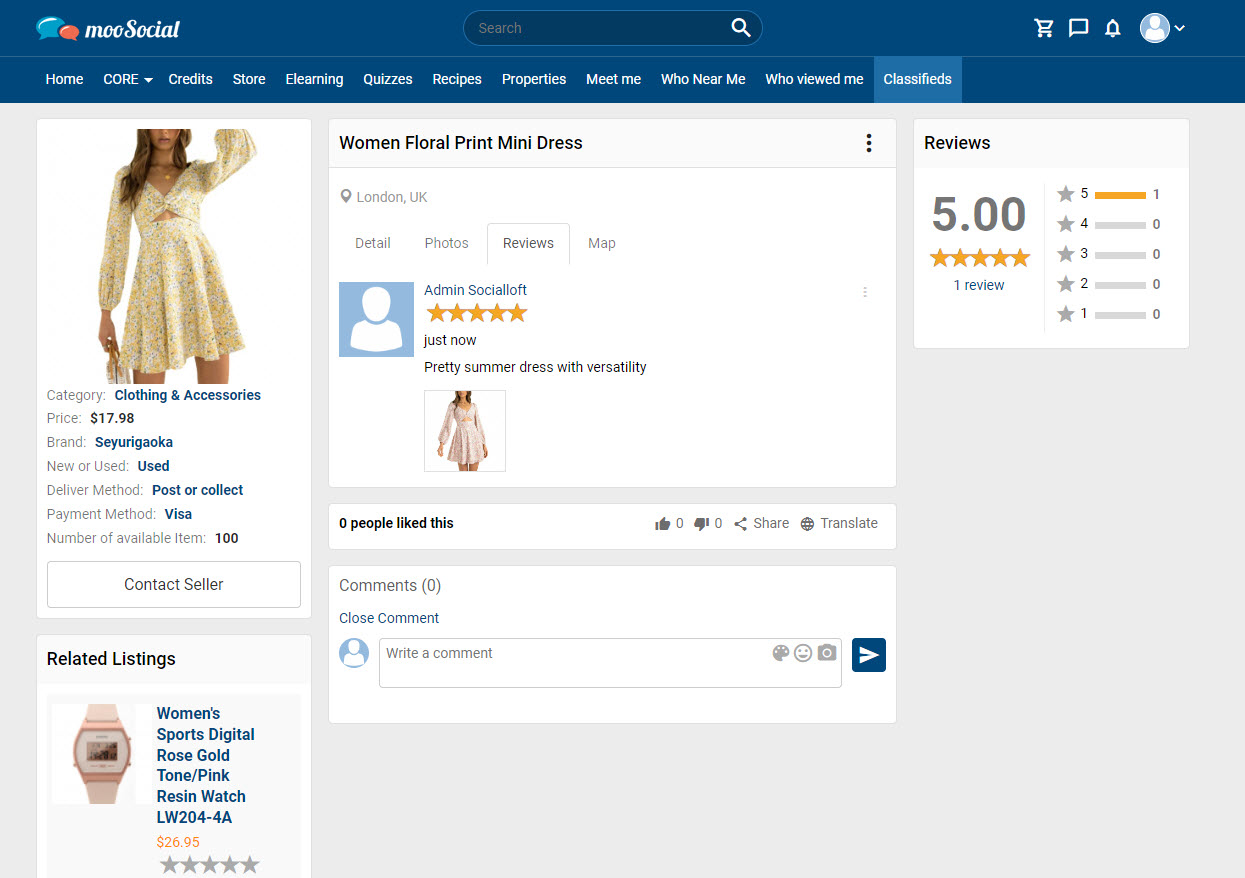
(Front-end)
The custom fields will be visible when members choose a category on the Post New Listing page.