The Stickers plugin allows the Site Admin can create a new category and add new stickers for categories. Follow this guide for more information.
1/ Add new categories:
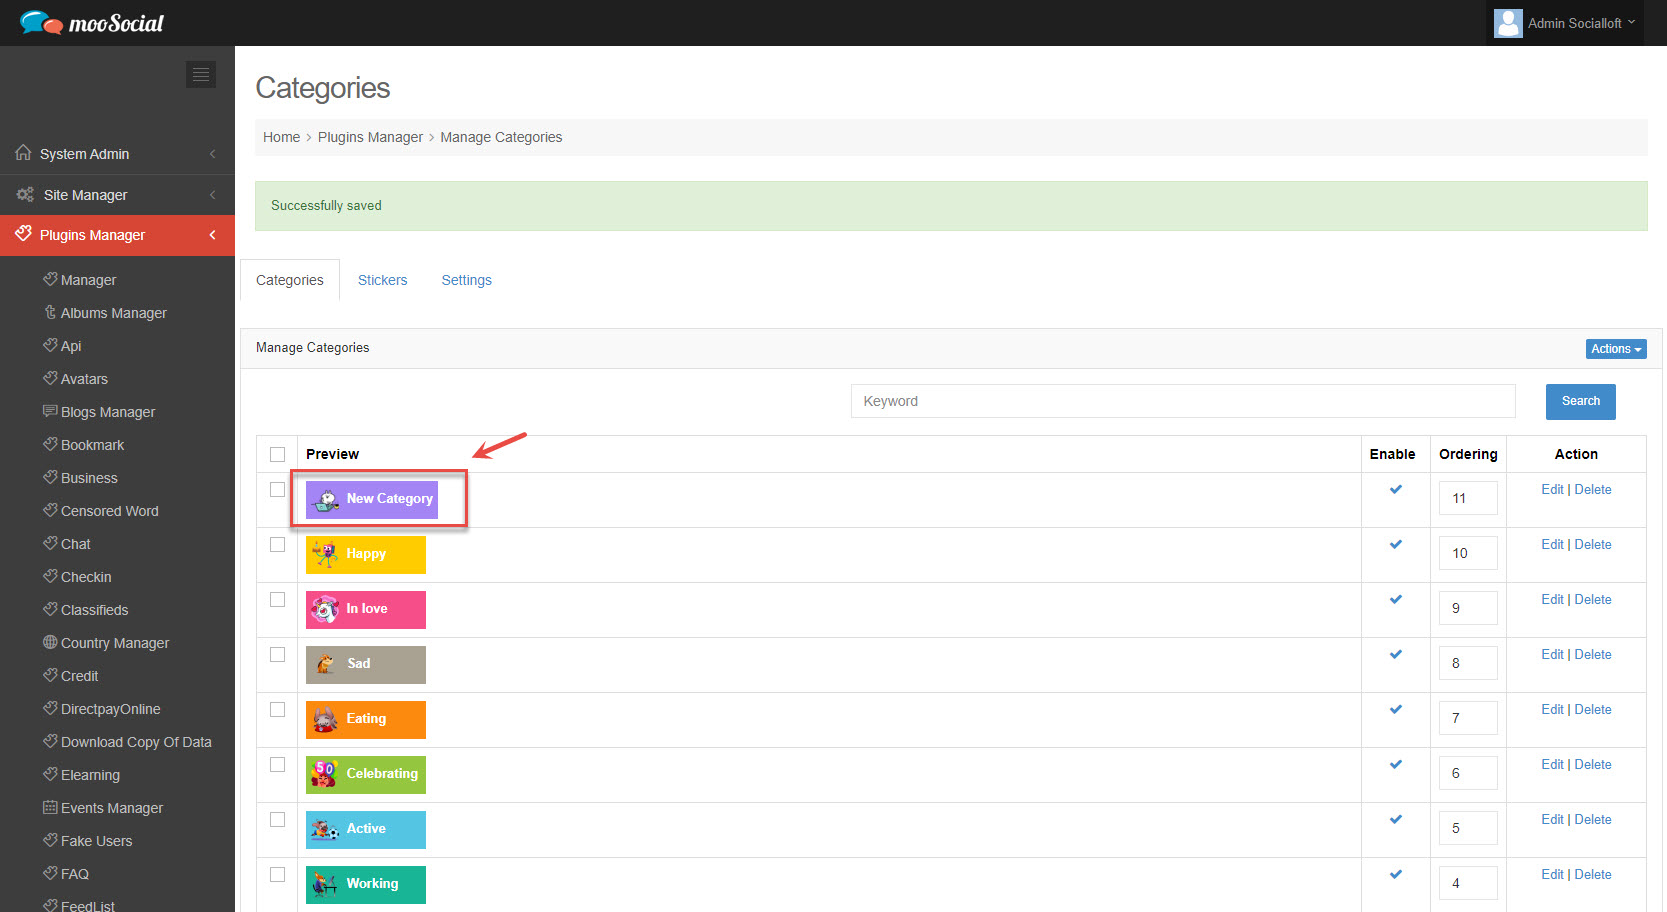
Step 1: Access to Admin Dashboard => Plugin Manager => Sticker => Categories tab
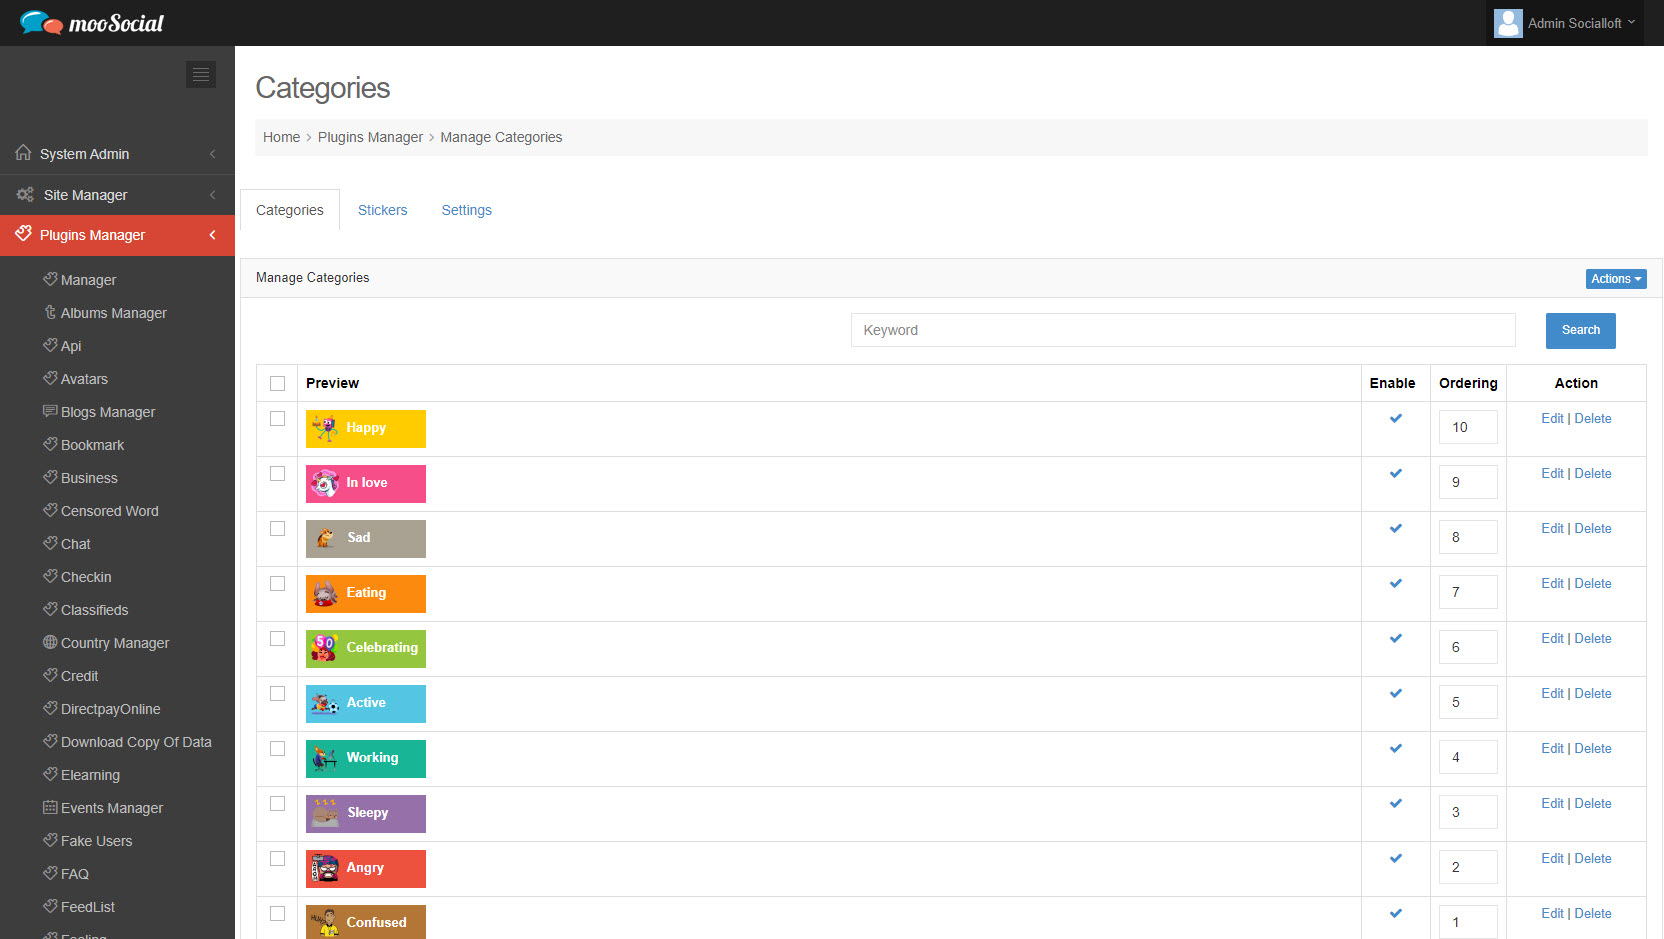
Step 2: Click the Actions button => Select Add New option on the drop-down list.
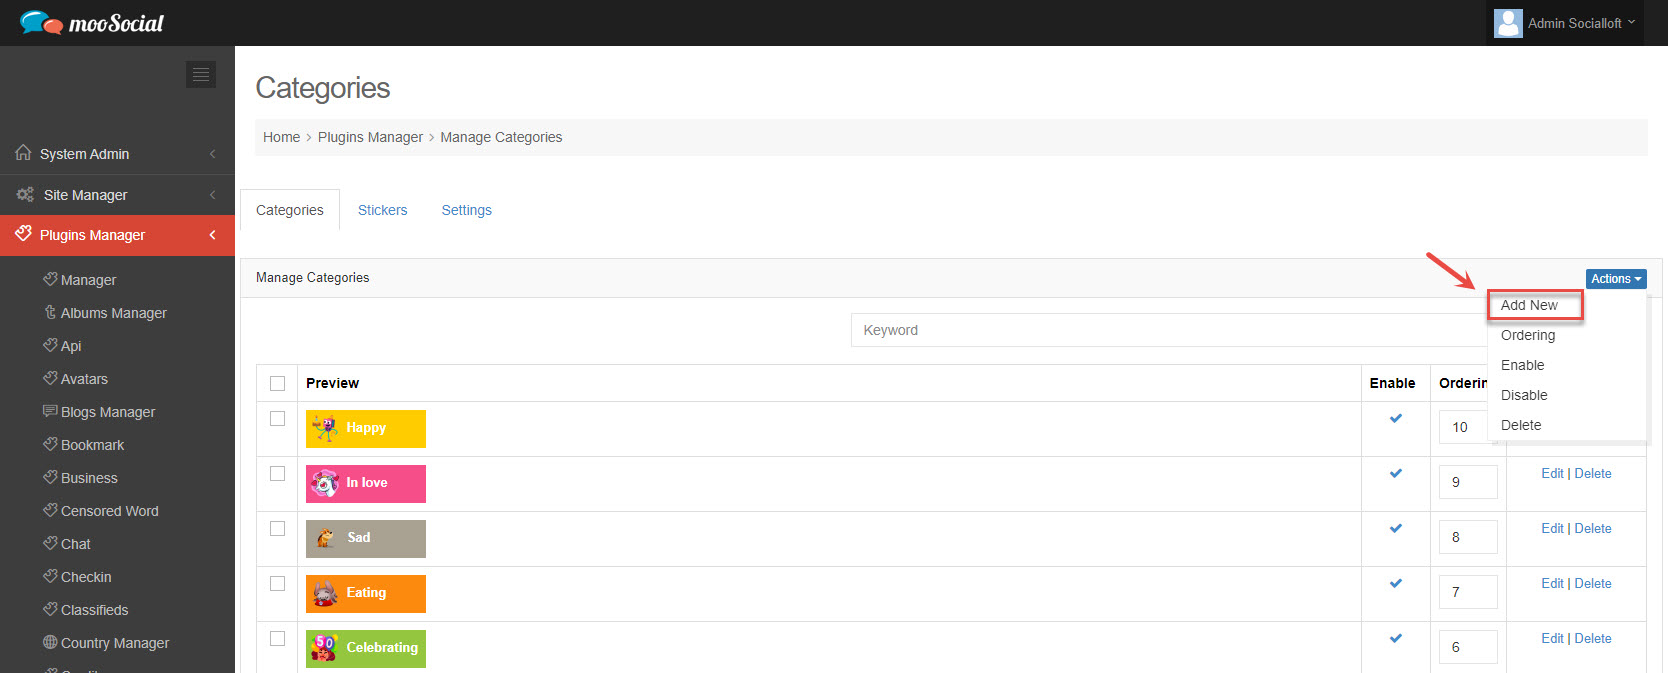
Step 3: Go to the Create New Categories page
(1) Icon: Upload icon.
(2) Background color: set the background color by entering the color hex code.
(3) Name: Enter the category name.
=> Click the Save button. The new category has been added.
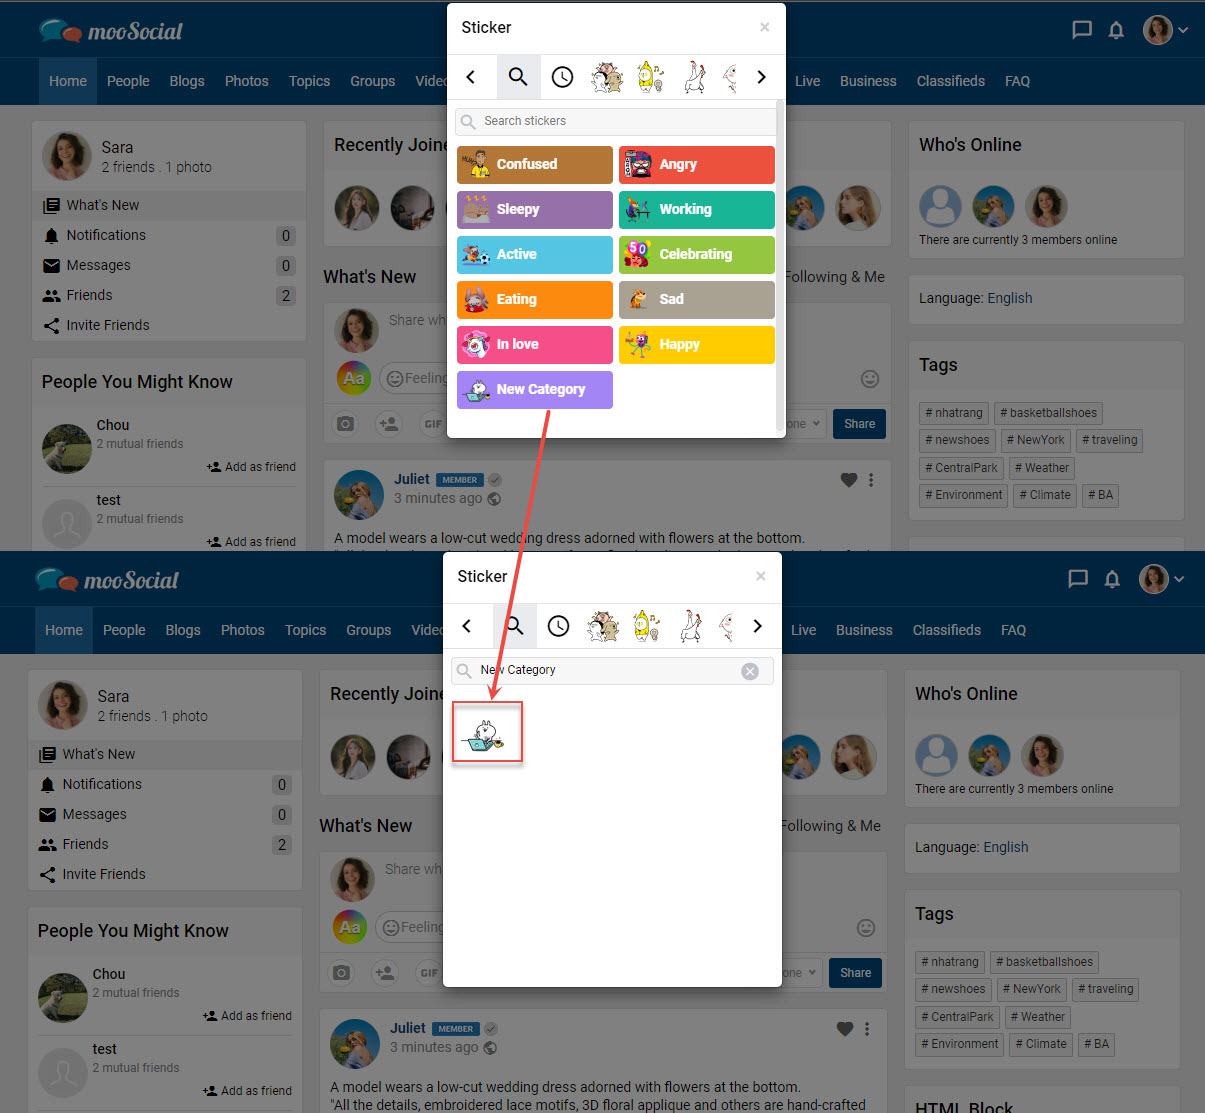
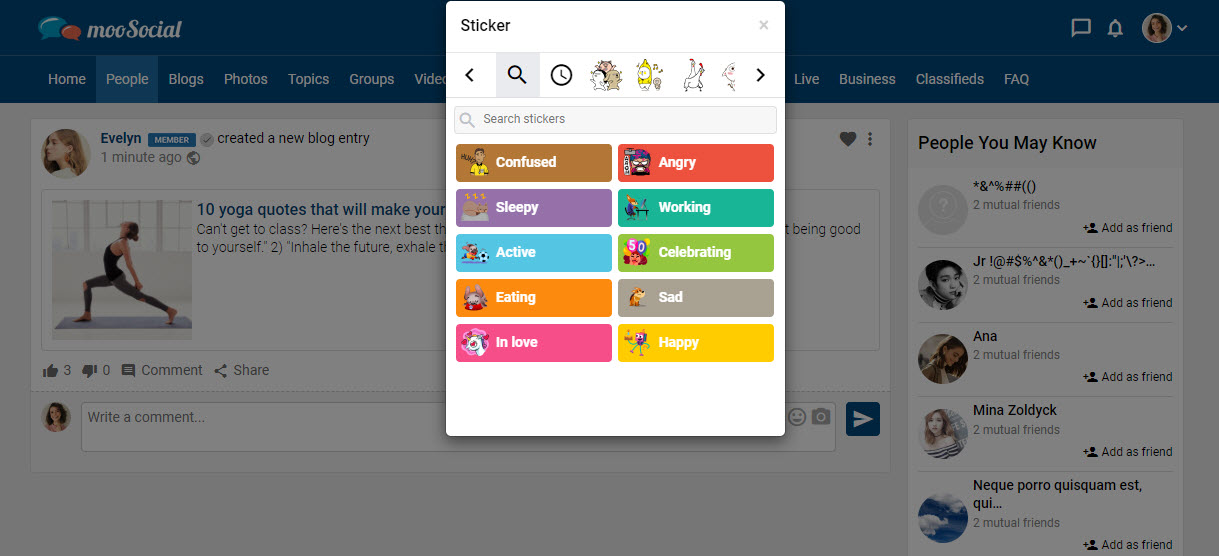
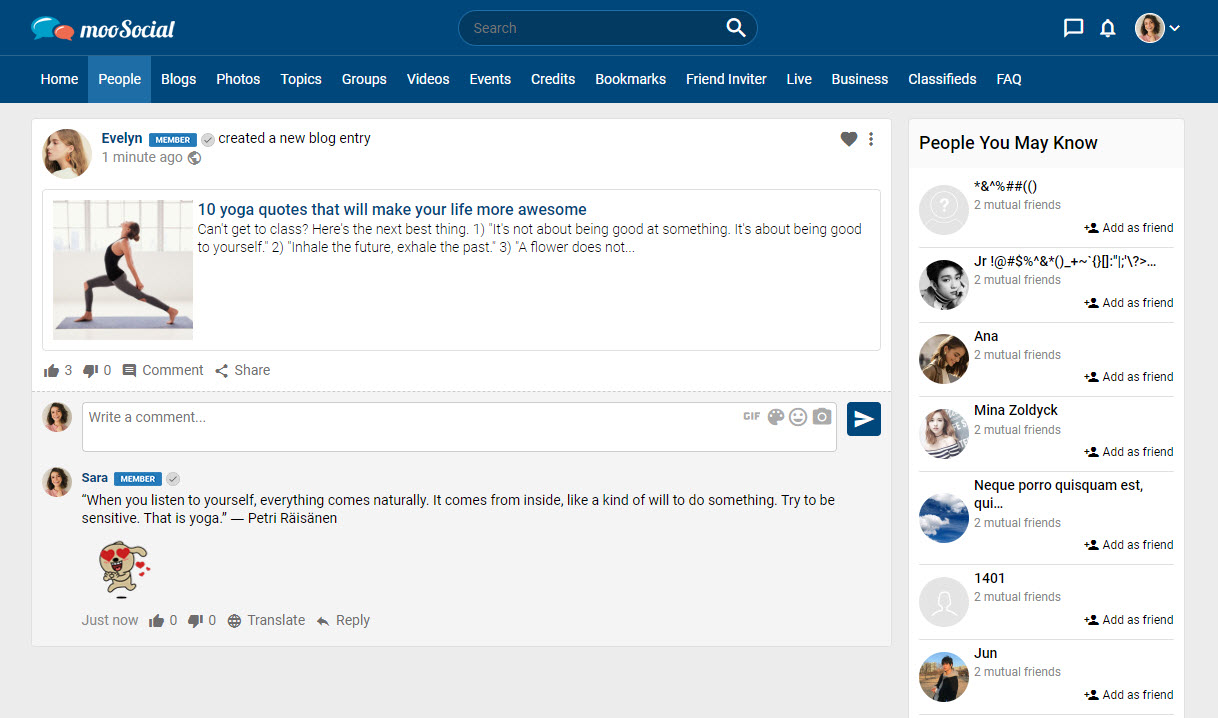
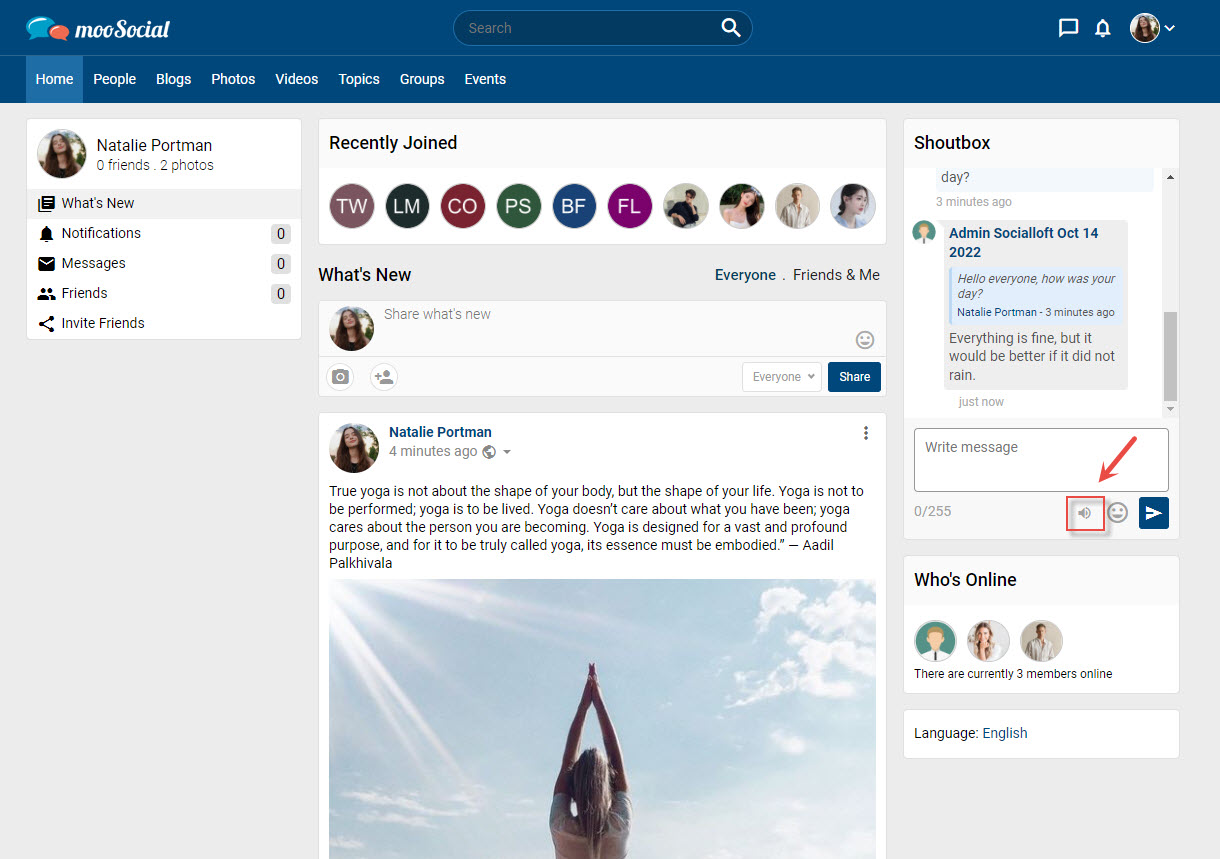
Step 4: (Front-end) The newly created category will be visible when members click on the Stickers icon in the What’s new box or the comment box.
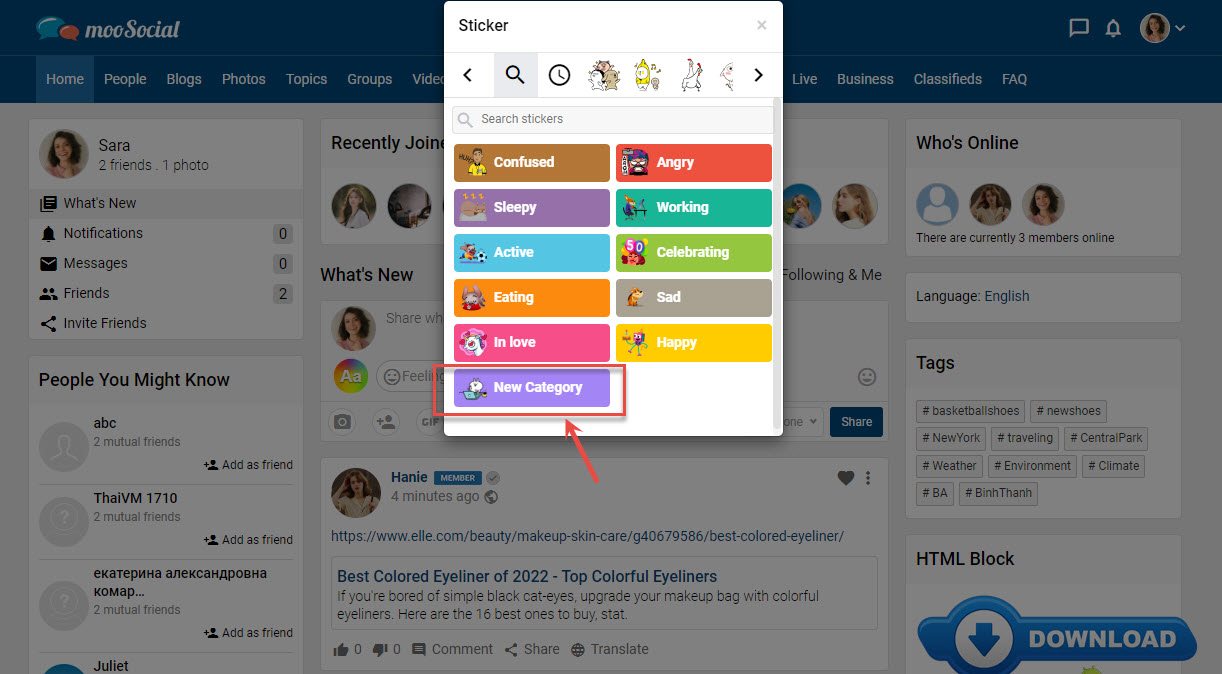
Home page – What’s new box
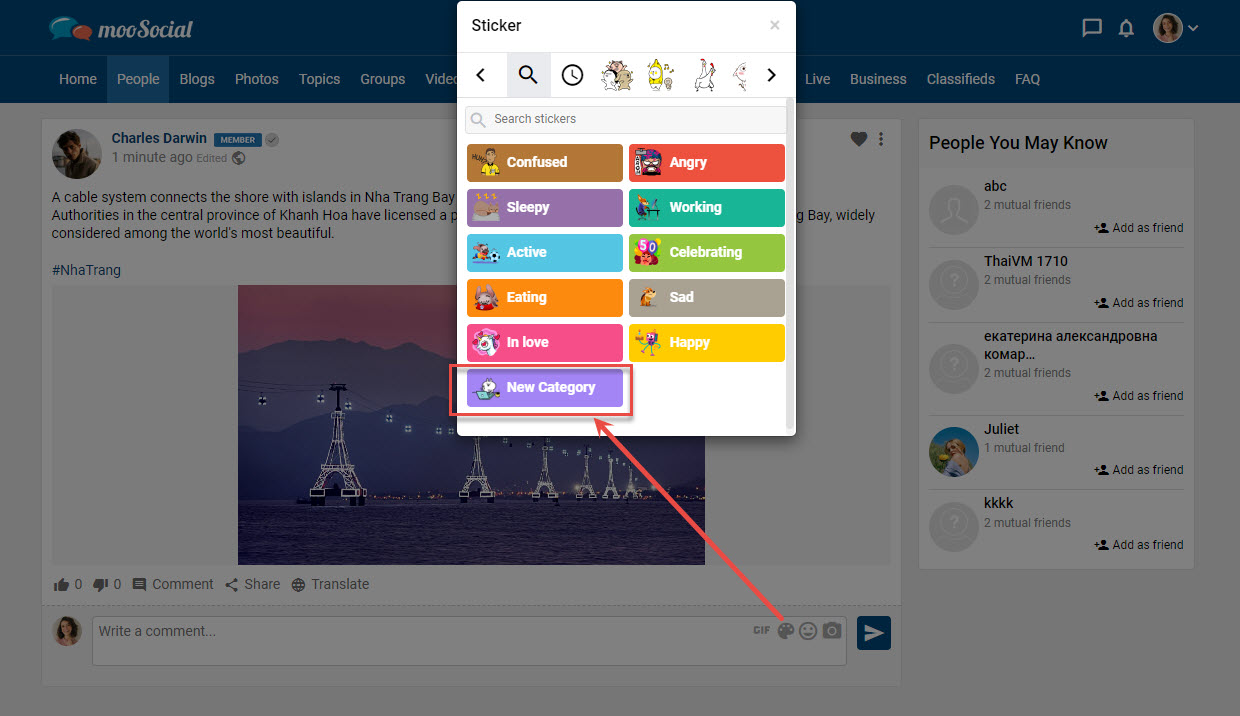
Comment box
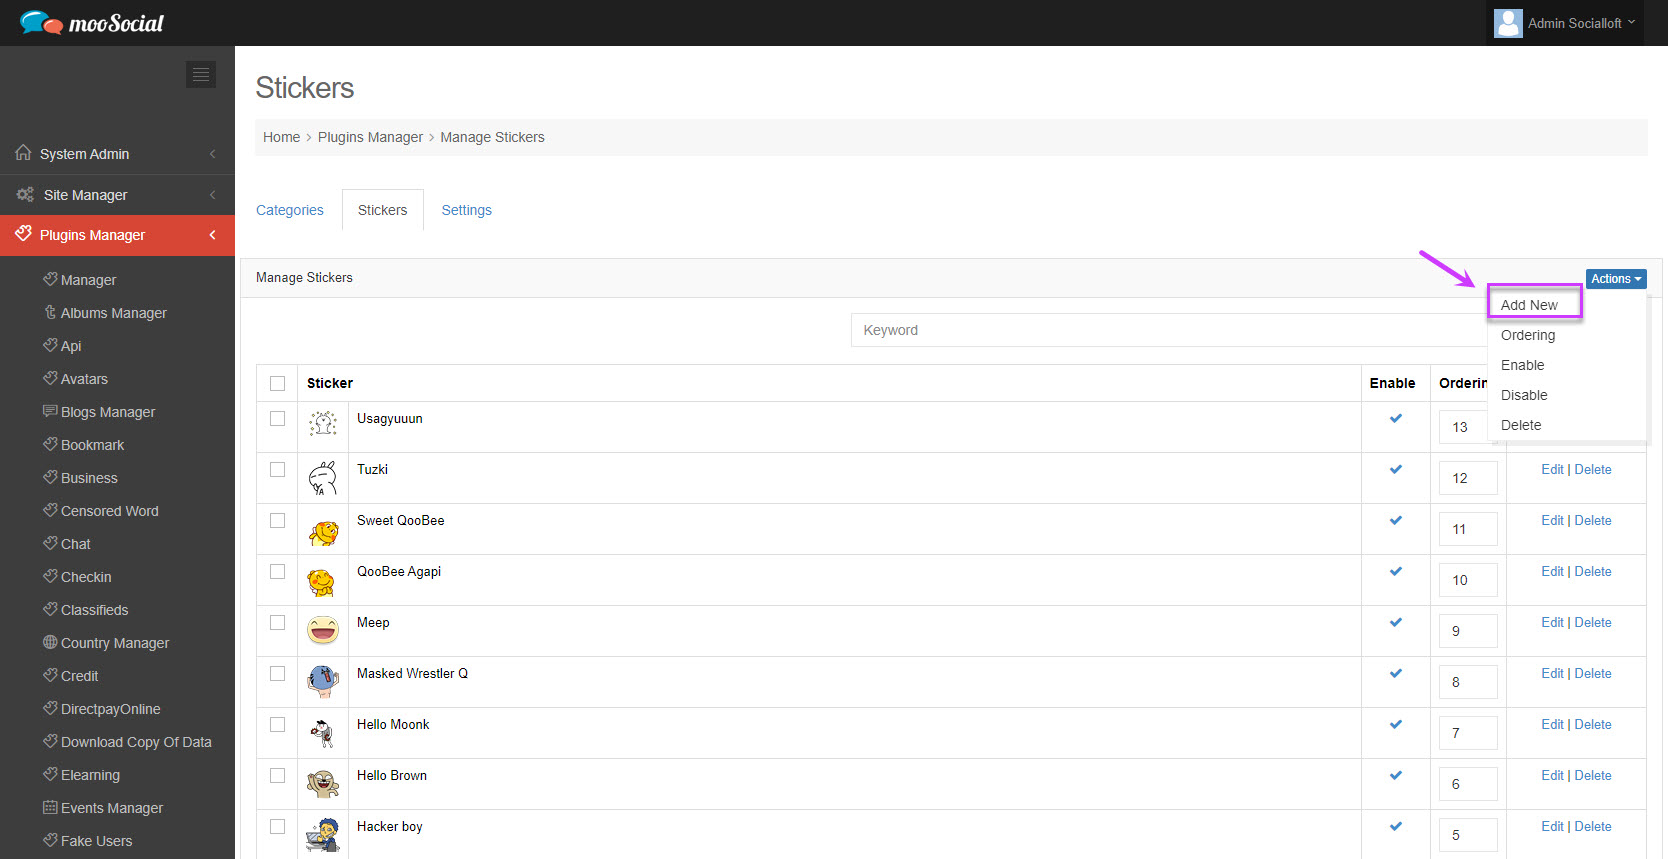
2/ Add new stickers:
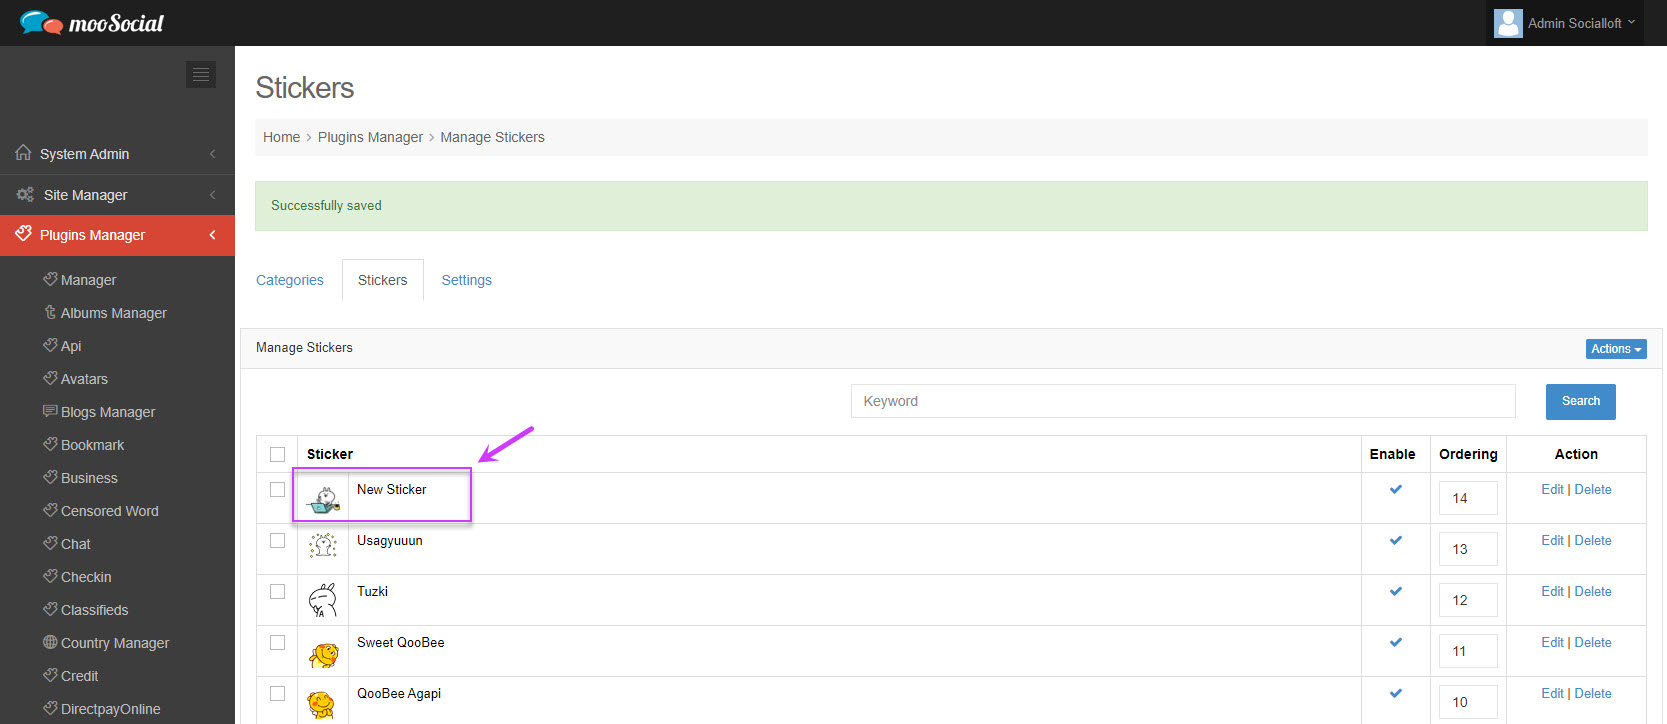
Step 1: Access to Admin Dashboard => Plugin Manager => Sticker => Stickers tab
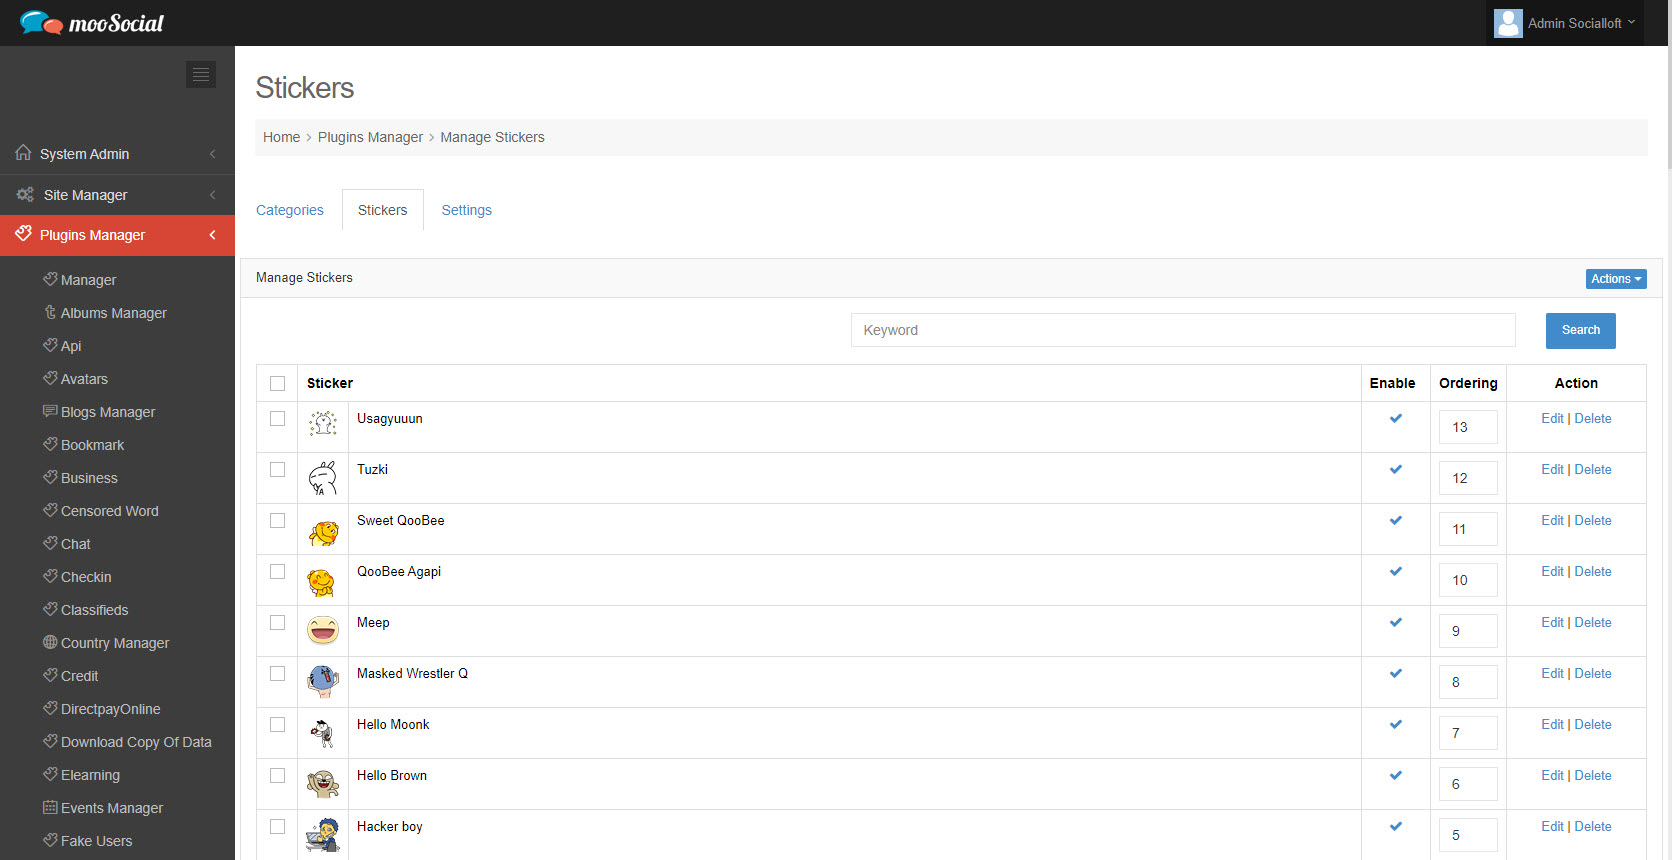
Step 2: Click the Actions button => Select Add New option on the drop-down list.
Step 3: Go to the Create New Stickers page
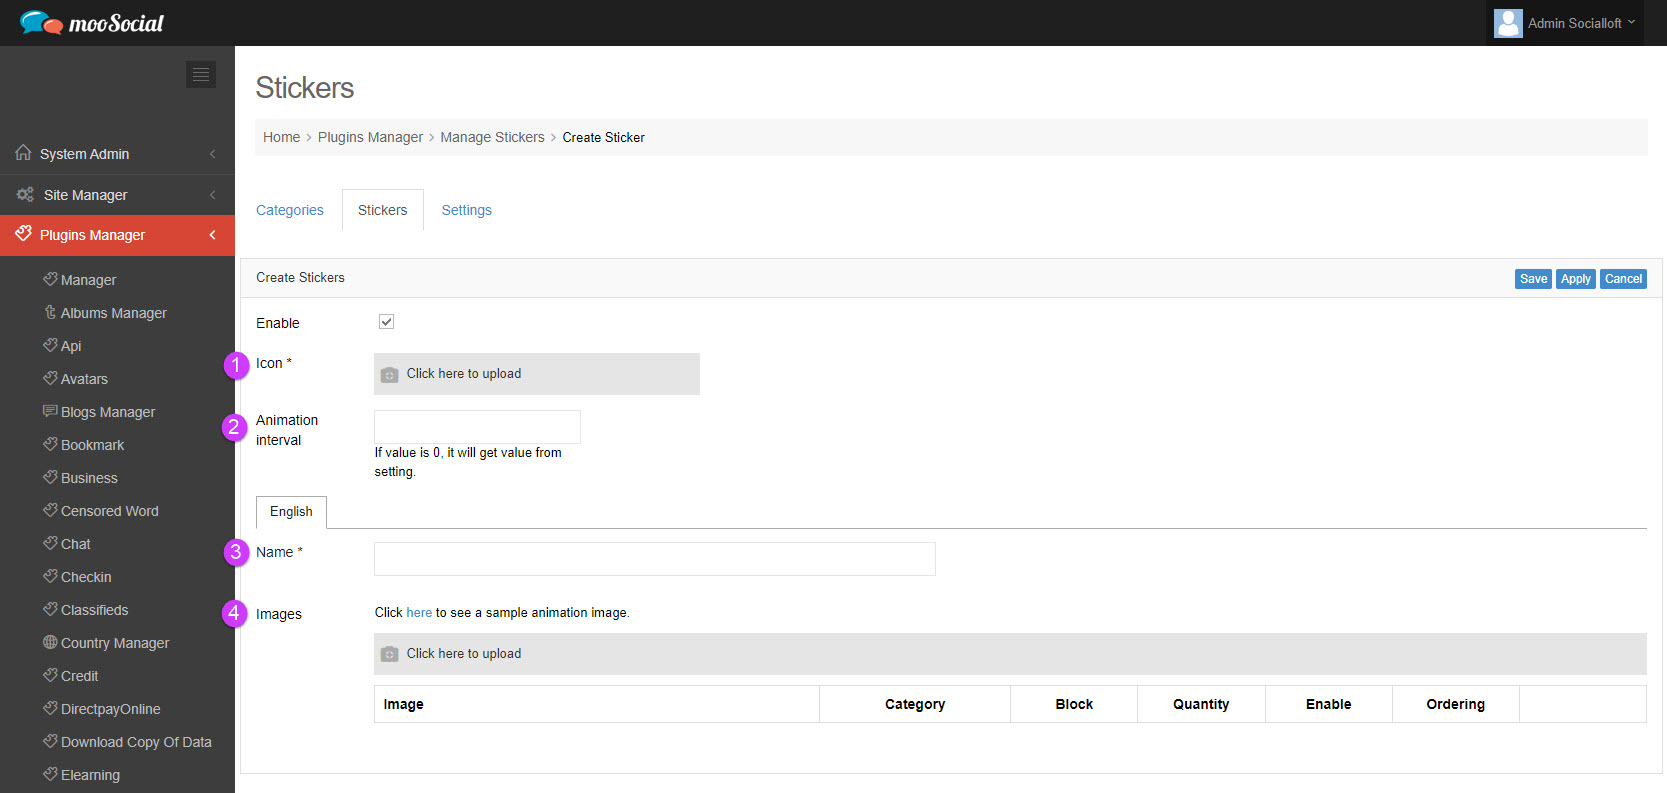
(1) Icon: Upload icon.
(2) Animation interval: set time interval for the sticker (unit: millisecond)
NOTE: If this field is left blank or 0 value, the default value from the Settings tab will be used.
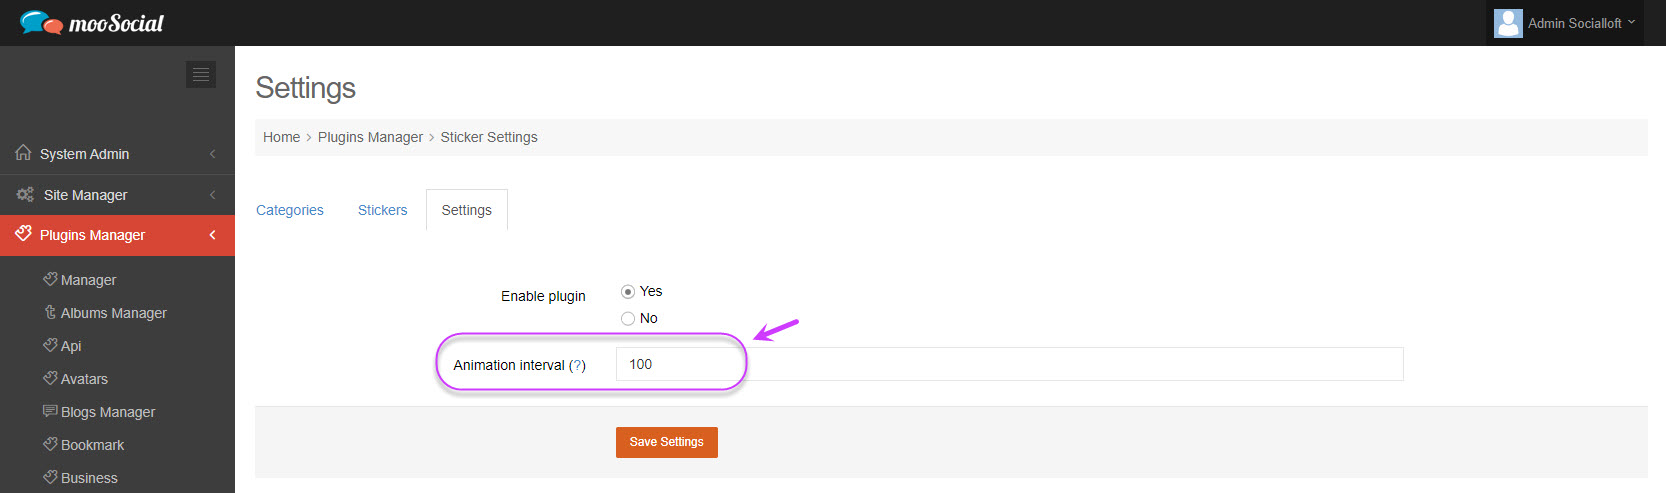
Settings tab
(3) Name: Enter the sticker name.
(4) Images: Upload sticker image.
Step 4: Select the category => Click the Save button.
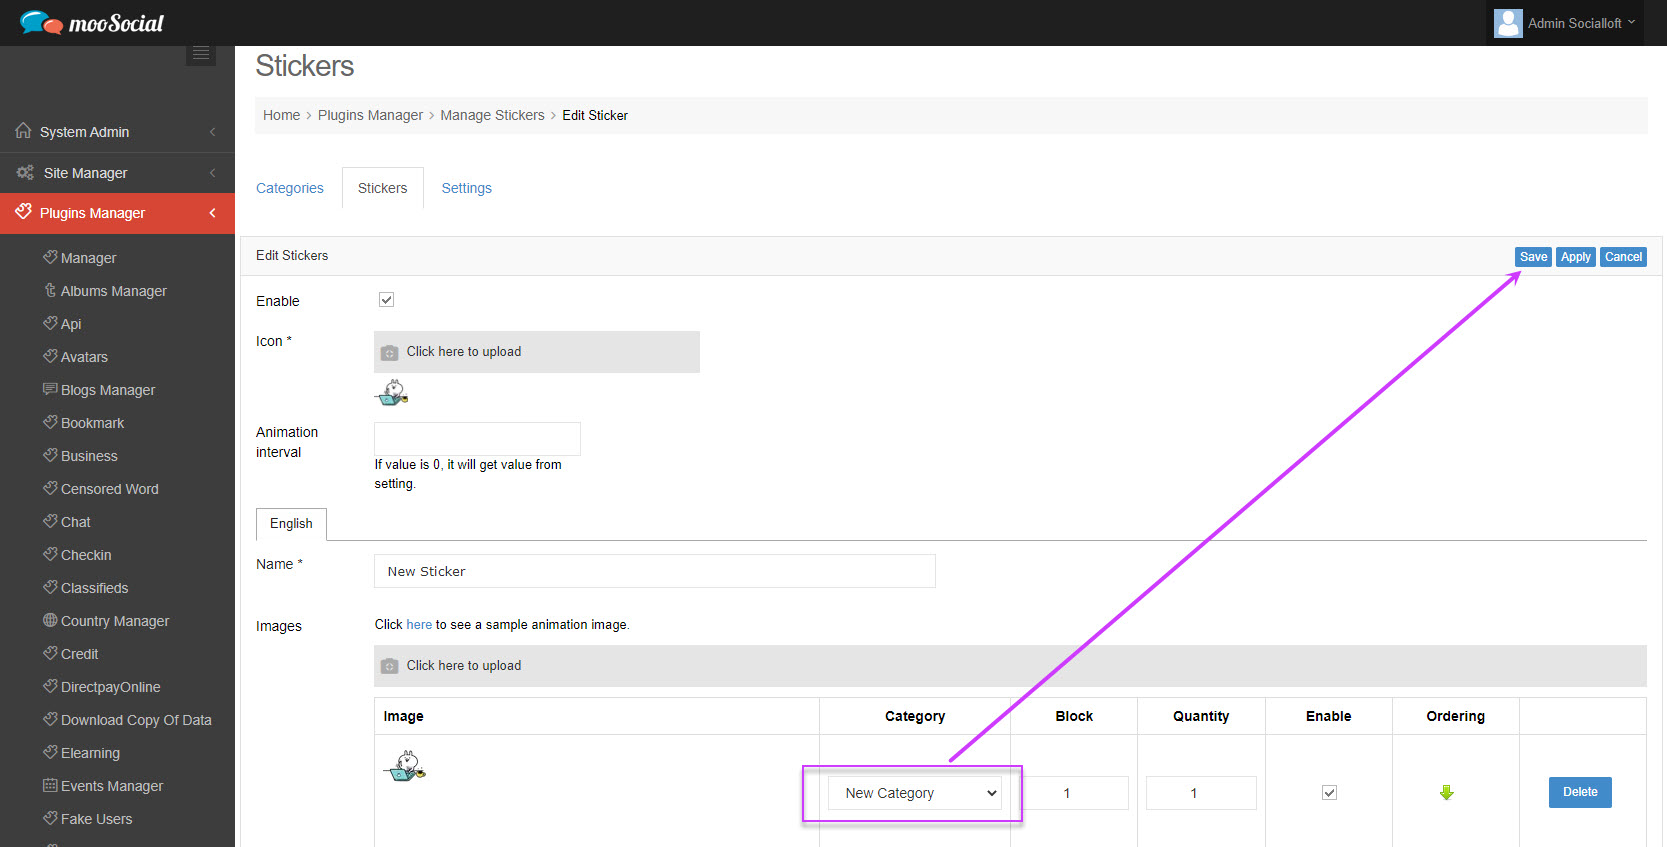
The new sticker has been added.
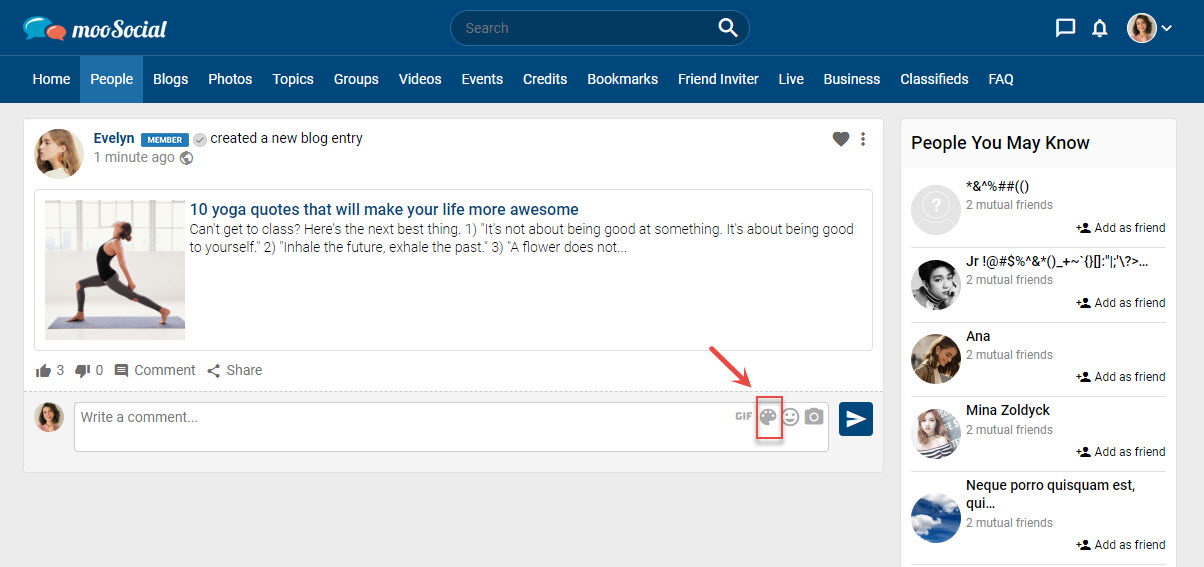
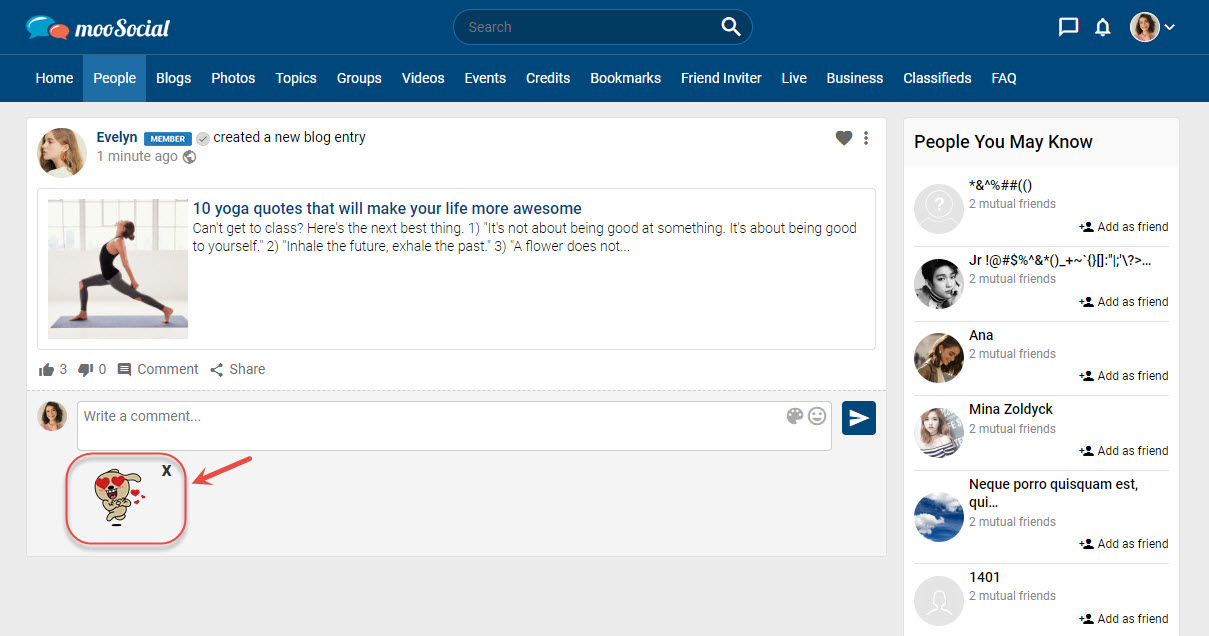
Step 5: (Front-end) Members will see the newly created sticker when they click on the Stickers icon in the What’s new box or the comment box.