Archives

How to manage Spotlight transactions?

After members pay to input their profile into Spotlight area, the transactions will be tracked in Manage Transaction tab.

Access to Admin Dashboard => Plugin Manager => Spotlight => Manage Transaction tab.

013_Spotlight


Transaction information:

1. User: show user name.

2. Type: show the payment gateway that user used to pay.

3. Status: show the transaction status.

4. Date: show the date time info that user made the payment.


By the way, can search transactions:

014_Spotlight


1. User: enter keywords to search transactions by user name

2. Type: search by the payment gateway type.

3&4. Date from and Date to: select the date to search.

5. Search button.


How to manage Spotlight settings?

A guide on what spotlight settings do and how to use them.

Access to Admin Dashboard => Plugin Manager => Spotlight => Settings tab.

012_Spotlight


1. Spotlight Enable: enable or disable plugin.

2. Price: enter the price which member have to pay to put profile into Spotlight area.

3. Period: fill the duration period (days) which profile is into Spotlight area after member makes payment successfully.

4. Paypal Email: enter paypal email which will get money if members pay to put their profile into Spotlight area.

5. Test mode: enable Test mode for the payment process.

6. How members will appear in Spotlight: choose the way members will be shown into Spotlight area after done payment.

7. Save settings button.

How to display the Spotlight widget?

To use Spotlight plugin, you have to drag Spotlight widget to a page. This tutorial will guide to you how to do it.

Step 1. Access to Admin Dashboard >> Site Manager >>  Themes Manager >> Layout Editor

And then selecting a page that you want to display Spotlight. Here, we will guide to you to show widget at Home page

018_Spotlight


Step 2. Click the Filter By and select Spotlight. >> Then, click the Submit button.

019_Spotlight


Step 3. Drag and drop the widget to Home page. >> Show the popup.

020_Spotlight


Step 4. Fill info:

  1. Title: enter Spotlight widget title.
  2. Enable title: enable or disable the widget title.
  3. User Group Access: select the user roles which its members can see the widget on Home page.

021_Spotlight


Step 5. Click the Save changes button. >> Spotlight widget will be shown at Home page of your site.

017_Spotlight

How to add users to Spotlight and remove them from there?

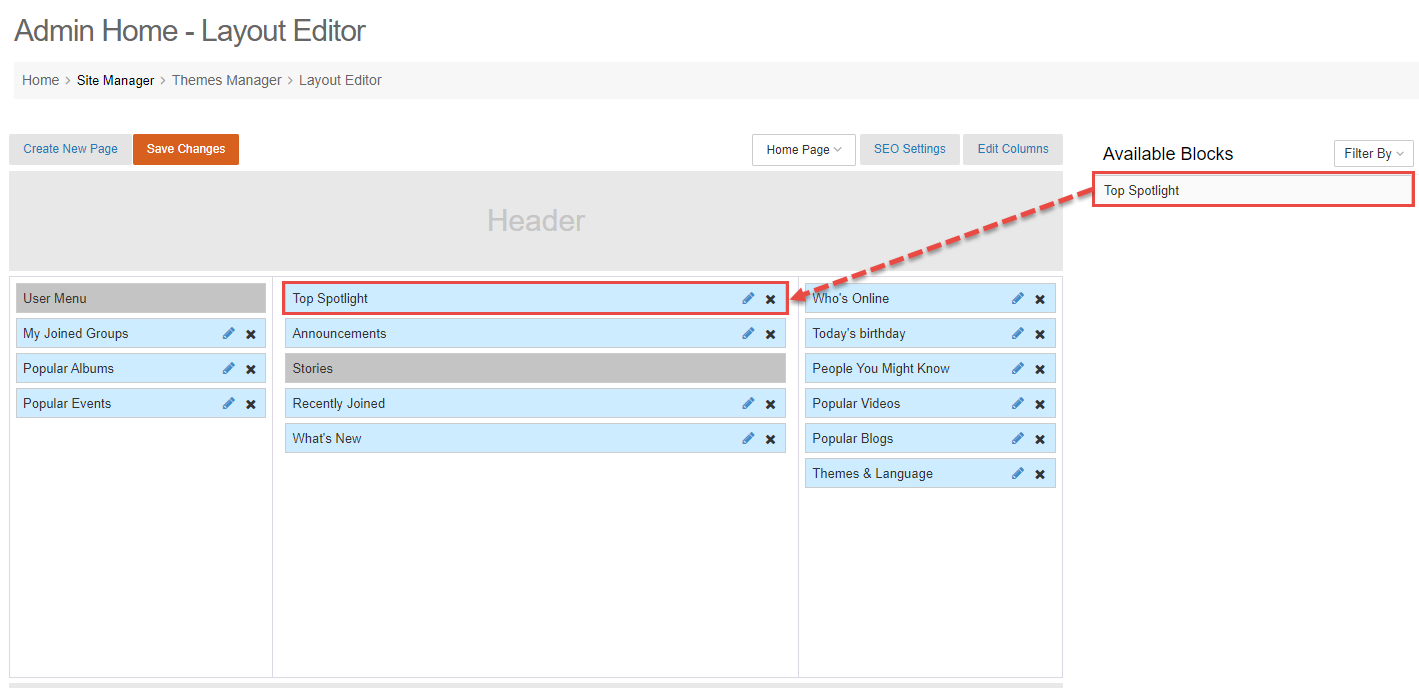
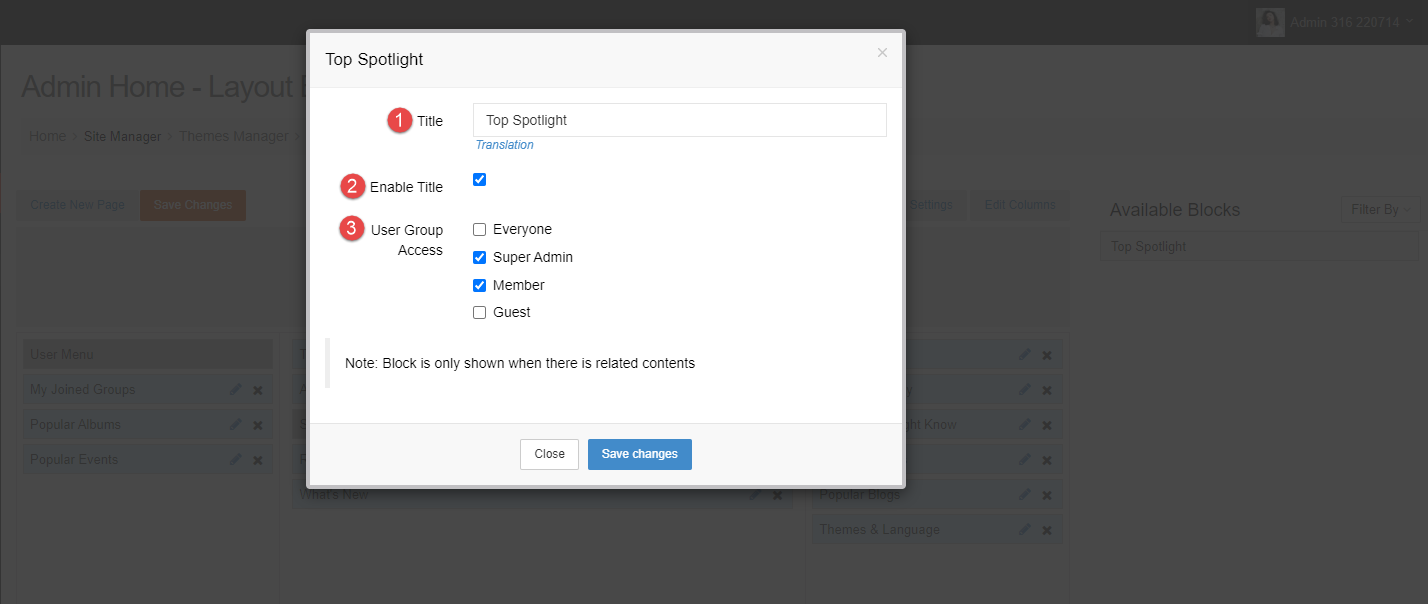
Profile Spotlight is a tool that helps you can boost your popularity by putting your profile photo with profile link at the top of the page so everyone in the community can see it instantly. This tutorial will show to you how to add users to Spotlight and remove them from there.

A. ADD USERS TO SPOTLIGHT WIDGET: Have some ways to do

1. Members can add themself to Spotlight

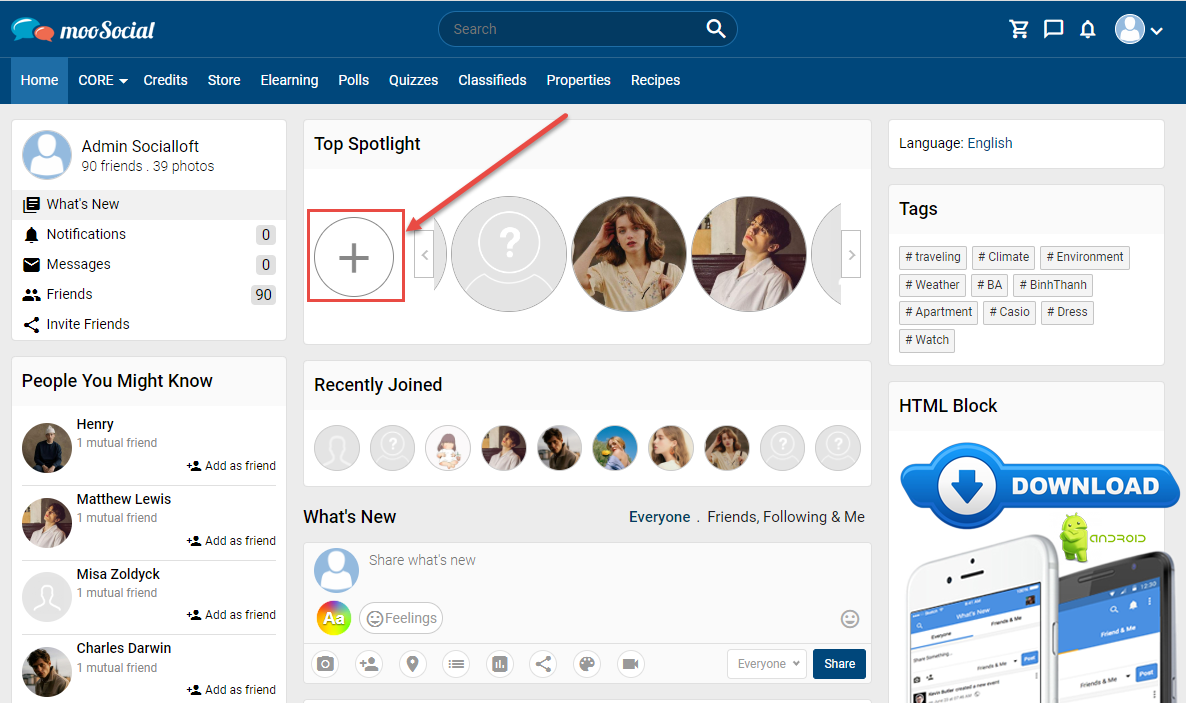
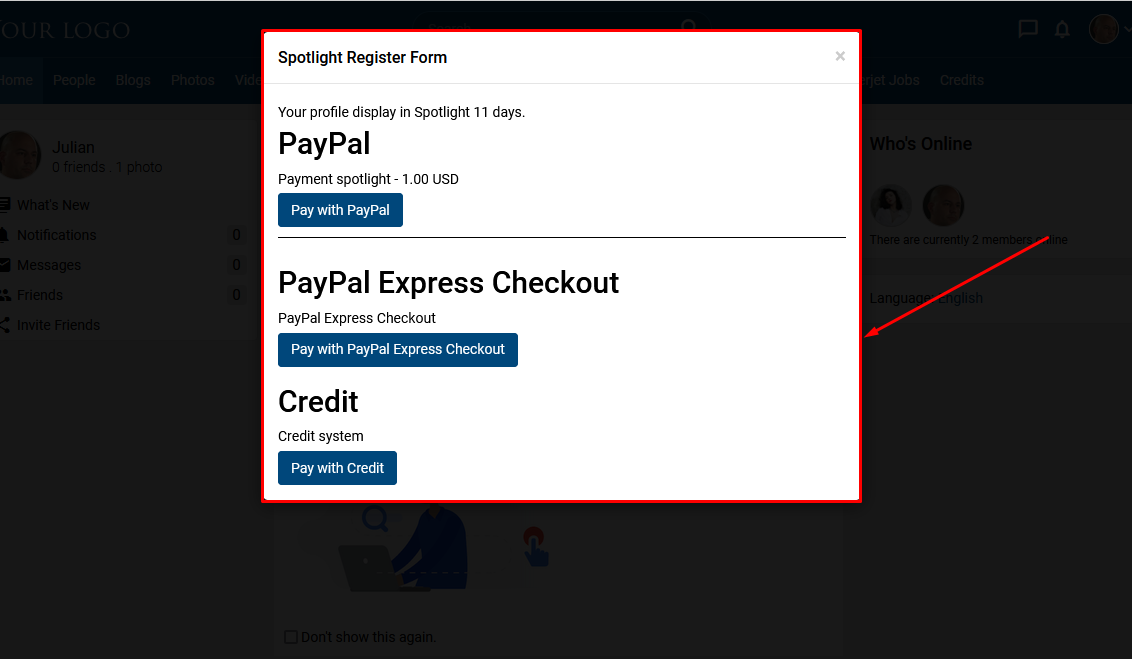
Click the Add icon on the widget >> open Spotlight Register Form.

015_Spotlight


Select the payment gateway and complete the payment process.

016_Spotlight


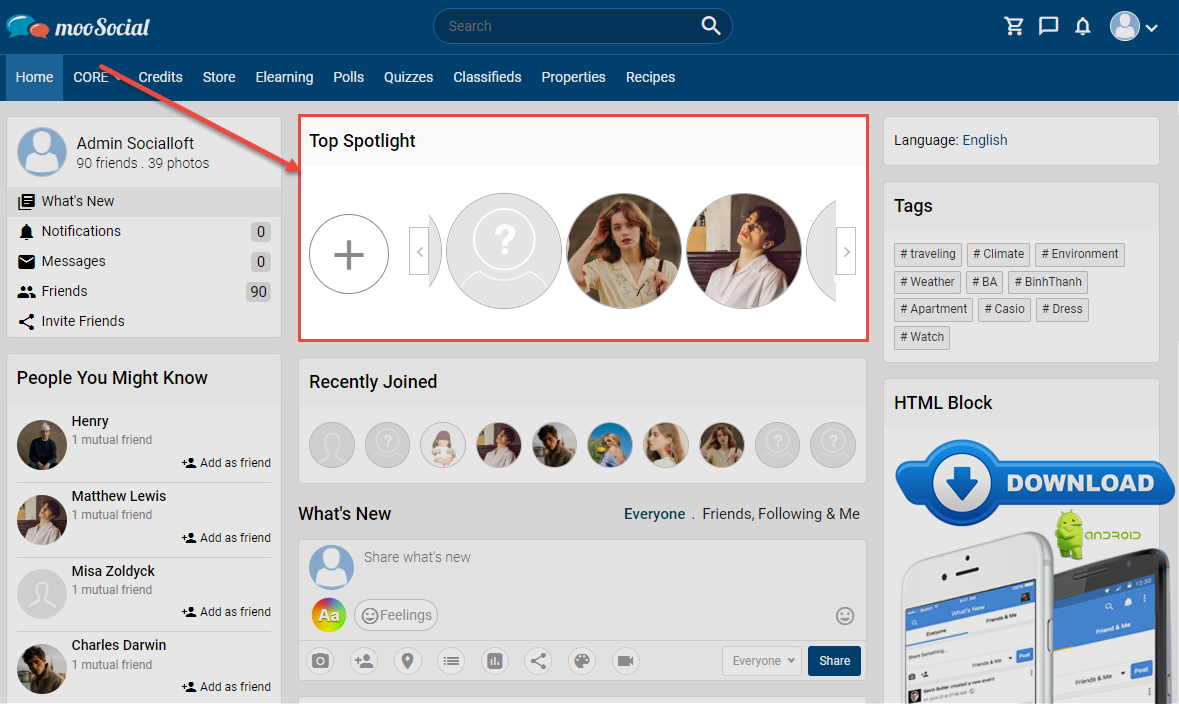
After successful payment, your avatar shall be showcase at Spotlight widget.

017_Spotlight


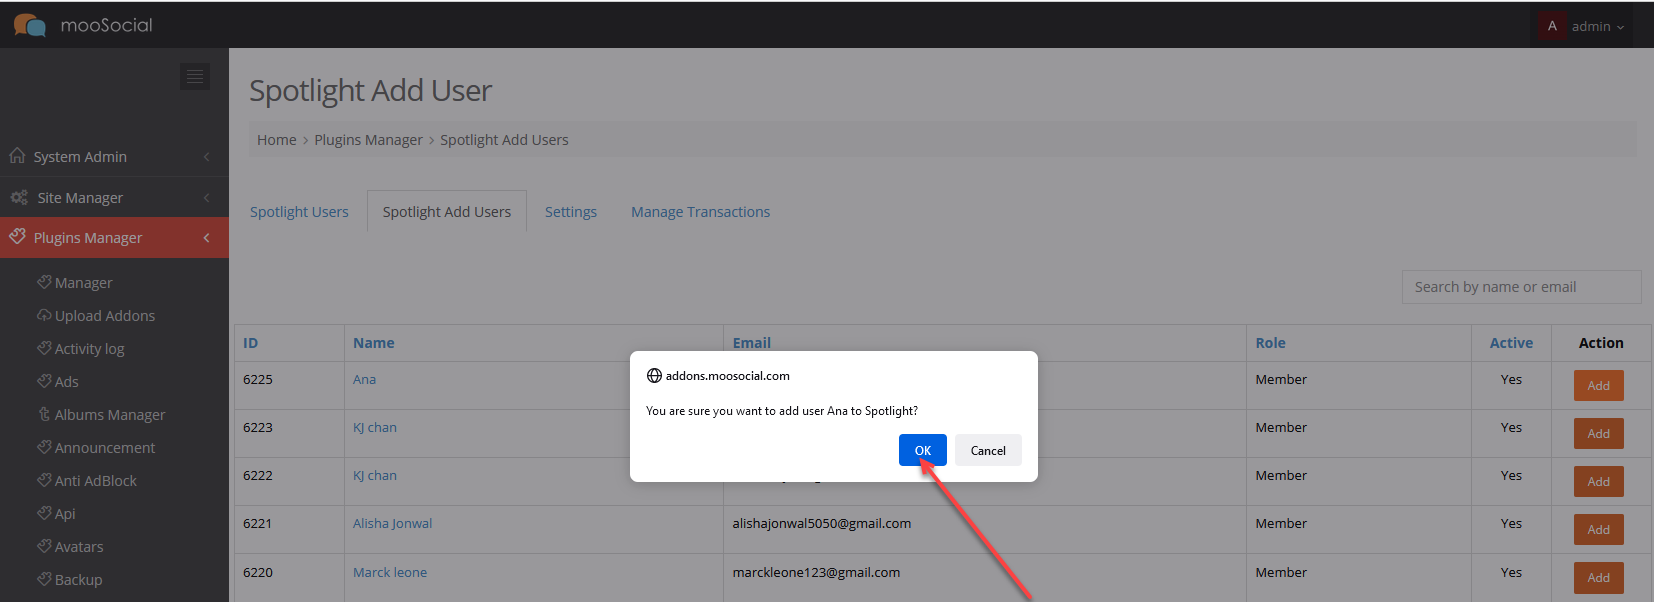
2. Admin adds users to the Spotlight widget.

Access to Admin Dashboard >> Plugin Manager >> Spotlight >> Spotlight Add Users tab.

Snag_59616fb4


Click the Add button >> show the popup.

Snag_59671af0


Click the OK to confirm >> The selected user avatar shall be showcase at Spotlight widget (on front-end).


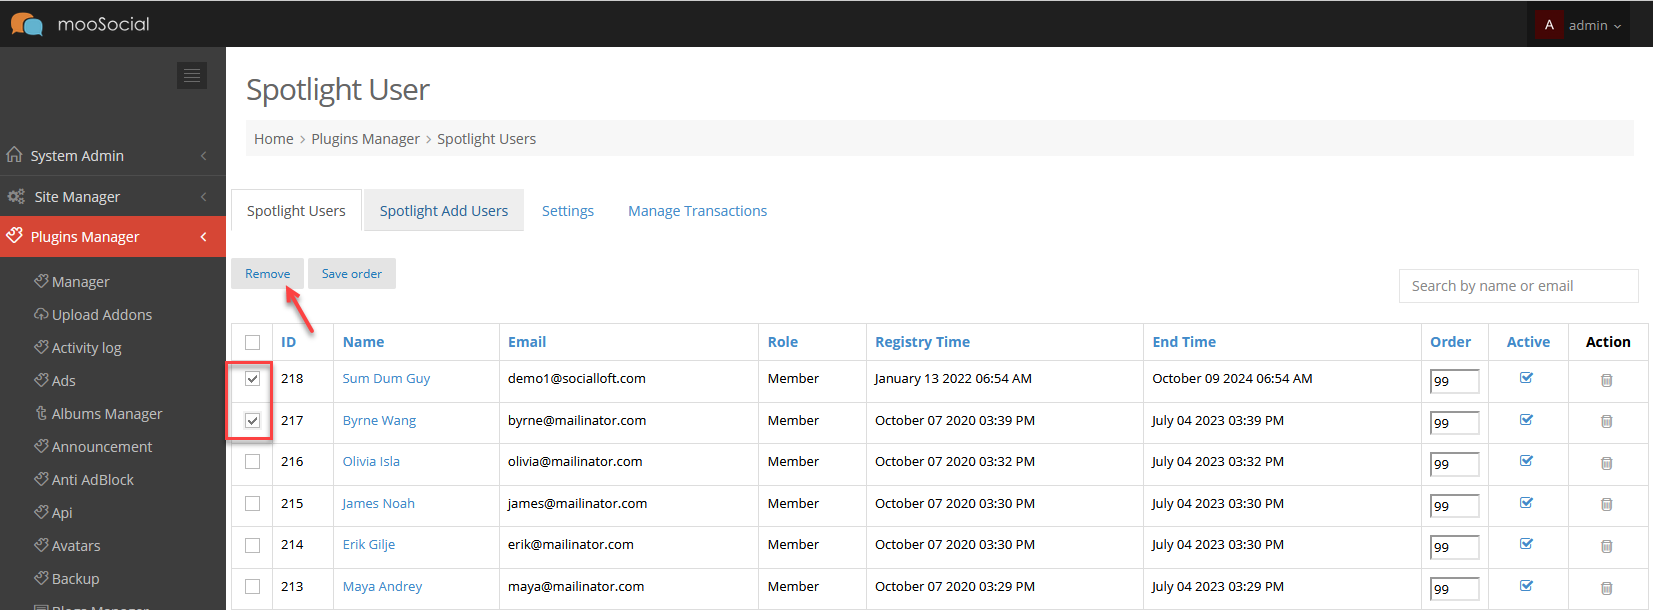
B. REMOVE USERS FROM SPOTLIGHT WIDGET:

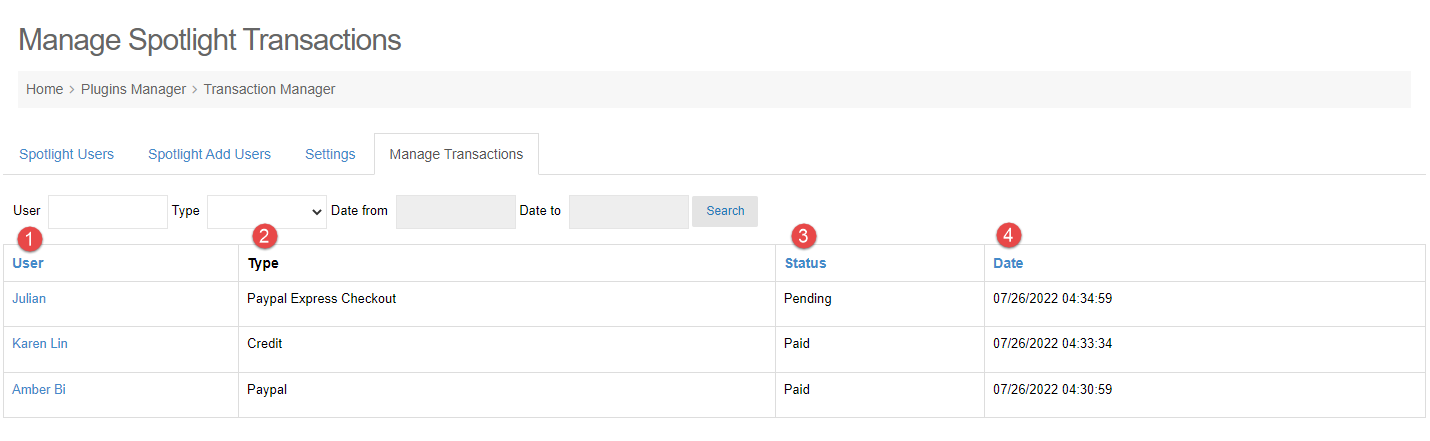
After members are added into the Spotlight area, they are managed in Spotlight Users tab.

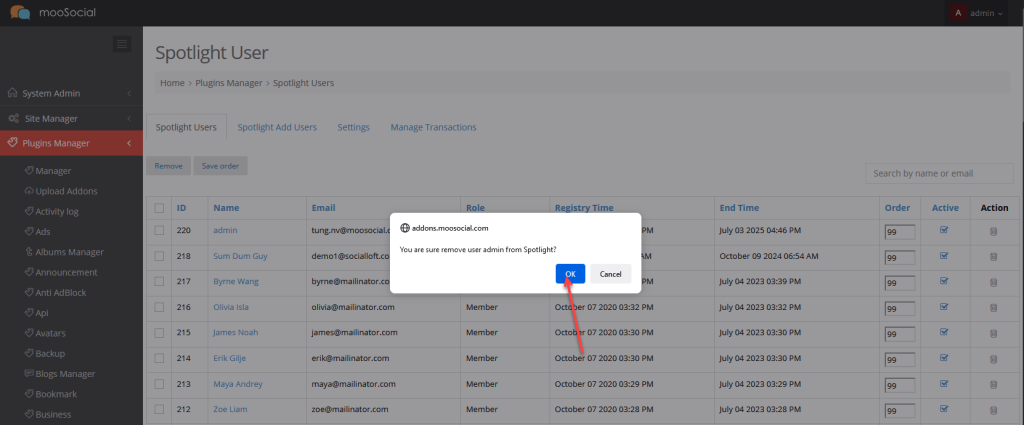
Access to Admin Dashboard >> Plugin Manager >> Spotlight >> Spotlight Users tab.

1. Click the Delete icon >> Show the popup.

Snag_59766a30


Click the OK button.

Snag_59775144


This user will be removed from Spotlight widget (at front-end).


2. Select many users and then clicking the Remove button >> Show the popup.

Snag_59791ea1


Click the OK button.

Snag_597965dc


This selected users will be removed from Spotlight widget (at front-end).