There are three methods for translate mooSocial
– Direct translate
– Download language package and translate
– Use plugin (you have to pay a cost)
I. Direct translate
It is very easy to translate mooSocial to your language. The default language file can be located at app/Locale/eng/LC_MESSAGES/default.po. If you want to translate mooSocial to a language that is not already in the Locale folder, you can copy the default language folder to a new folder (e.g. fra) and start translating the new language file using your favorite text editor (use UTF-8 to avoid problems). The language folder name must conform to the ISO 639-2 standard.
The msgid must be the english language string. This means it must not be changed. The one that contains the translation is msgstr.
To install the new language after uploading the language folder to Locale folder, go to Admin Panel → Site Manager → Languages Manager → Not Installed Languages then click Install. It is necessary to clear Global Cache when using a new Language by going to Admin Dashboard → Clear Global Cache.
Note: use Poedit from http://www.poedit.net/ to easily edit the .po files, you can use poedit to translate mooSocial here https://moosocial.com/knowledge-base/how-to-use-poedit/
II. Download language package and translate
You can download language packages for mooSocial for free at https://moosocial.oneskyapp.com/collaboration/ then follow the below instructions to install them into your mooSocial site.
The language packages will send by email to you.
Extract the download file, you will see the following folders: cake.po, default.po, mail.po, permission.po and setting.po.
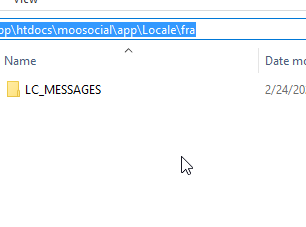
Create a new folder for your language pack. Such as For French, you should name the folder as “fra” at [yourmoofolder\app\Locale],

for other languages, please refer here to know how to name the folder https://community.moosocial.com/topics/view/1314/codes-for-the-representation-of-names-of-languages .
Create a sub folder name “LC_MESSAGES” inside “fra” folder.
Open cake.po folder, rename the file inside this folder to cake.po, open default.po and rename the find inside this folder to default.po….do the same for all above folders. After all files have been renamed, please copy all files into the “LC_MESSAGES” folder that you create above. Now, you have a language pack for French language and it’s ready for install.
Go to Admin Dashboard >>> Site Manager >>> Languages Manager.
Choose tab Not install Languagues and find the uninstall language (fra language) click install.
Go to Admin Dashboard >>> Clear Global Caches
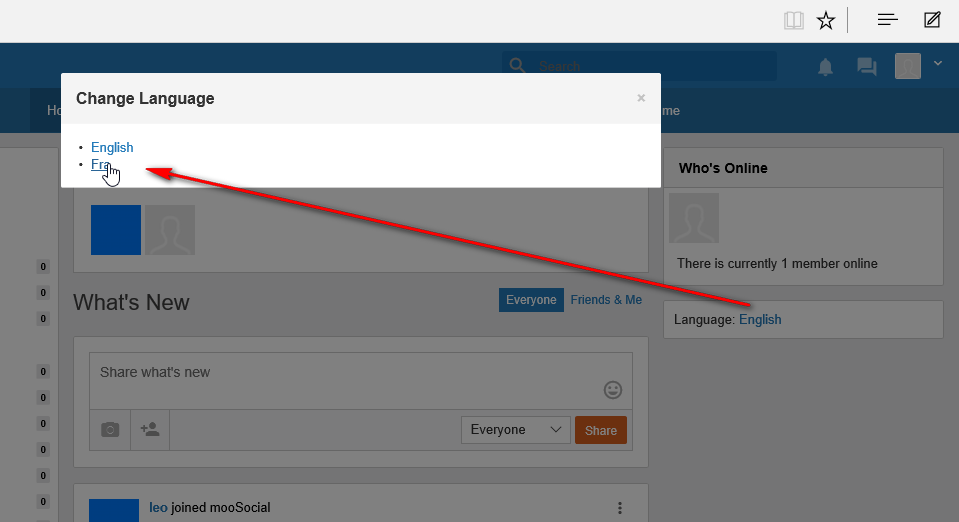
At the front end, we click to English to choose Fra language to translate
III. Use pluging
Translate Tool plugin helps to easily translate mooSocial to your desired language directly in admin panel instead of editing po file in web folder. It also helps to translate content entered by members such as status updates, comments, blogs, topics…into your current selected language using Google Translate Service.
Main features:
+ Translate content entered by members such as status updates, comments, blogs, topics…into your current selected language using Google Translate Service.
+ Translate all labels in mooSoical into your languages directly in admin panel instead of editing po file in web folder.
Admin features:
+ Enable Translation
+ Enable Feeds Translation
+ Enable Comments Translation
+ Enable Blogs Translation
+ Manage all language phrases and allow you to translate all phrases in po file to your languages directly in admin panel.
Importance: Google Translate Service is required.
Video guide
Translate language for Menu or Widget using Admin Dashboard
In this section, we will show you how to Translate Menu’s title, Widgets Title, Category Name, which are dynamic data by using Admin Dashboard.
Translate Menu
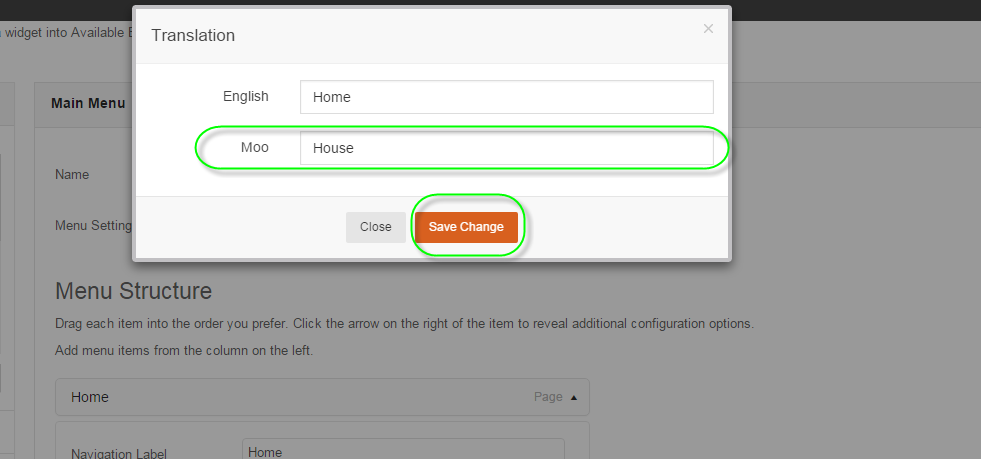
Admin Dashboard -> System Admin > Menu.

Click on “Translation” link to open popup, Inside the popup, select language then enter text to translate it to the selected language. Don’t forget to clear global cache and browser cache
Let us return to Front-end, select the language that you just translated to check to see if it works or not

Translate Widget:
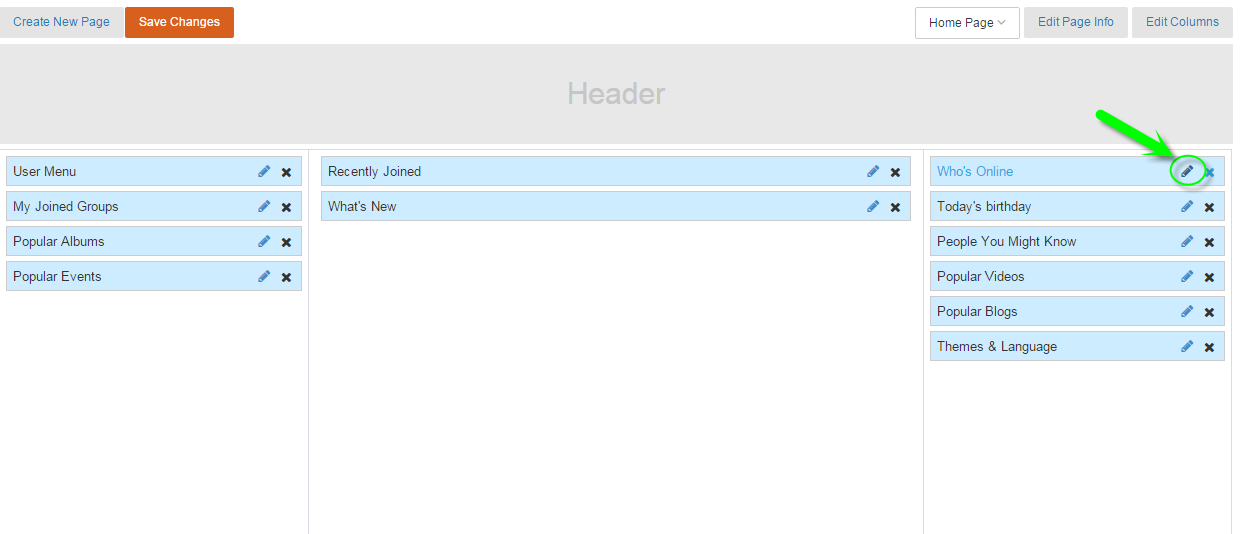
Admin Dashboard -> Site Manager -> Themes Manager -> Layout Editor.
At Layout Editor, select the page that contains that widget that you want to translate the title
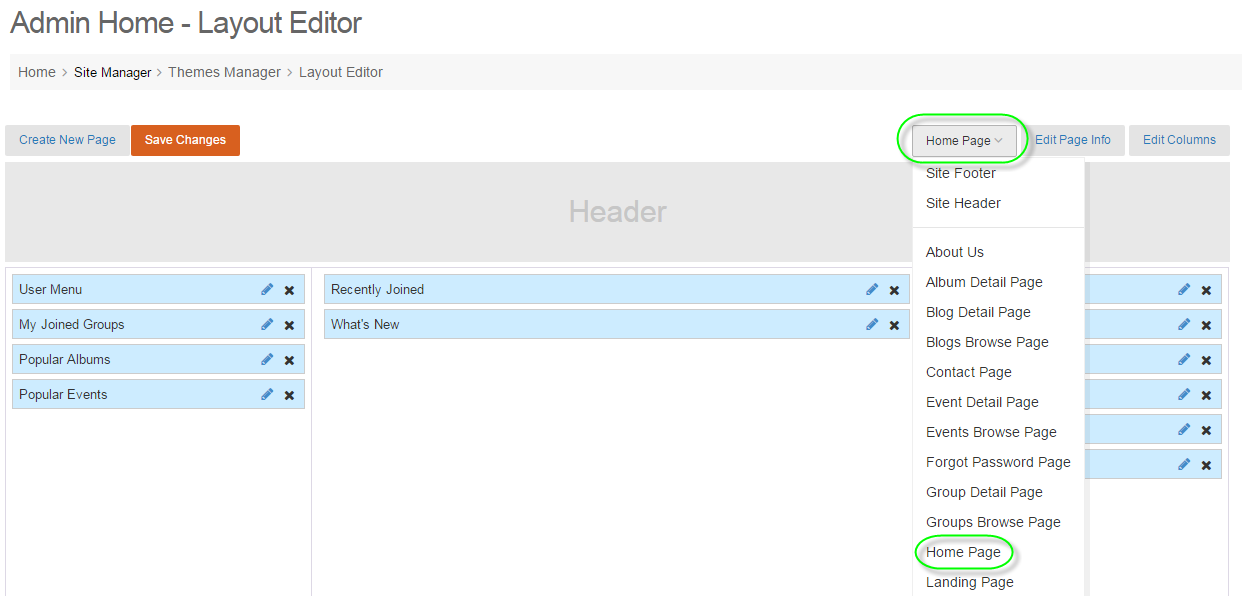
Click on “Edit” icon of the widget.
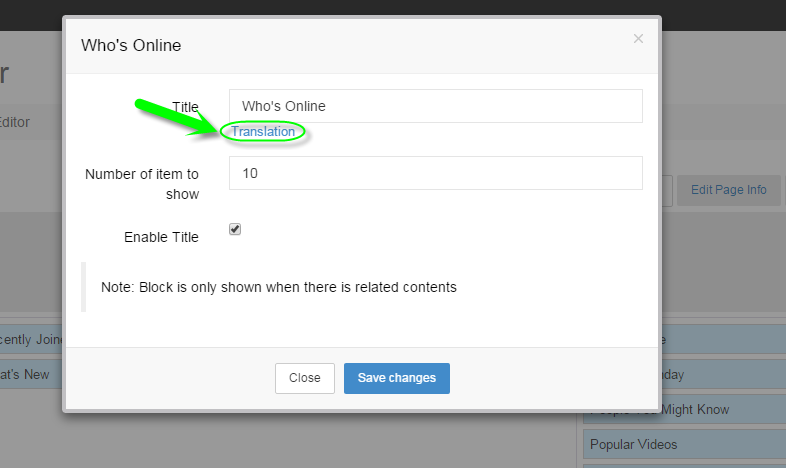
Click on “Translation” link inside the popup to translate
Select language that you want to translate into, then enter text and save your changes.
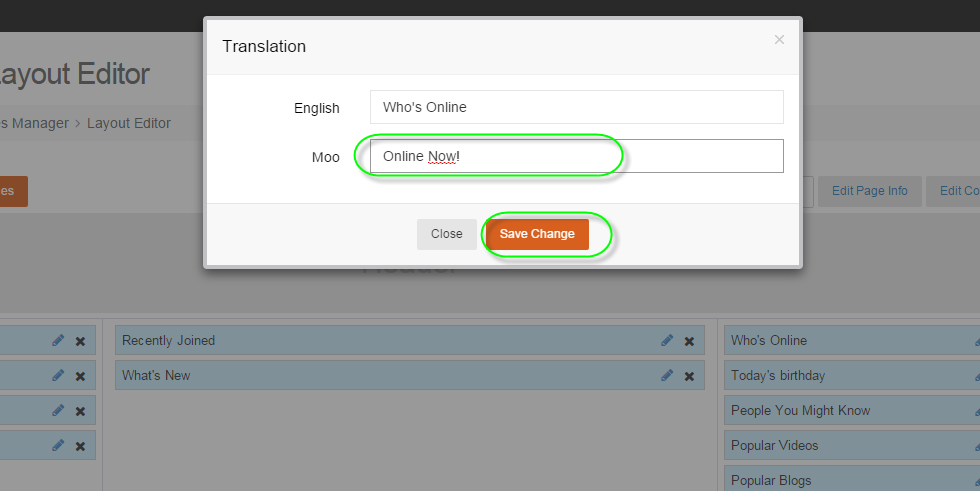
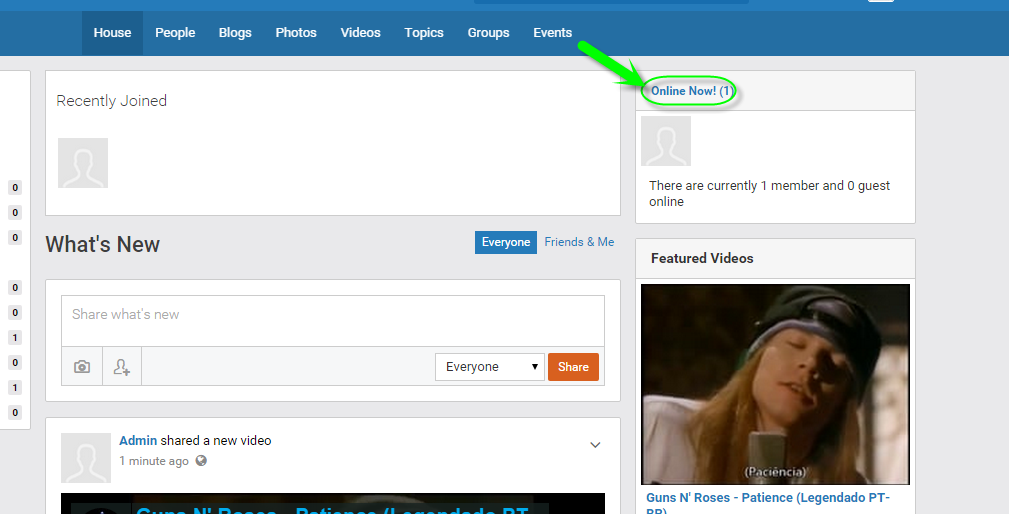
Clear browser cache and global cache then check again at user side.
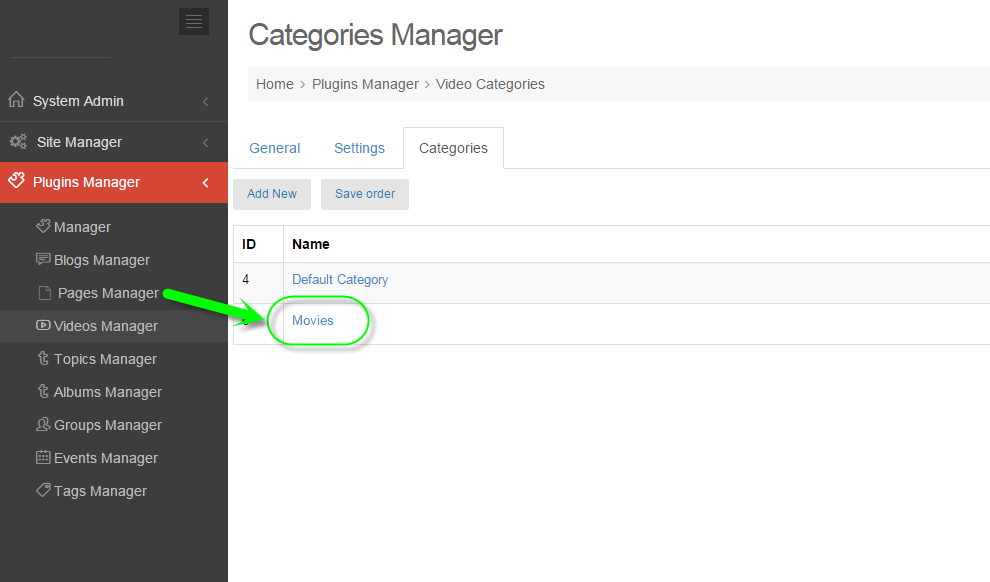
Translate plugin categories
This section will show you how to translate categories of a plugin. Below is categories of videos plugin

#Go to the Plugin Category’s Manager.
select a Category you want to translate.
Click on “Translation” link to open a popup
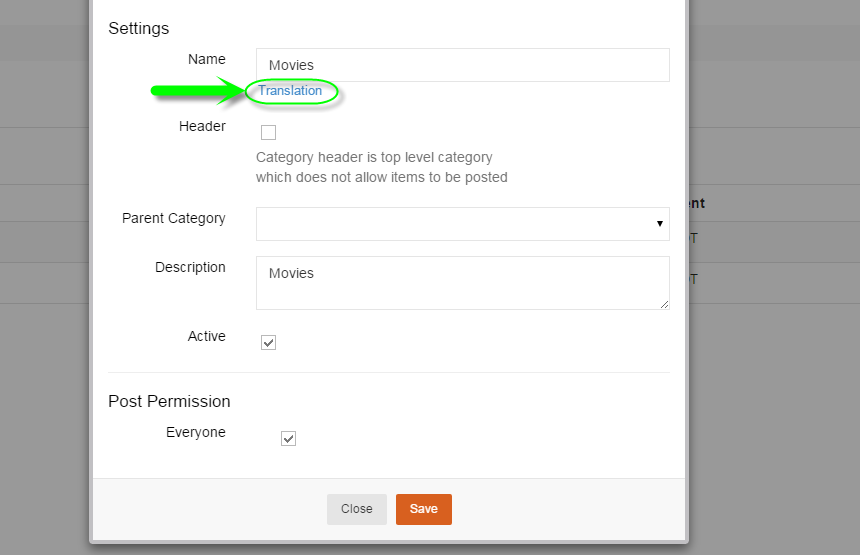
Select language and enter text that you want to translate.

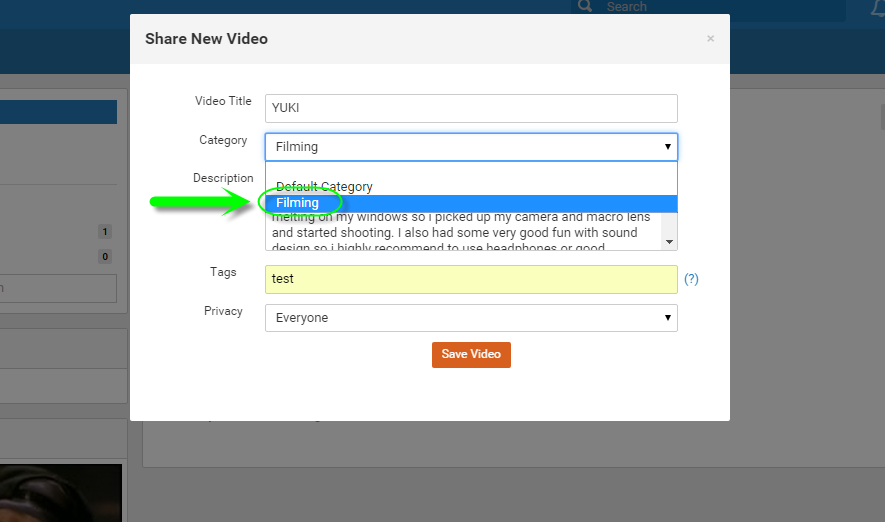
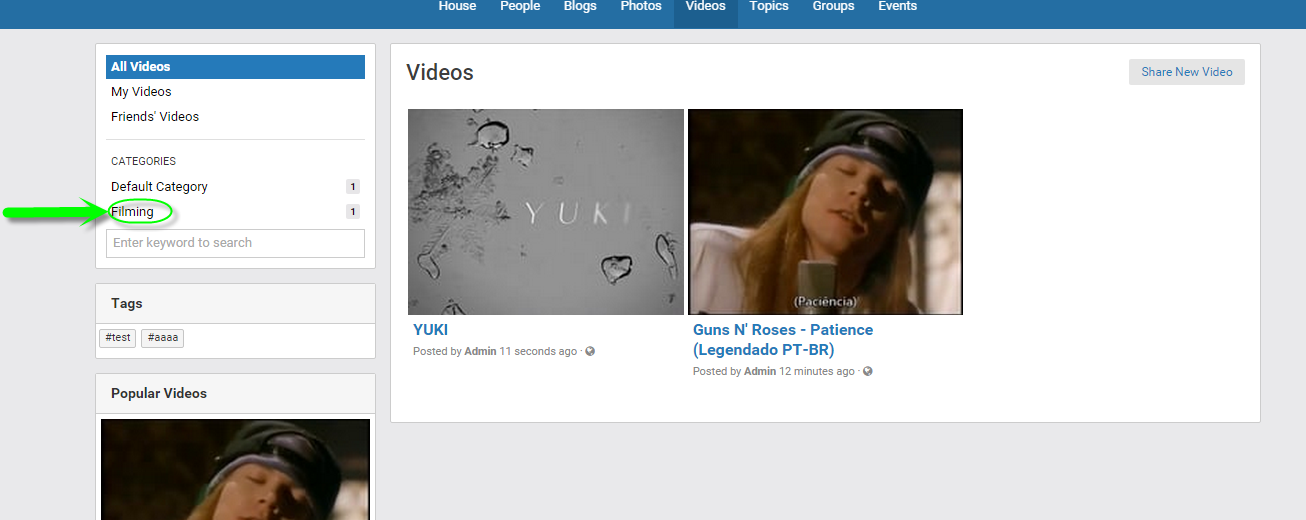
Click save changes and check again at users side
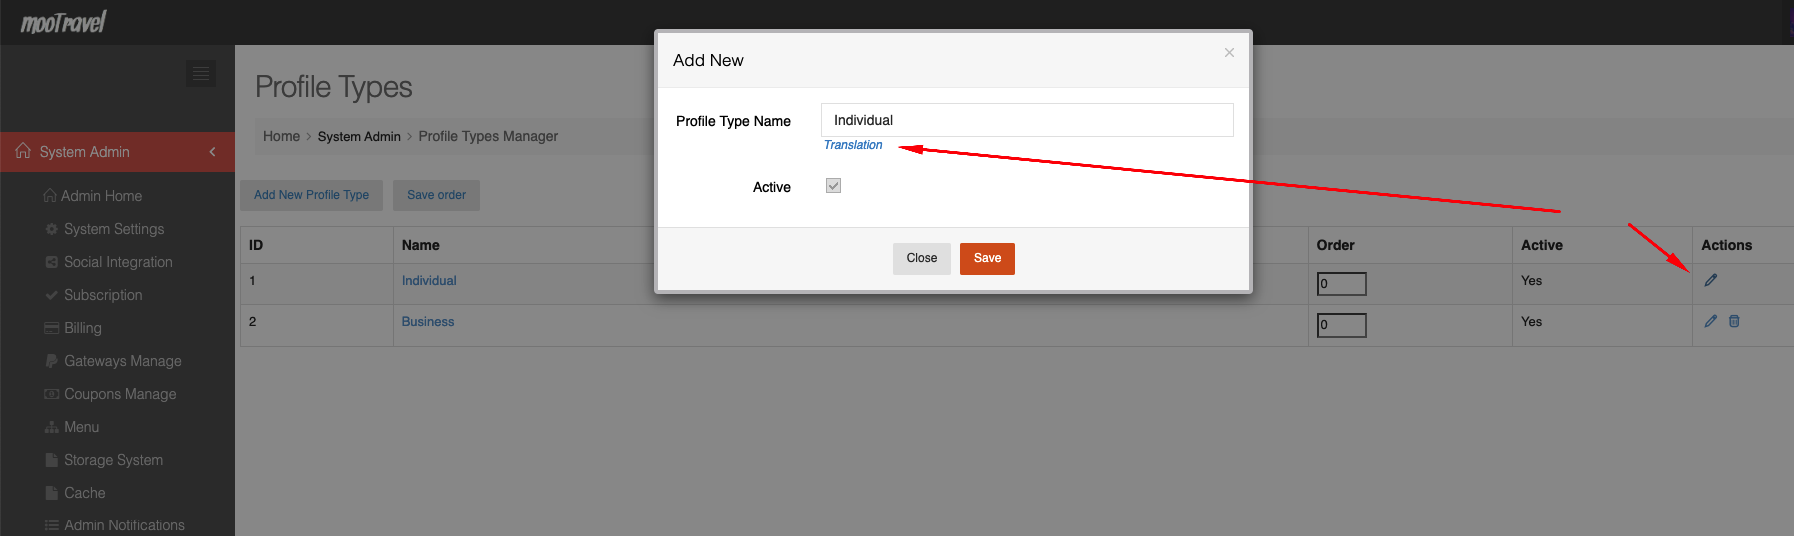
Translate Profile type and fields
How to translate profile type
Admin panel -> System admin -> Profile types
Click on “Edit” button of the type that you want to translate to open popup. You can translate profile type to other language there.
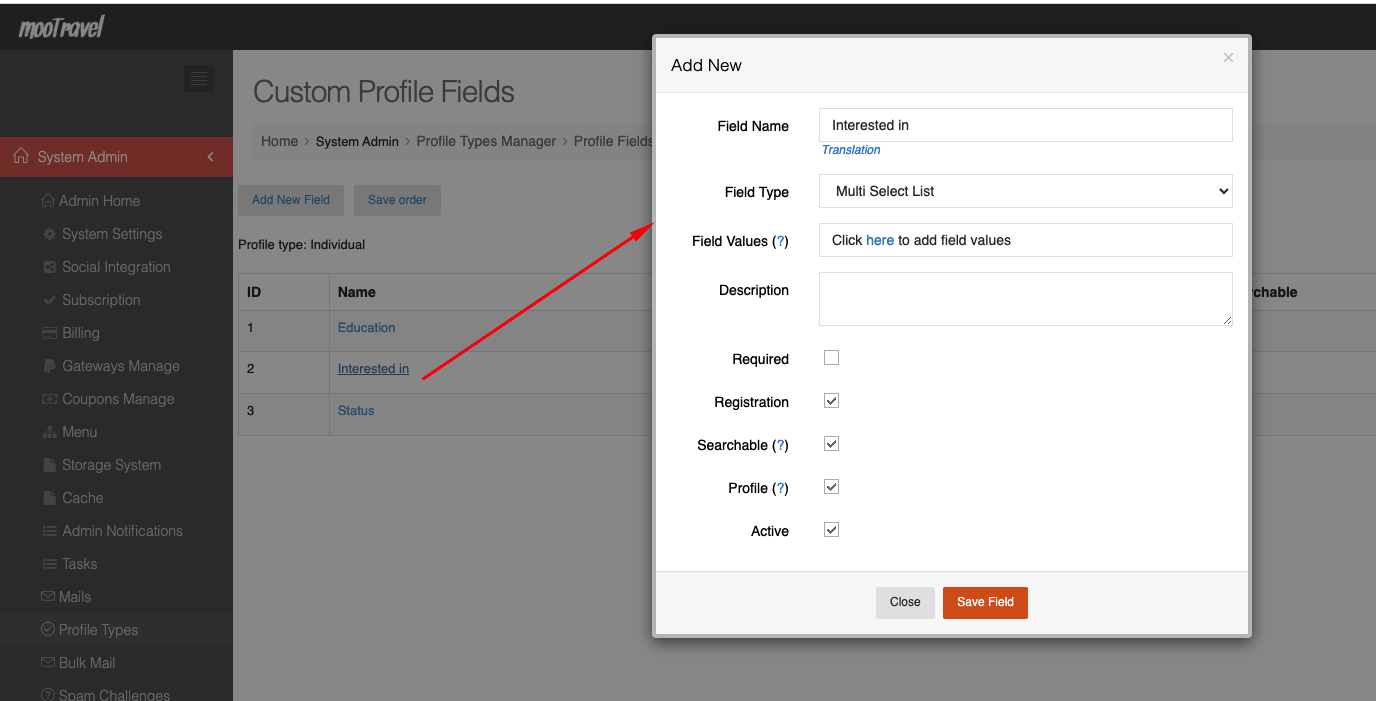
How to translate profile fields
Admin panel -> System admin -> Profile types -> Select a type -> Select a field
Click on “field name” that you want to translate to open popup. You can translate profile field to other language there.
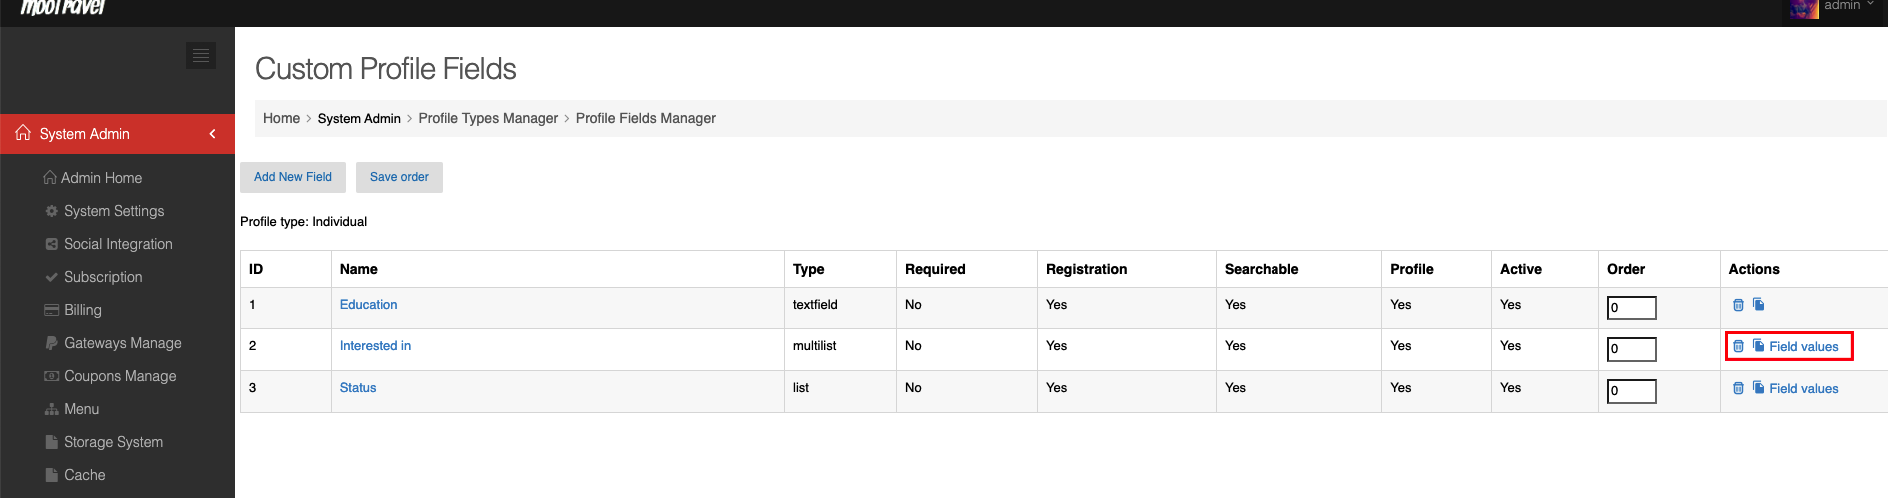
How to translate options inside a field
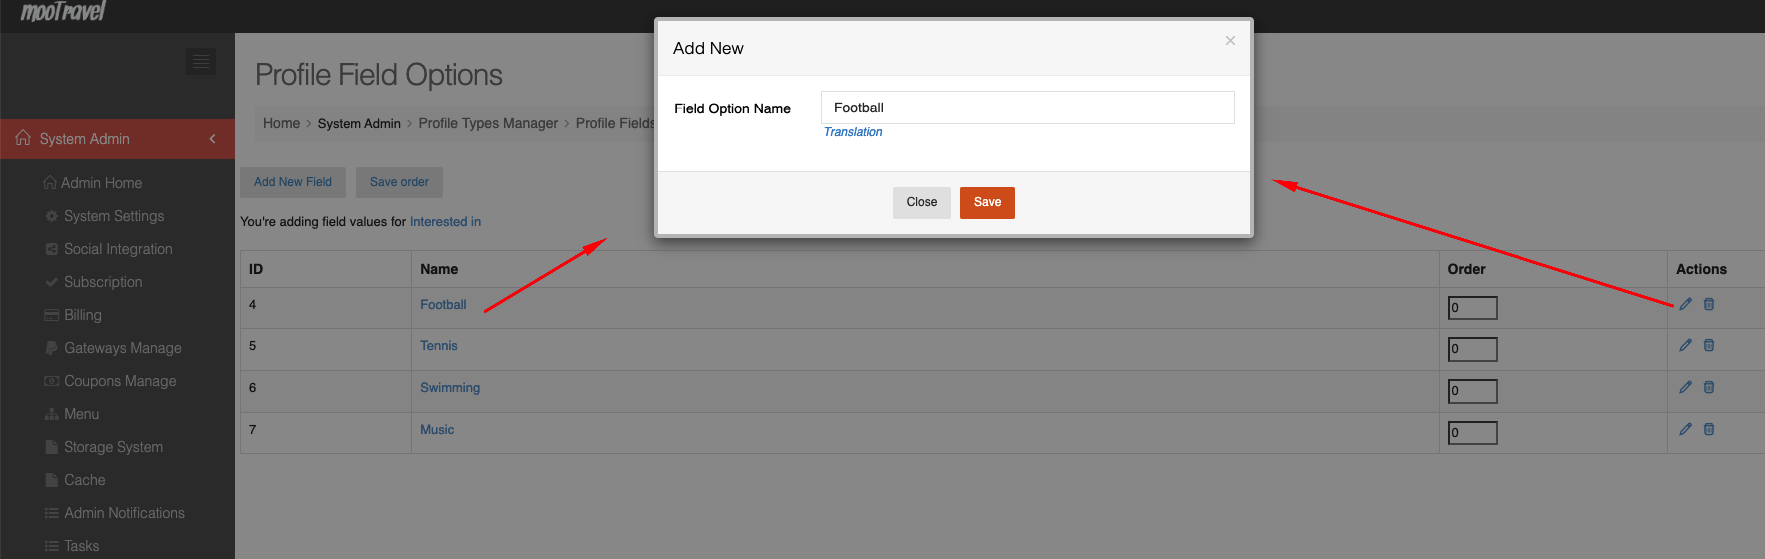
Admin panel -> System admin -> Profile types -> Select a type -> Select a field -> Field values
Click on “value name” that you want to translate to open popup. You can translate field value to other language there.
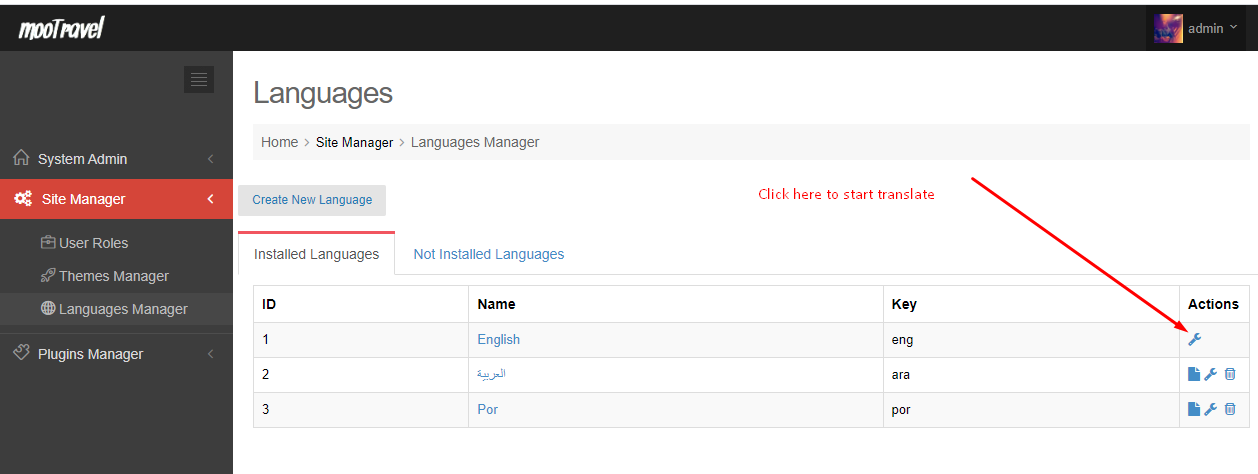
From version MOOSOCIAL 3.1.5+, you can translate or change text directly in language manager by following the below steps
# Admincp -> Site manager > Language Manager
# Click Translate icon (see below screenshot)
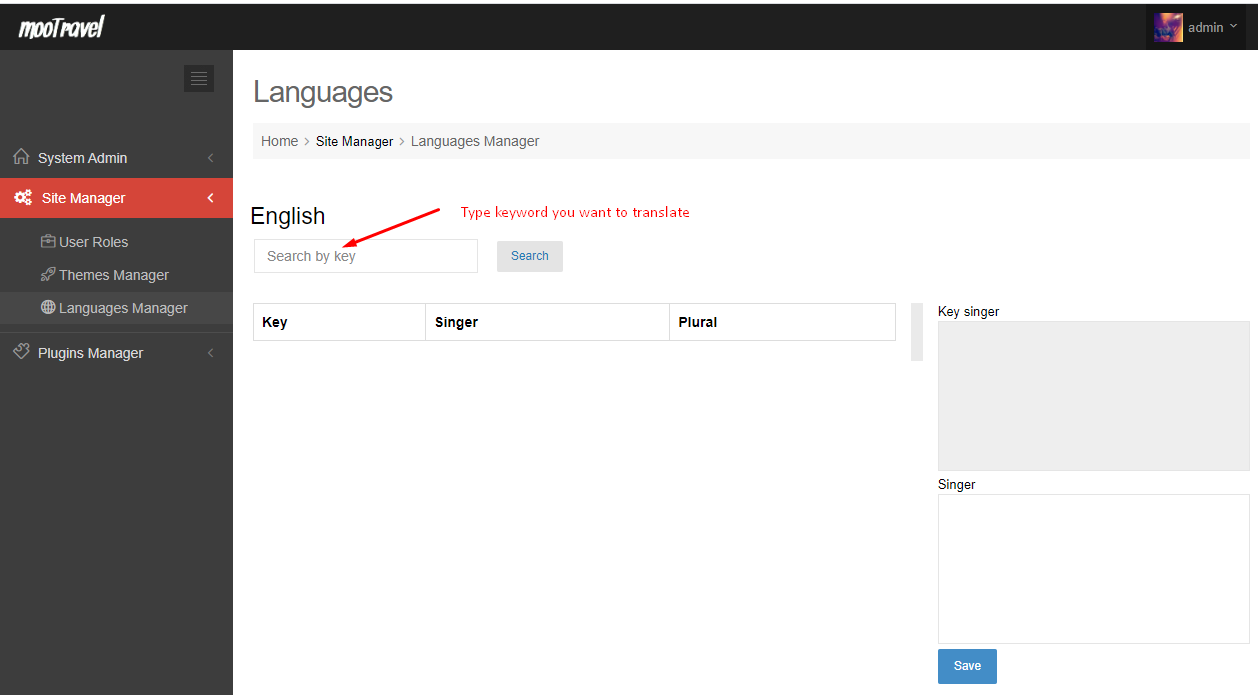
# Search words you want to translate or change
# Select one result from the list and translate or change it to new phrase
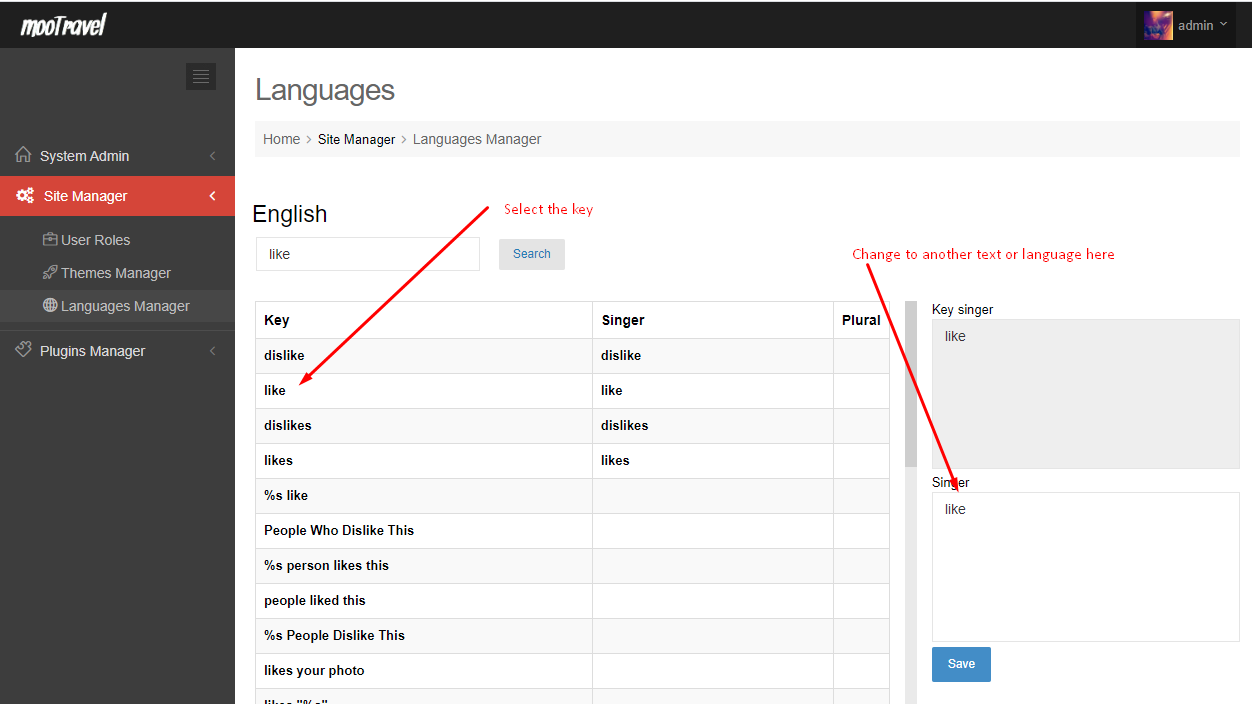
# Save and clear global cache