Archives

Setup Paypal Gateway

How to configure the sandbox PayPal express checkout payment gateway

1. Login to sandbox.paypal.com

You must have a PayPal Business account to make calls to the sandbox PayPal servers. Log in to your Business account on the following page: https://www.sandbox.paypal.com

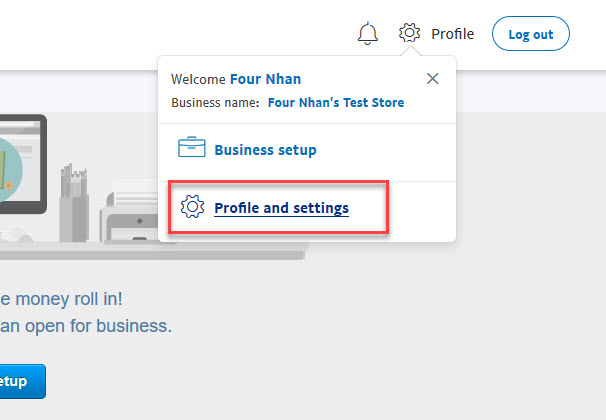
2. Navigate to the API Access page:

Click on to Profile (Setting) icon on the top right and select Profile and Settings from the drop-down menu.


Then navigate to My Selling Tools –> API Access and click Update.


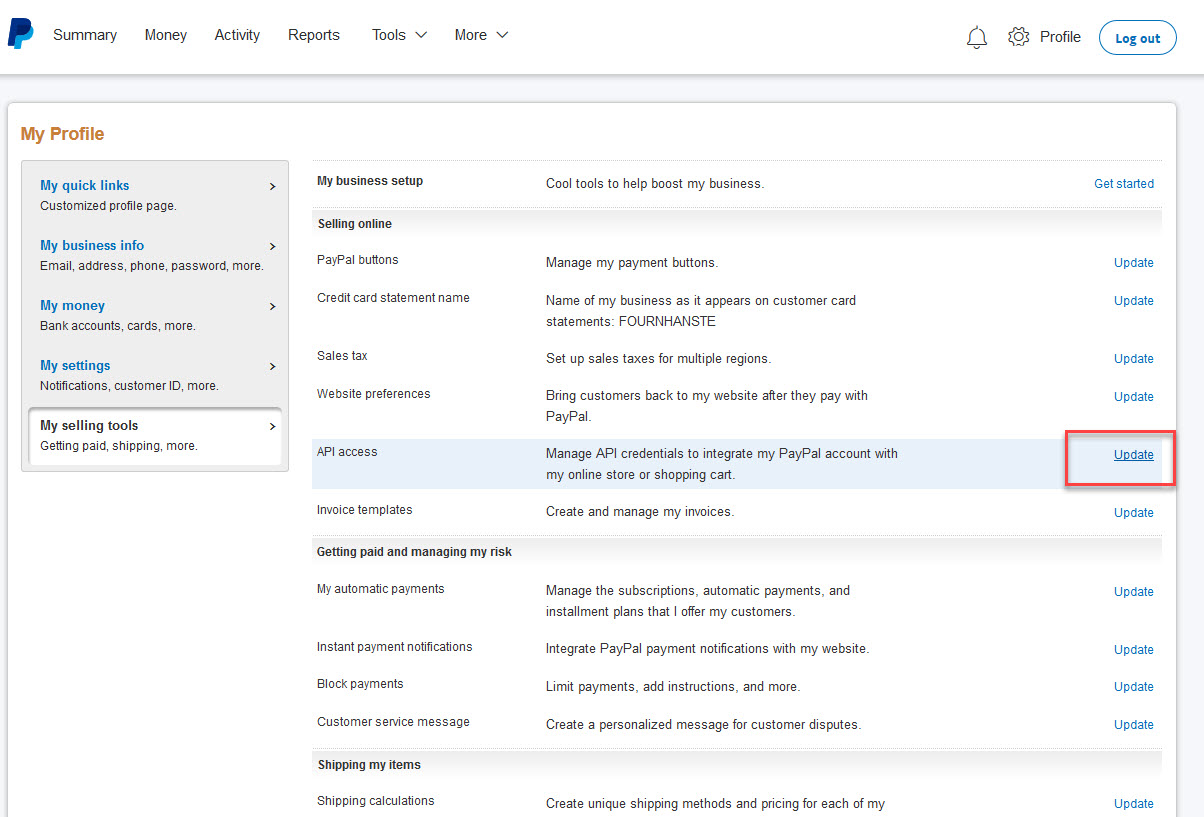
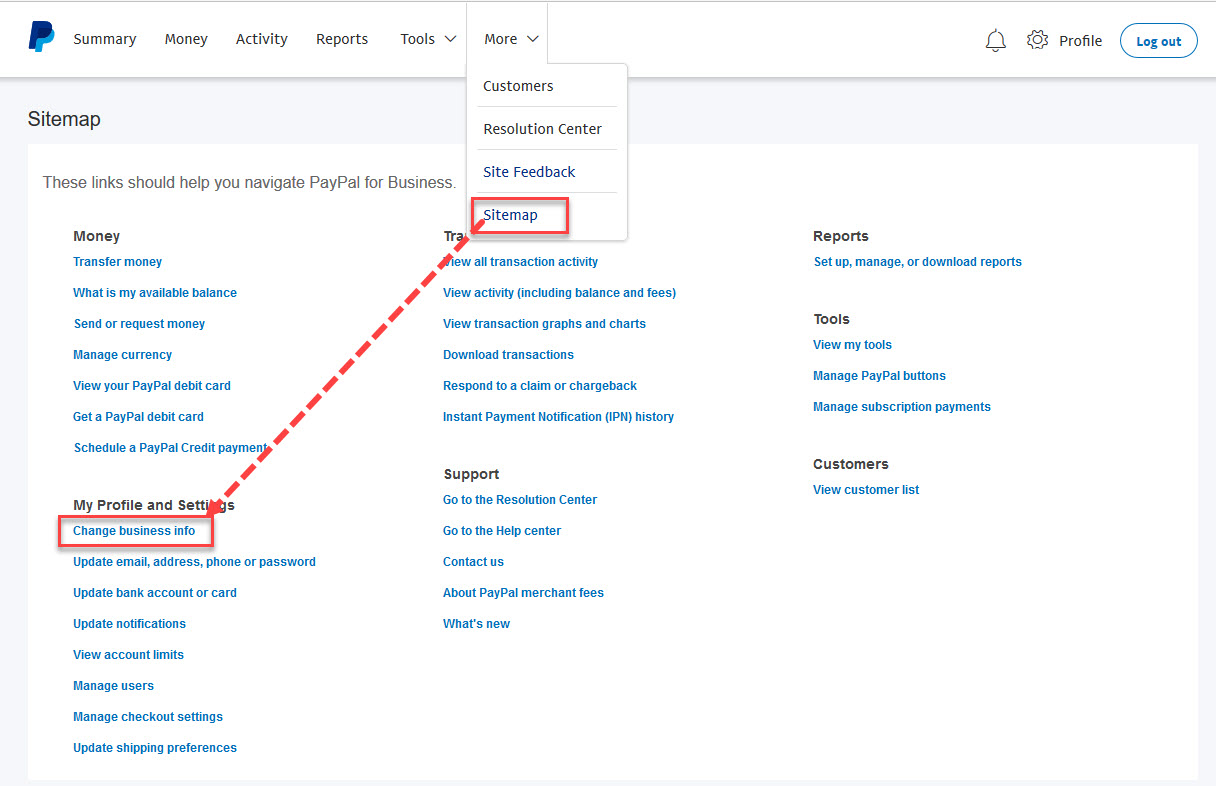
Note If you do not see the Profile (Setting) icon in the top right, navigate to the API Access page by hovering on More –> Site Map –> Change business info –> My Selling Tools –> API Access.


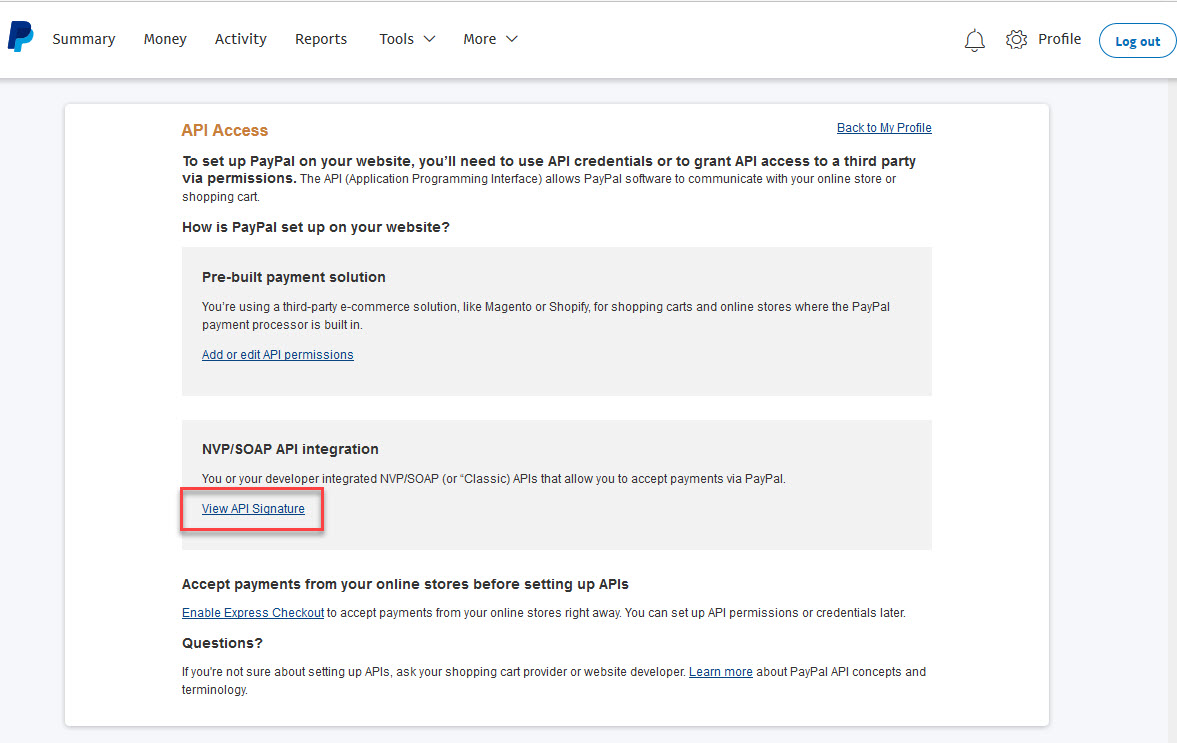
3. View Credential info

Click on View API Signature link

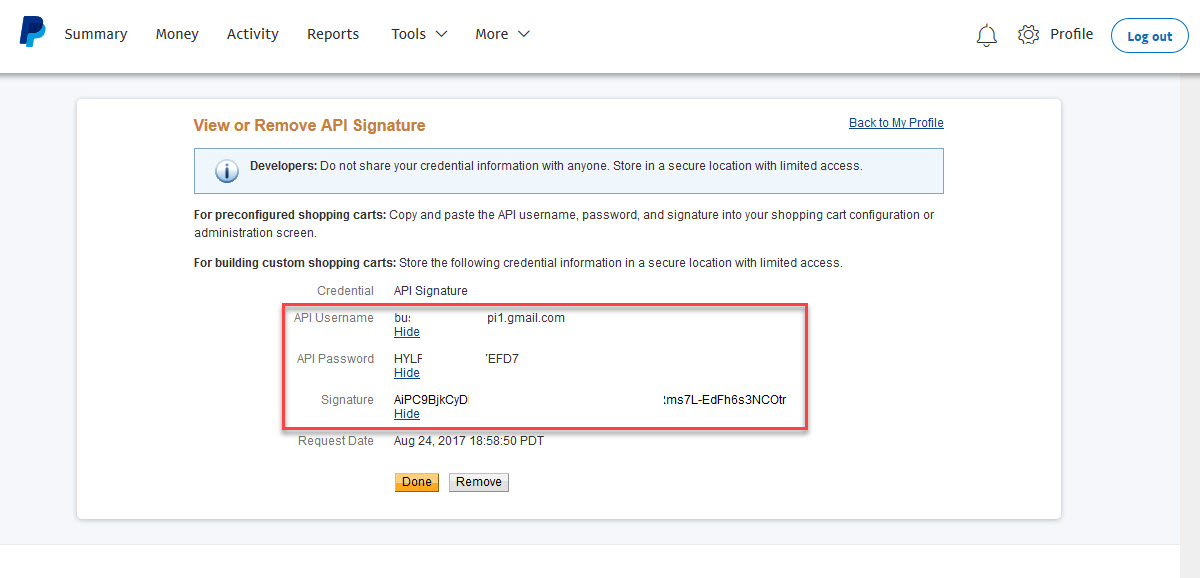
Then, copy and paste the API username, password, and signature into your site

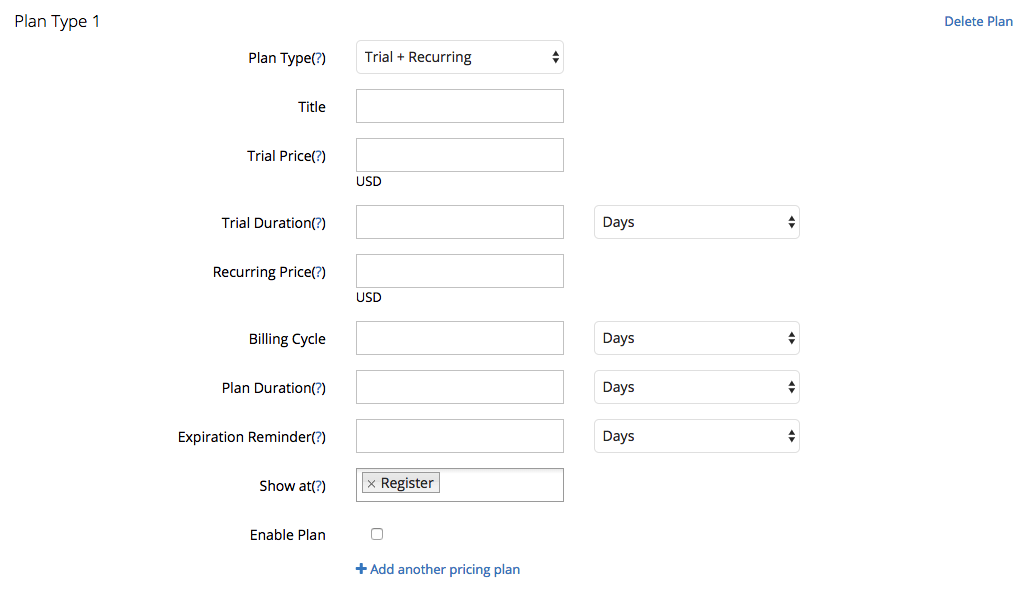
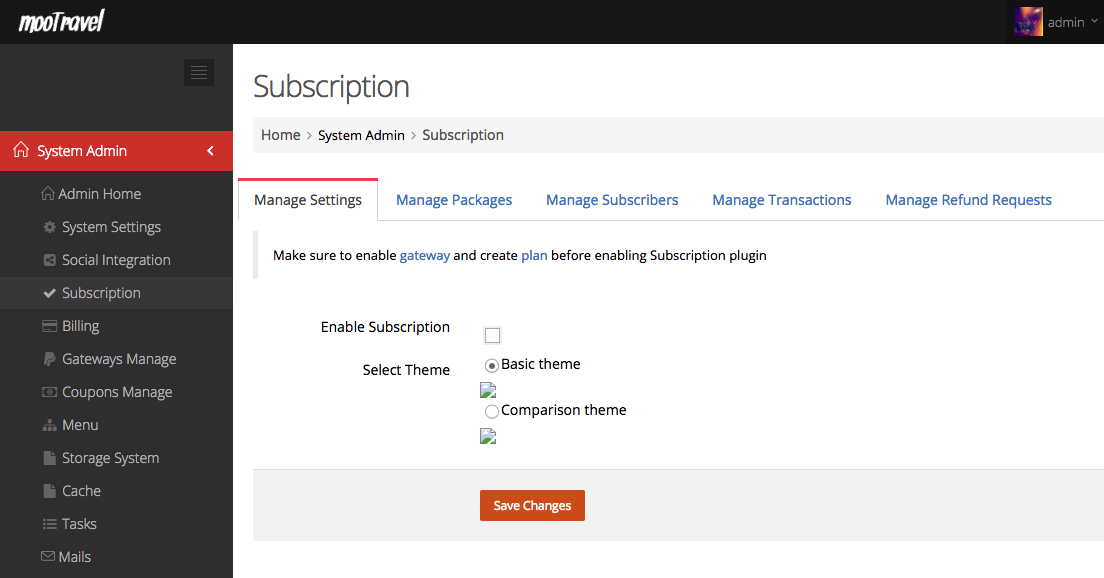
Access to your site Admin Dashboard/ Gateways Manage/ PayPal Express Checkout/ Edit:


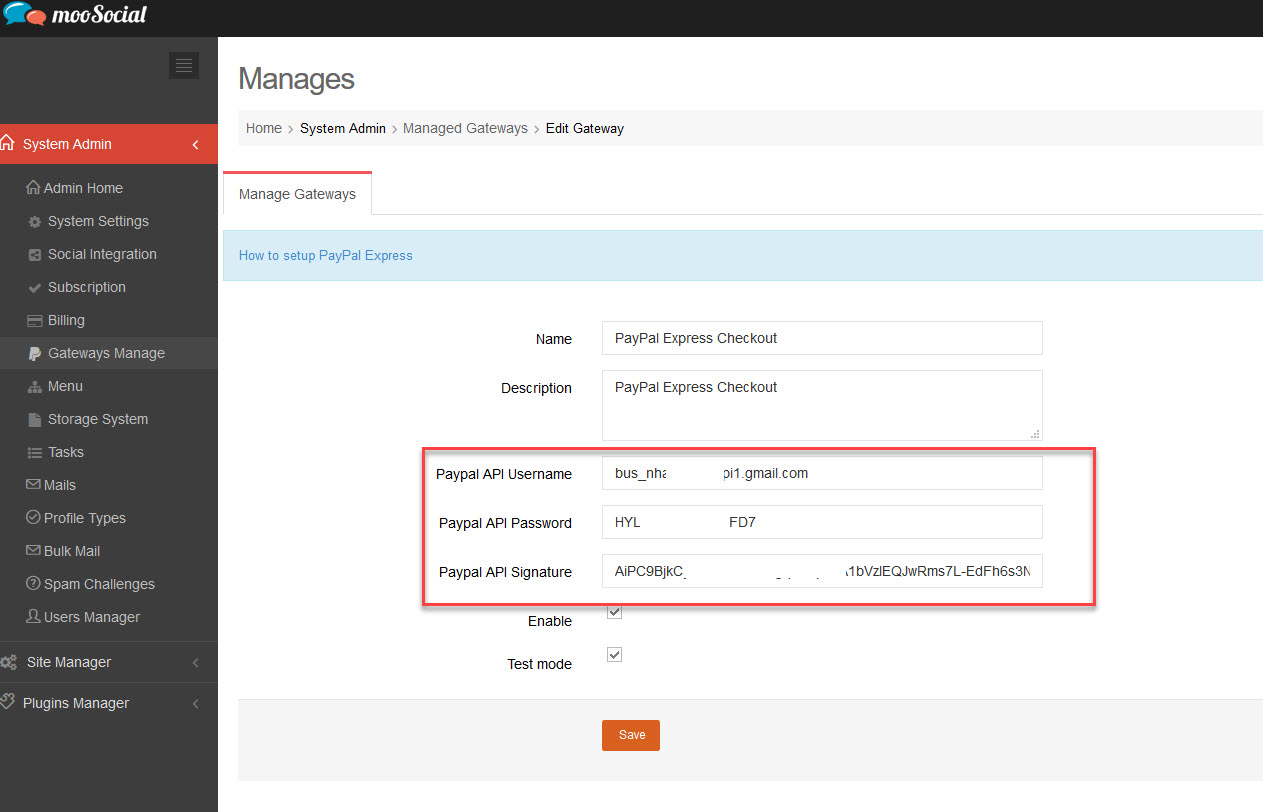
Enable: Check to enable PayPal Express Checkout

Test mode: Check to enable sandbox environment from your mooSocial.

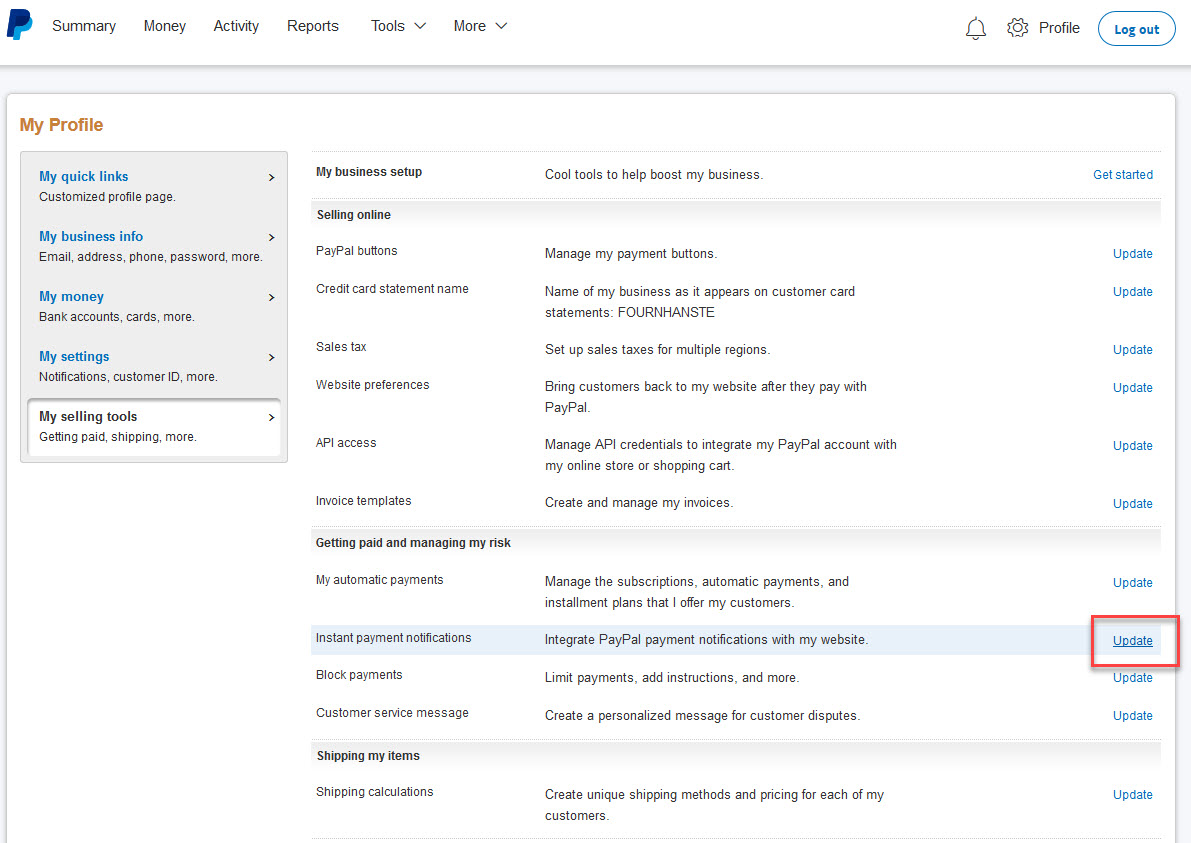
 4. Configure Instant Payment Notification (IPN):

Go to Profile and Settings –> My Selling Tools –> Instant payment notifications  –> Update


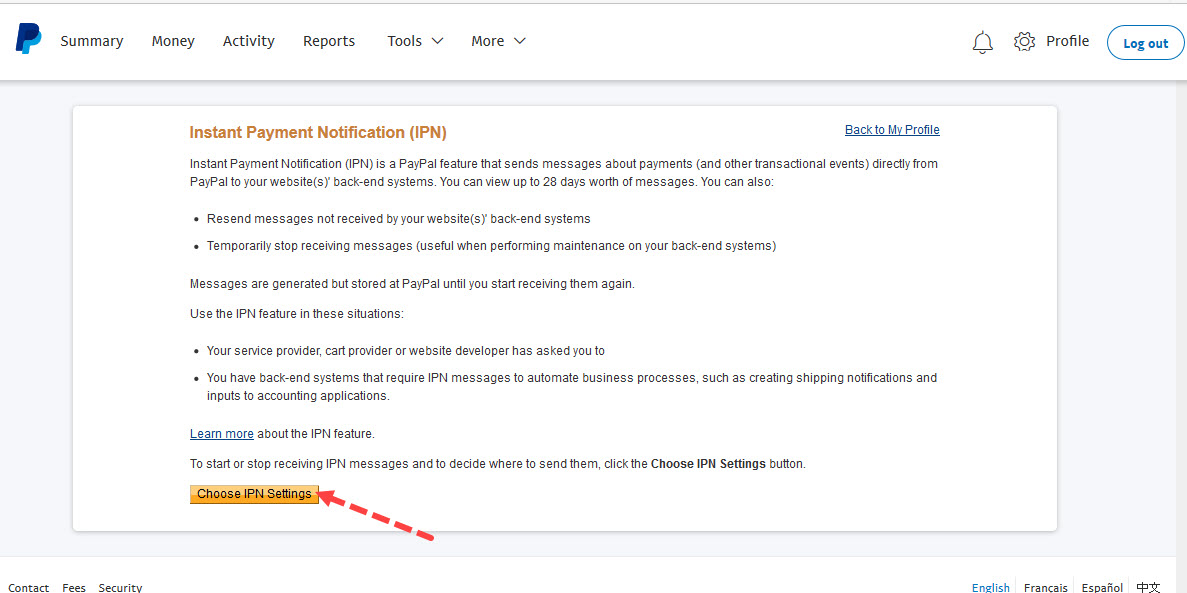
Click on Choose IPN Settings button


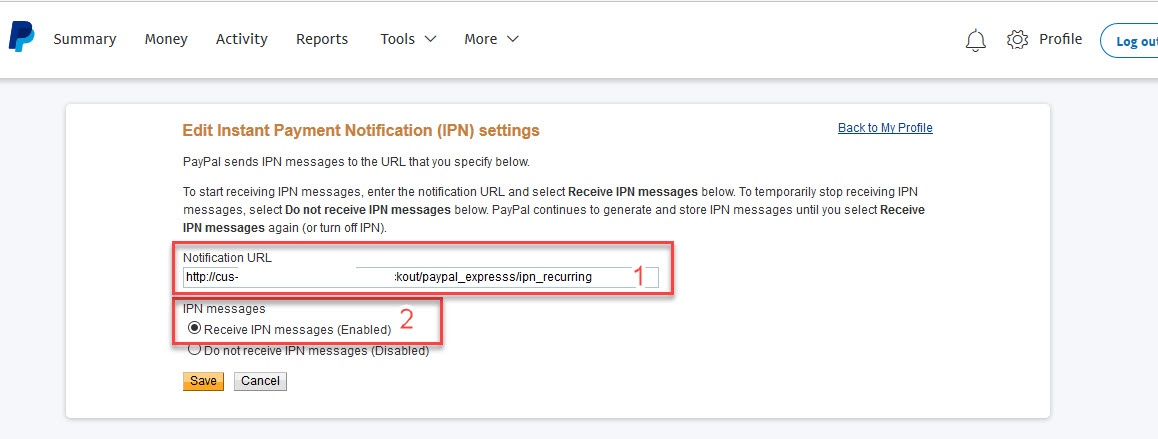
#1 : Input [yoursite URL]/paypal_expresss/ipn_recurring to Notification URL textbox

#2 : IPN message –> check on Receive IPN messages (Enabled) checkbox

And click on Save button for changes.

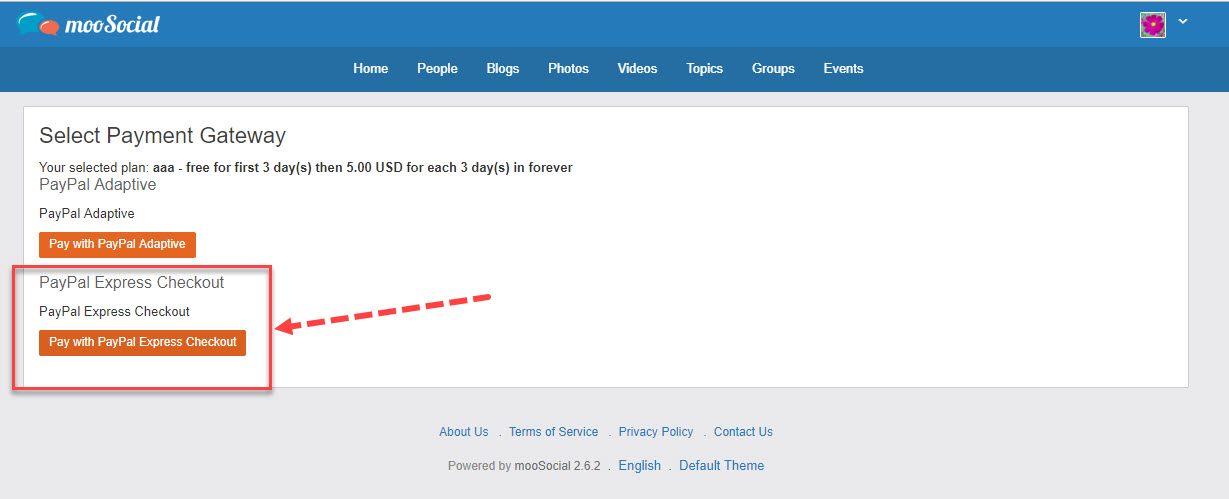
5. Apply PayPal Express Checkout on site


Creating Subscription Packages and Plans

Create a Subscription Package
1. Log in to the admin dashboard
2. Goto System Admin > Subscription > Manage Package
3. Click Create New Package

Screenshot at Mar 12 14-09-13
4. Enter Your Package Detail include: Name, Description, User Role (Assign user role to specific package), Make it default and Make It Recommended checkbox.
Screenshot at Mar 12 14-19-12


Create a Plan for a Package
One-time Plan Type


Screenshot at Mar 12 14-19-23

1. Select One-time for plan type
2. Enter Plan Title
3. Enter Your Plan Price
4. Enter Your Plan duration for the plan like 1 year, 6 months…
5. Enter Your Expiration Reminder (Remind user when their plan is about to expire)
6. Enter Show at
+ Registration: Show this plan on the sign-up page
+ Membership Page: Show this plan on the membership page
7. Enable Plan: tick/untick to enable/disable plan

Recurring Plan Type

Screenshot at Mar 12 14-55-14
1. Select Recurring for plan type
2. Enter Plan Title
3. Enter Your Recurring Price
4. Enter Your Billing Cycle: Days, Months, Years
5 Enter Your Plan duration for the plan like 1 year, 6 months…
6 Enter Your Expiration Reminder (Remind user when their plan is about to expire)
7. Enter Show at
+ Registration: Show this plan on the sign-up page
+ Membership Page: Show this plan on the membership page
8. Enable Plan: tick/untick to enable/disable plan

Trial + Recurring Plan Type

Screenshot at Mar 12 15-07-36
1. Select Trial + Recurring for plan type
2. Enter Plan Title
3. Enter Trial Price (0 for a free trial plan)
4. Enter Your Trial Duration (in days, months or years)
5. Enter Your Recurring Price
6. Enter Your Billing Cycle (in Days, Months, Years)
5 Enter Your Plan duration for the plan (in Days, Months, Years)
6 Enter Your Expiration Reminder (Remind user when their plan is about to expire)
7. Enter Show at
+ Registration: Show this plan on the sign-up page
+ Membership Page: Show this plan on the membership page
8. Enable Plan: tick/untick to enable/disable plan

Note: You can create multiple plans for 1 package. Once the plan was created, it cannot be edited. You have to delete and recreate it again.

Enable Subscribtions

Screenshot at Mar 09 15-06-59
1. Login to the admin dashboard
2. Goto System Admin > Subscription > Manage Settings
3. Tick enable subscription checkbox to enable the subscription
4. Choose the subscription theme: basic or comparison table theme