You can use User Notes plugin to add private notes on any member’s profile. This is very helpful when the number of site members is large, because the notes are ONLY visible to the creator (profile owner can’t see notes from other members about him/her). In this article, we’ll share you how to add a note to any users profile.
Before that, please make sure Note is activated on Profile page (How to activate User Note widget into the Profile page?).
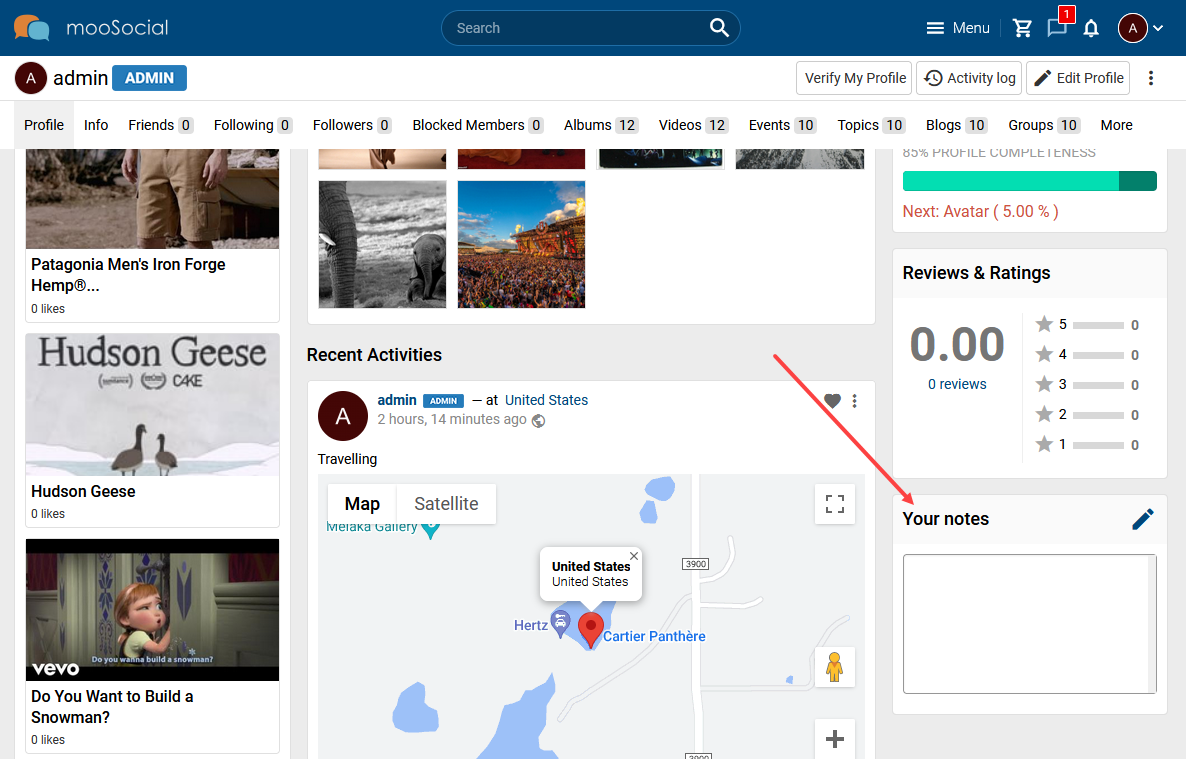
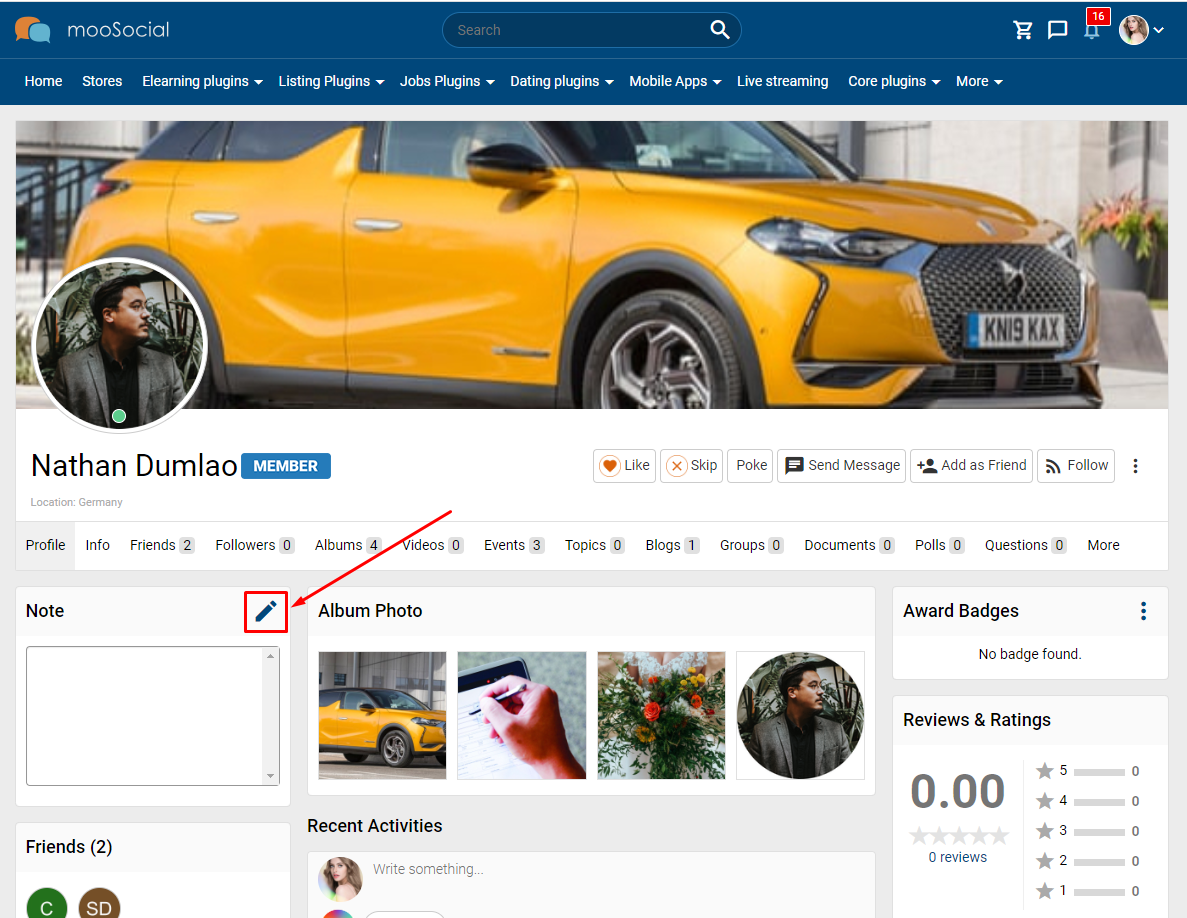
Step 1. Go to the Profile page.
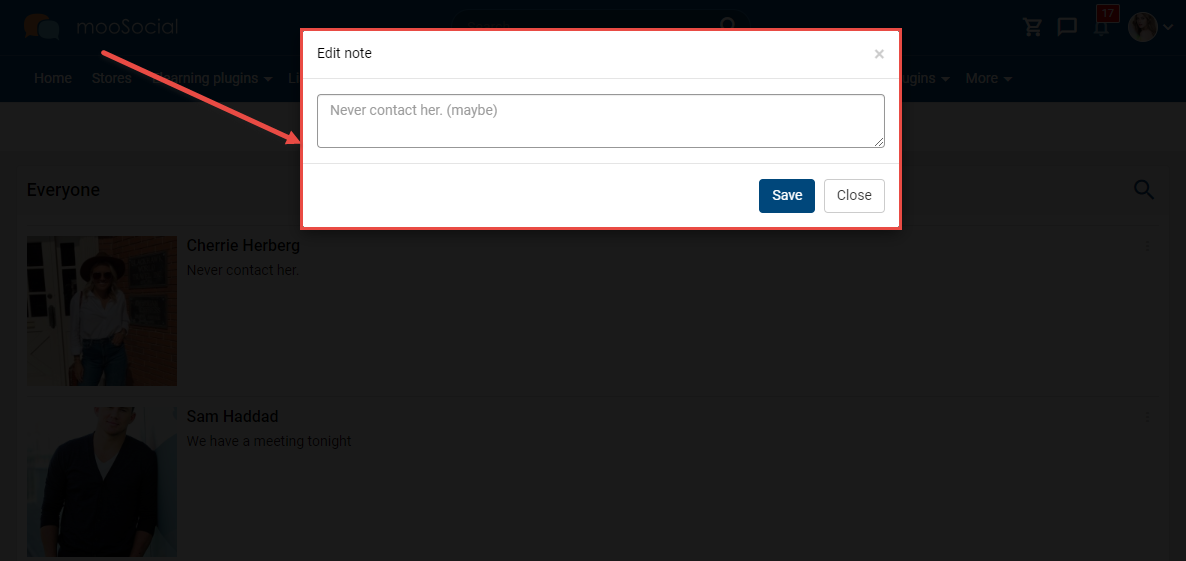
Step 2. On the Note widget, click the Edit icon.
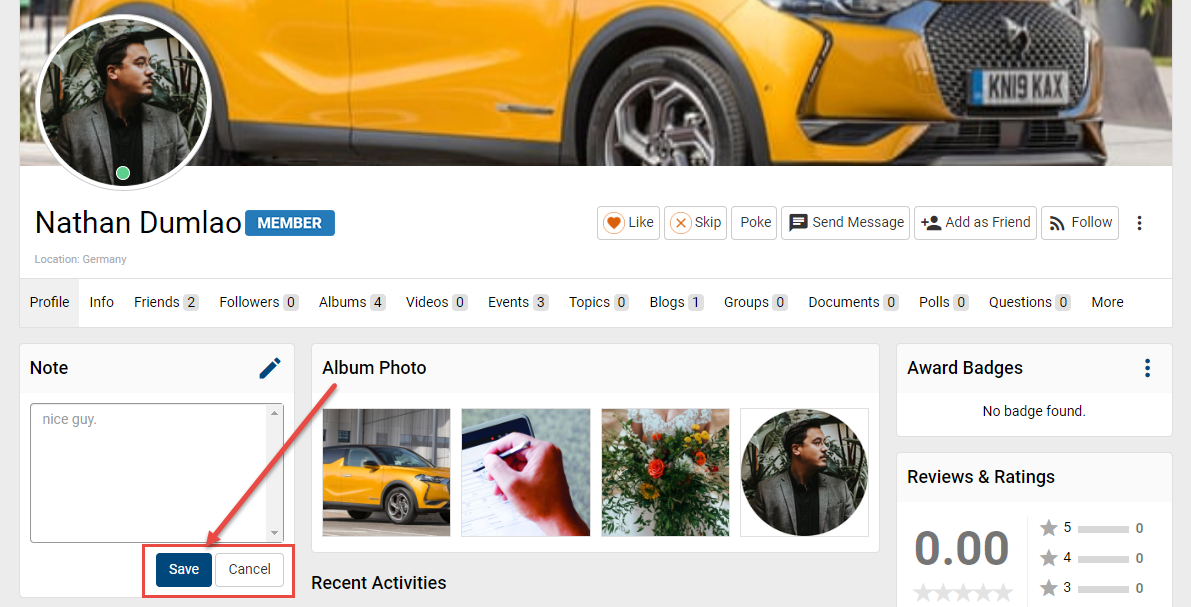
Step 3. Enter a note into textbox.
Step 4. Click the Save button to save the note or Cancel button to cancel the note.
Step 5: And then, you can manage your notes at My Notes page.
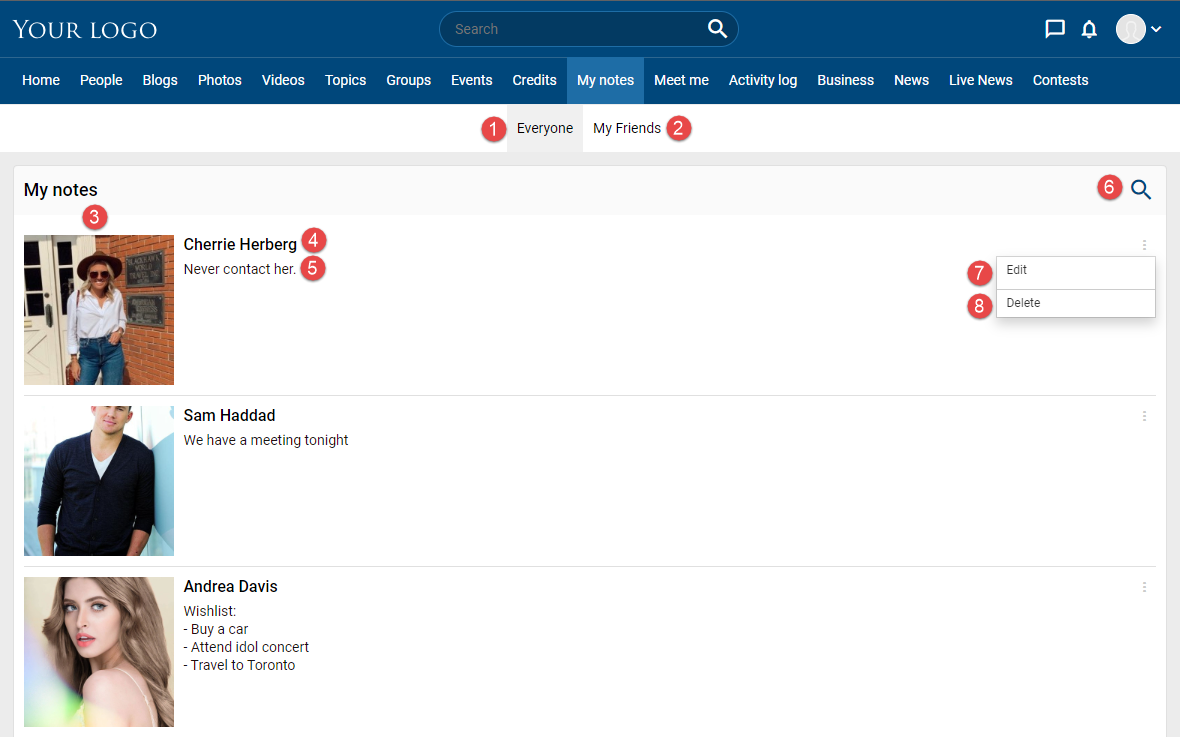
- Everyone tab: show all your notes here.
- My Friends: show the notes left at your friends profile by you.
- Member avatar.
- Member name.
- Note content that you left.
- Search: you search notes or user name.
- Edit: edit your note
- Delete: delete note.
To use User Note plugin, admin must drag and drop the widget into the Profile page. To understand how to do that, follow the steps below.
(Back-end)
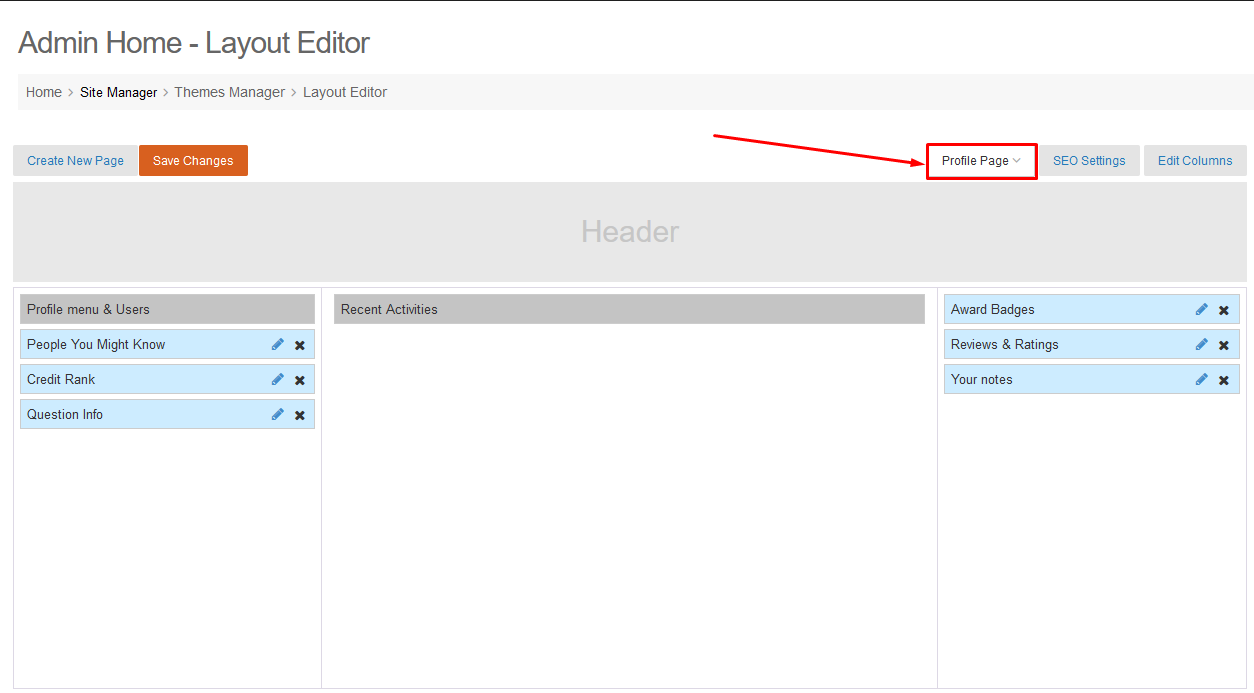
Step 1. Access to Admin Dashboard => Site Manager => Theme Manager => Layout Editor
Step 2. Select Profile Page.
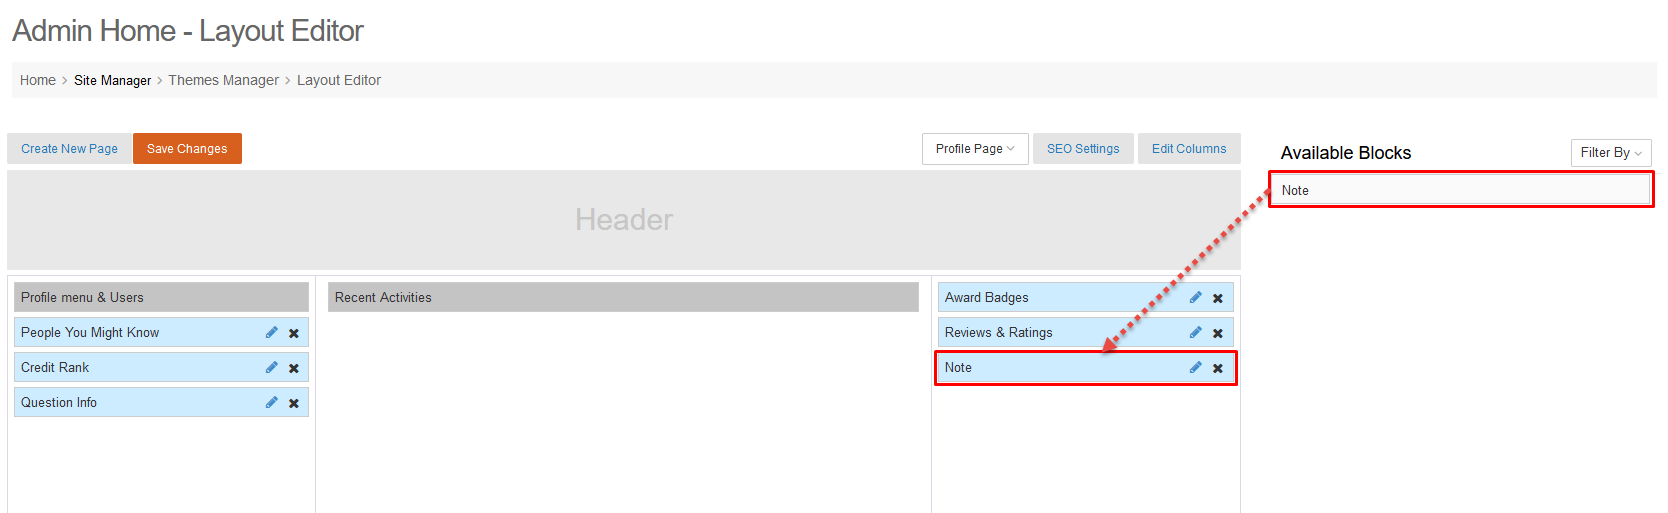
Step 3. Can Filter by checking on usernotes >> Submit button.
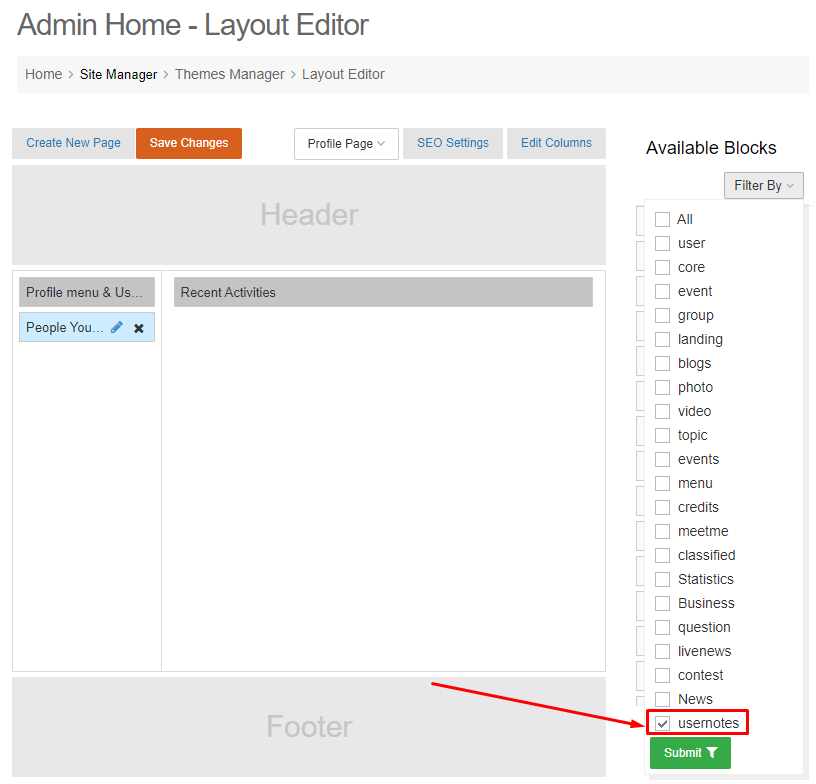
Step 4. Drag and drop Note widget to Profile Page => Show popup
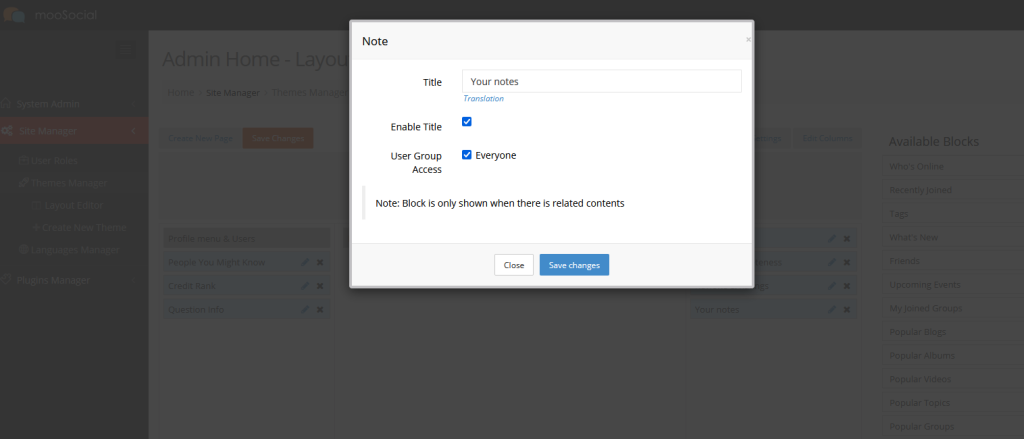
Step 5. Edit the component information => Click the Save changes button.
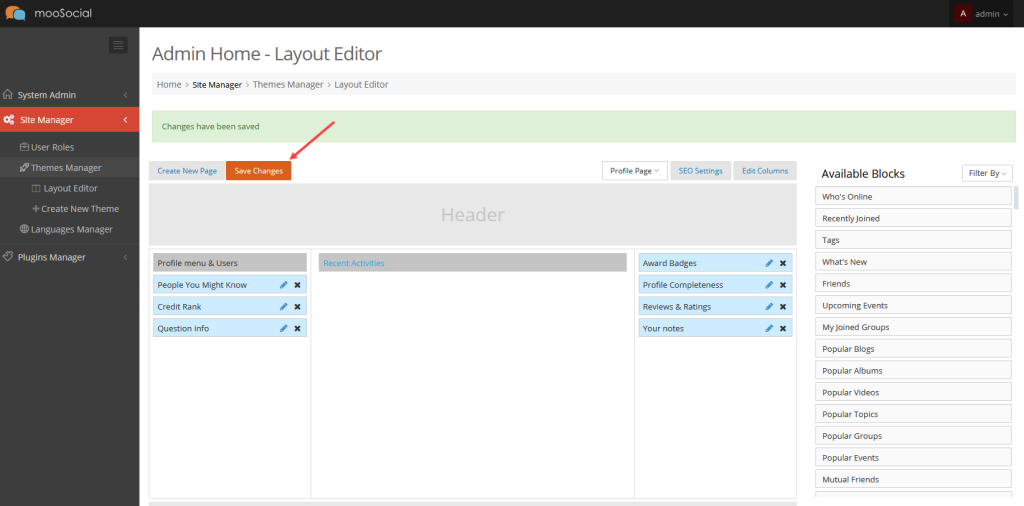
Step 6. Save Changes
(Front-end)
Go to the User Profile page and enjoy it.

With the Profile Rating plugin, Site Members can configure the review/rating feature on their profile. Follow the instruction below to know more detail.
Go to User Profile page => Reviews tab
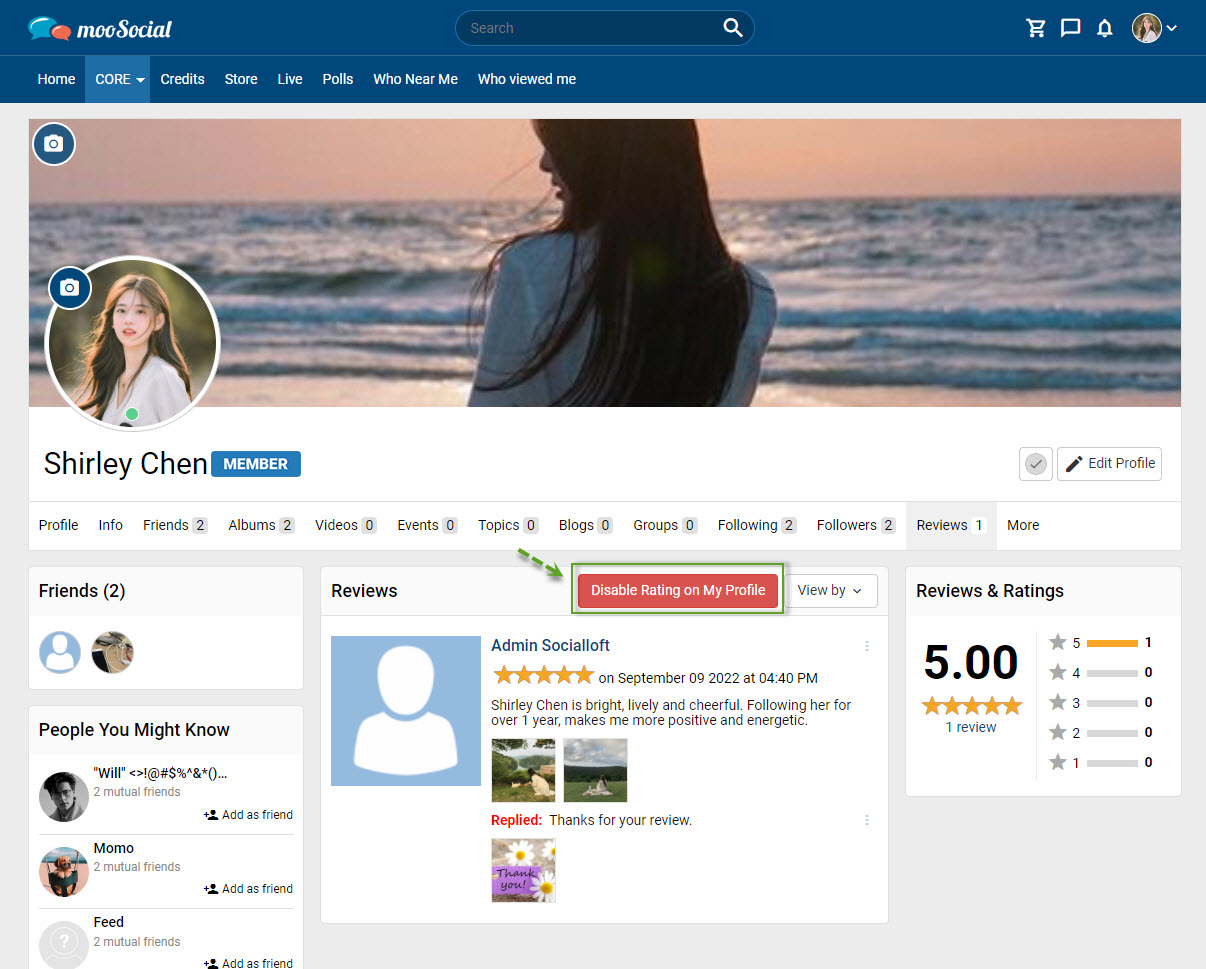
Click the Disable Rating on My Profile button.
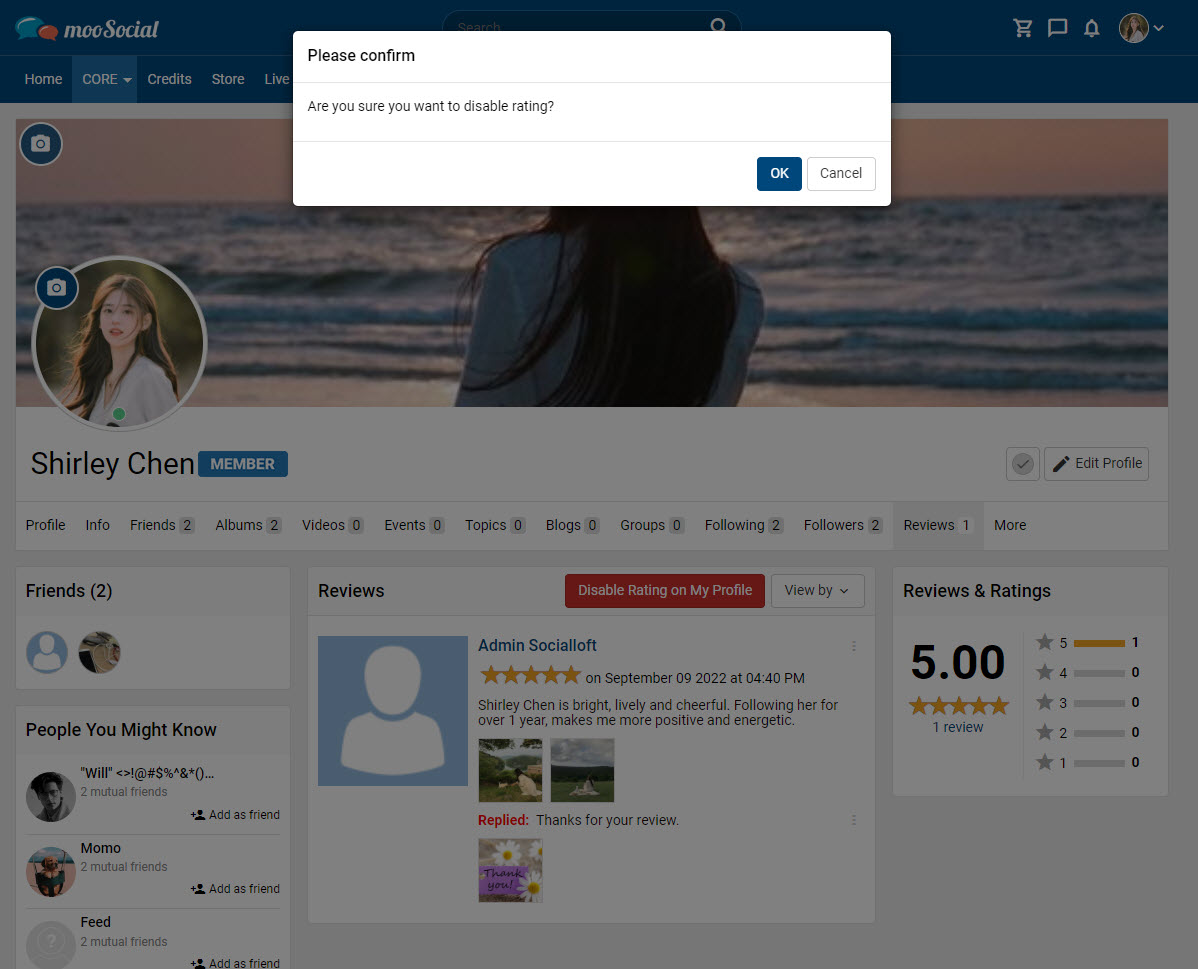
Select the OK button on the Confirm pop-up.
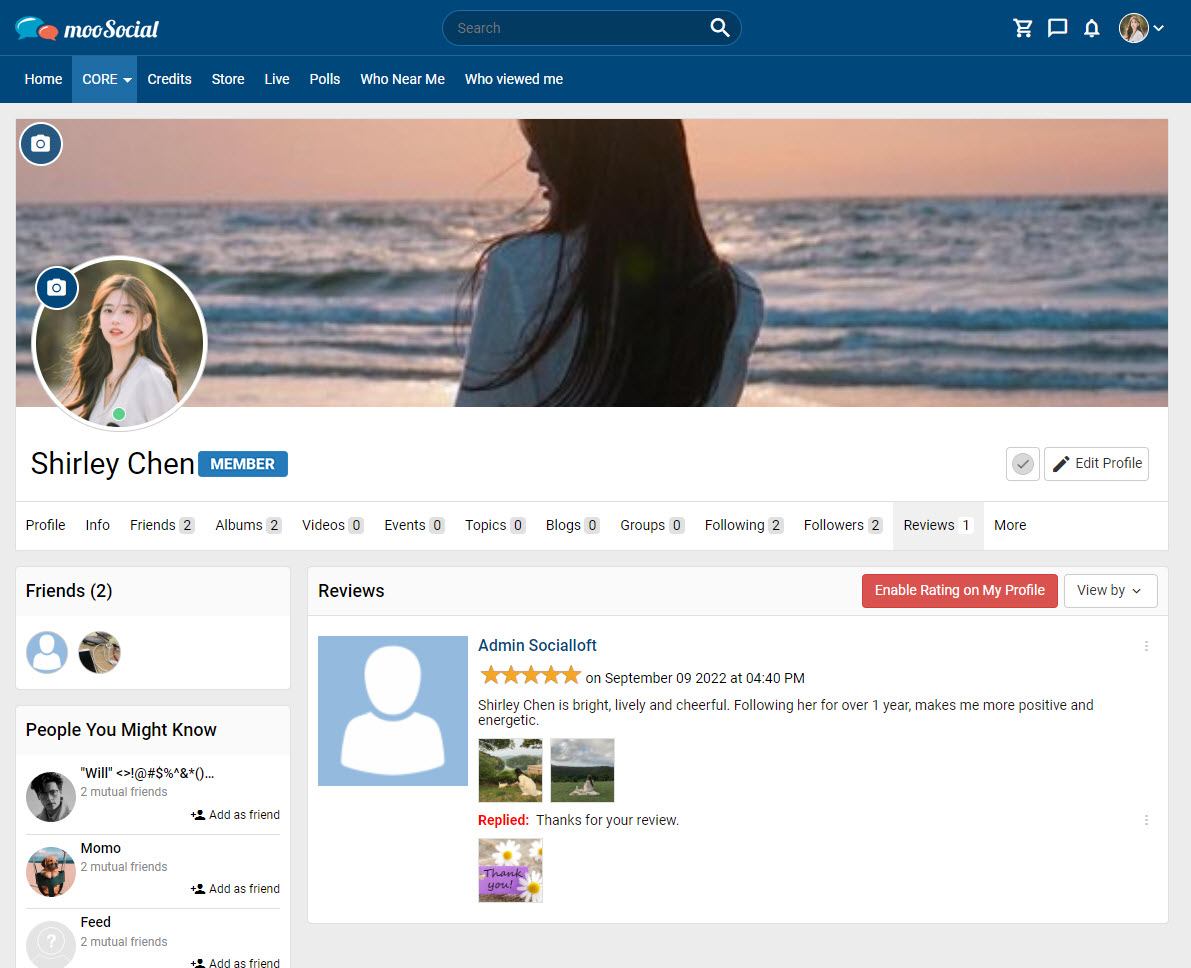
Profile owner views
Now, the review/rating feature has been disabled on your profile page. When other members visit your page, they can no longer write reviews or rate your profile.
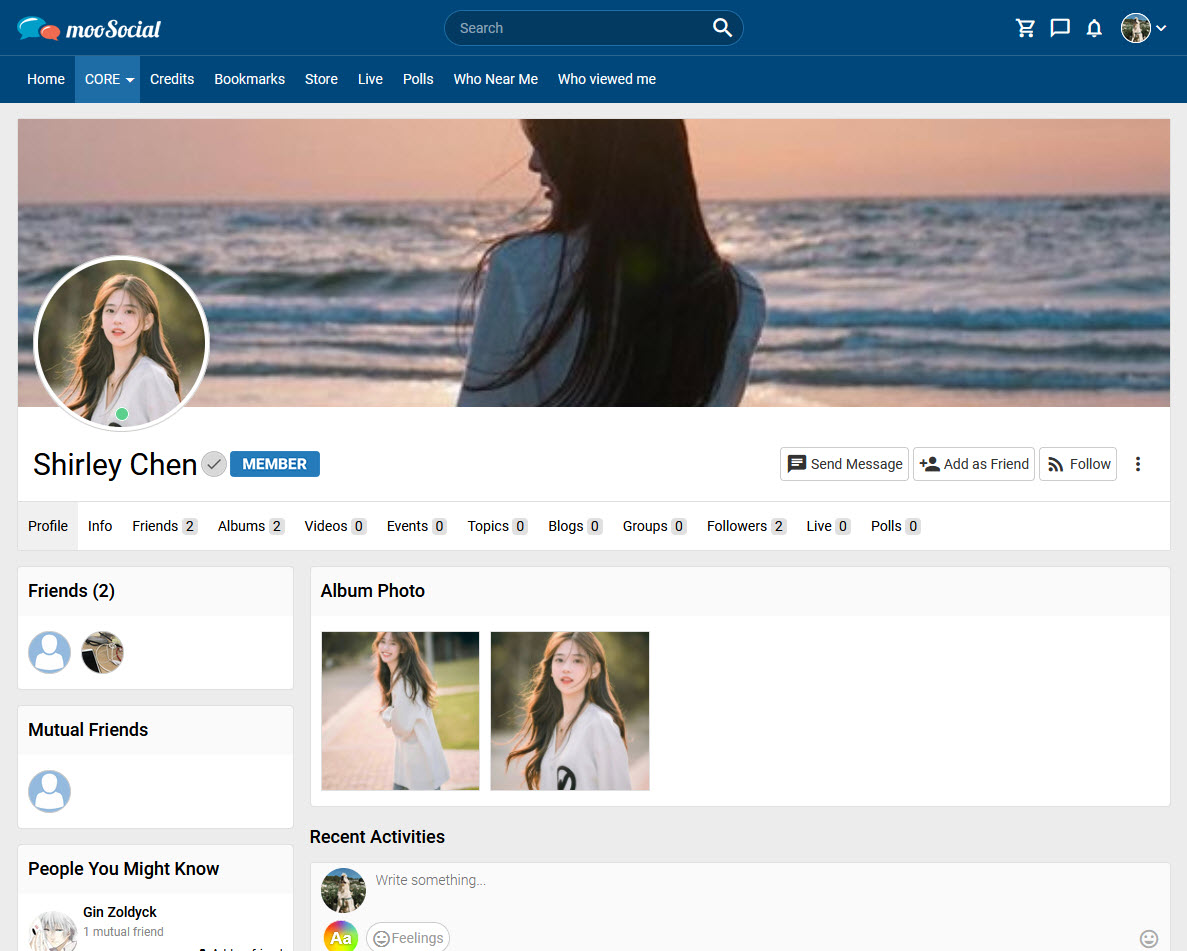
Other users view
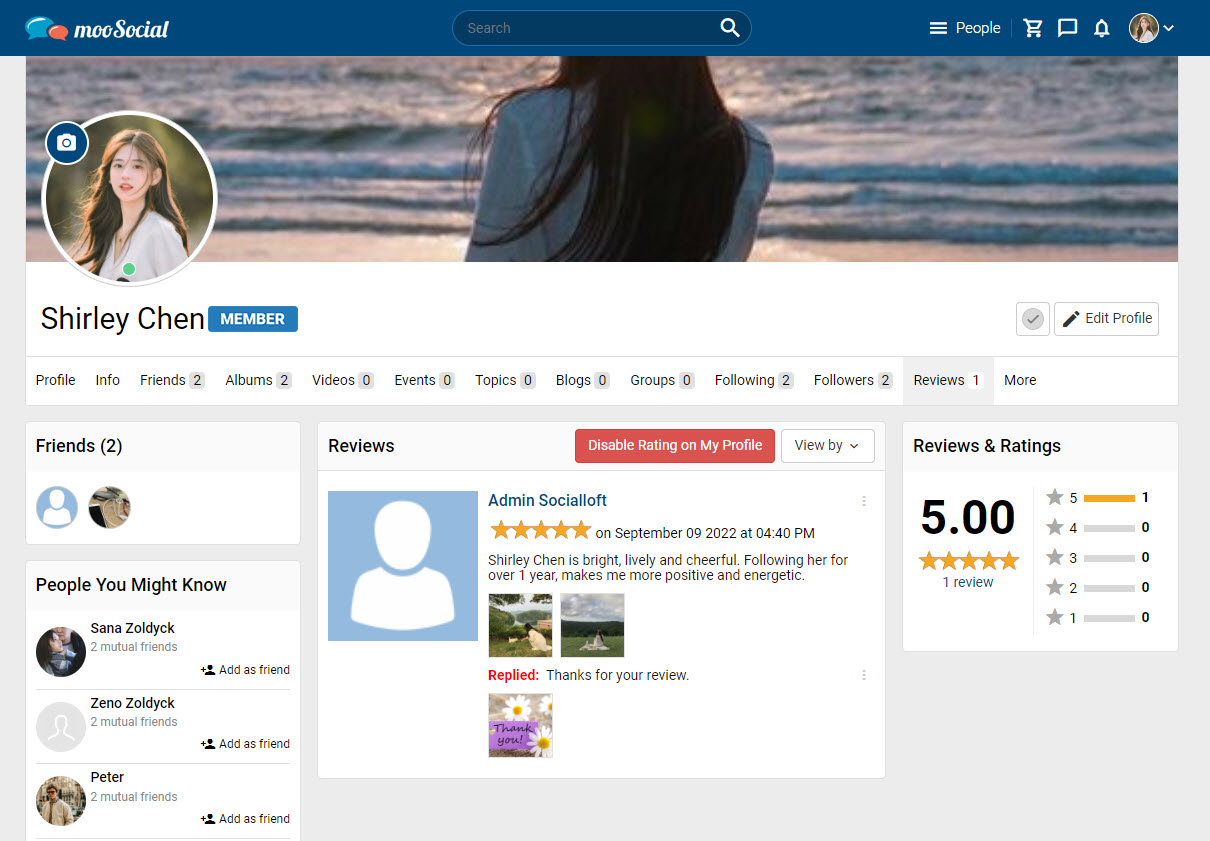
You can respond to reviews left on your profile by visitors. Follow the below short instruction to learn more.
Step 1: Go to User Profile page => Reviews tab.
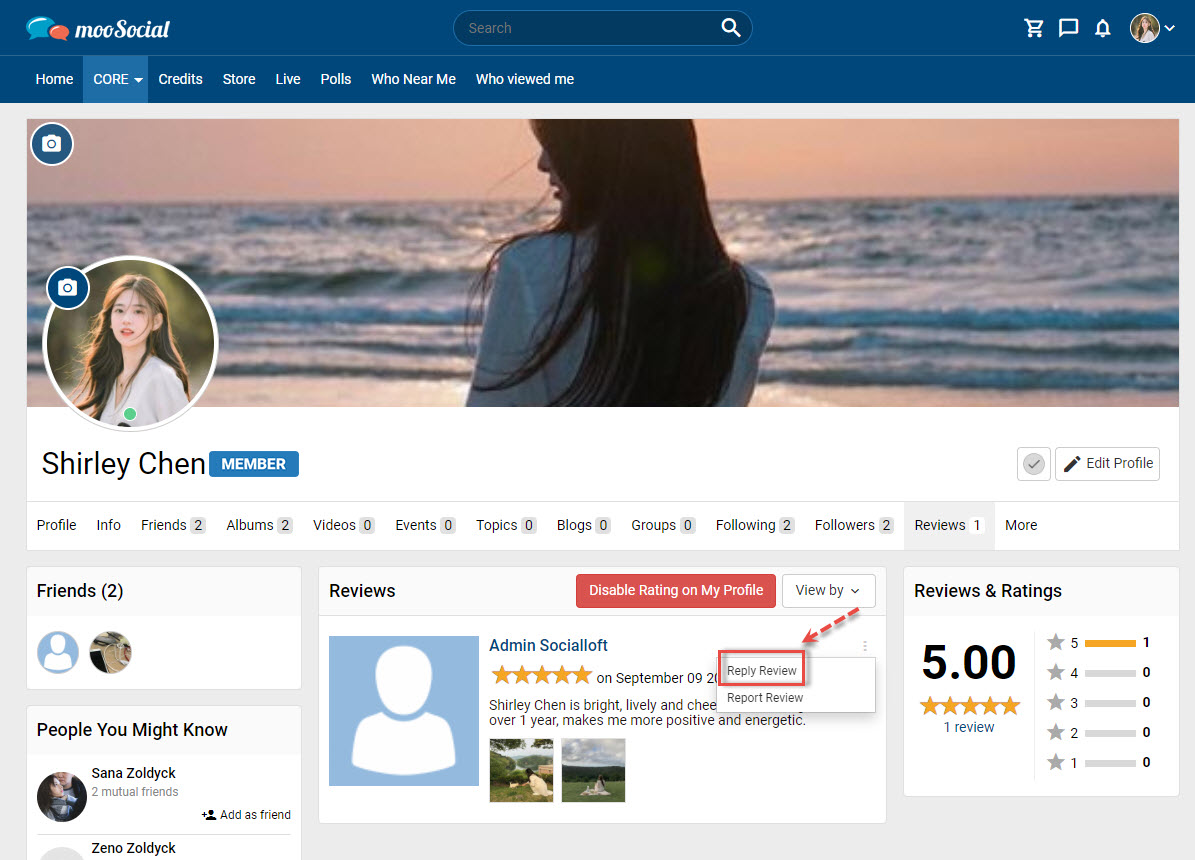
Step 2: Click the options icon => select Reply Review option => show pop-up.
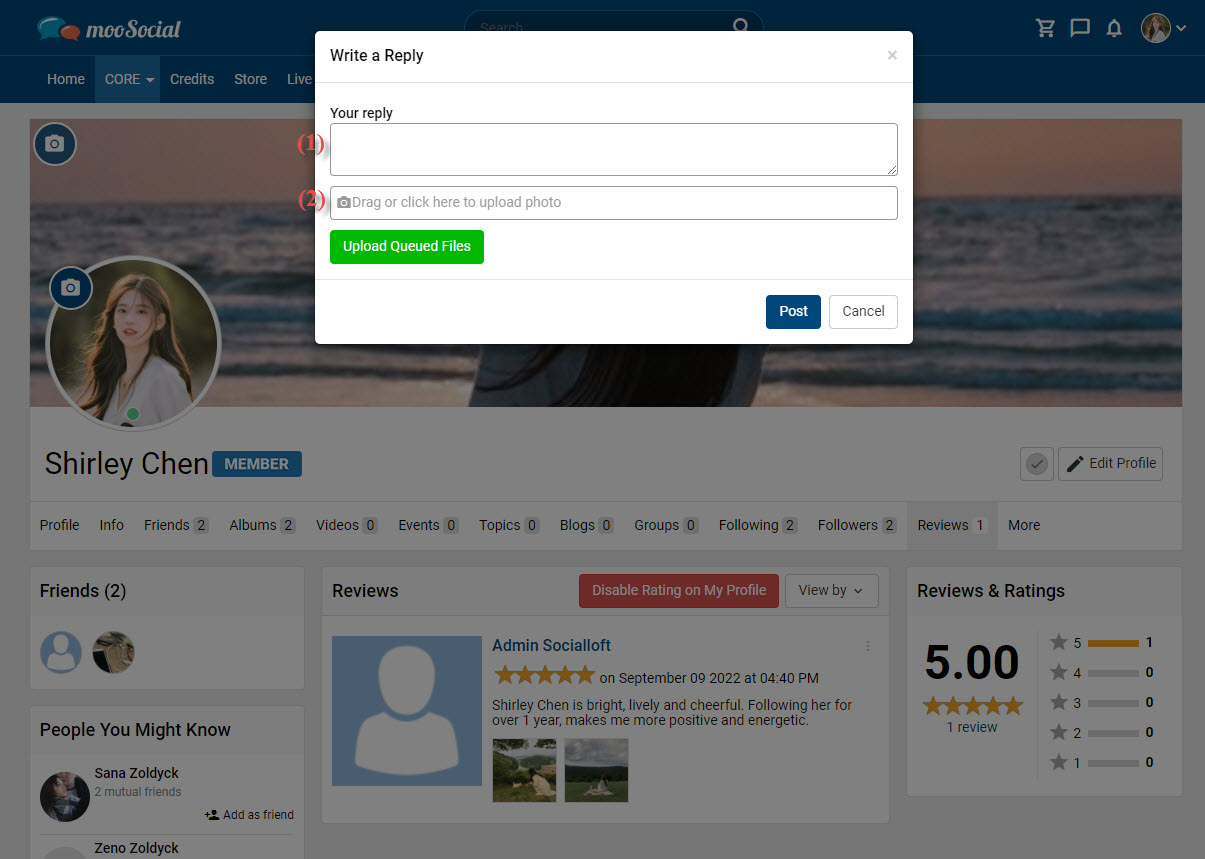
Step 3: Fill in the blank fields:
[1] Enter your reply.
[2] Click here to upload photos (optional field).
=> Click the Post button to submit a reply.
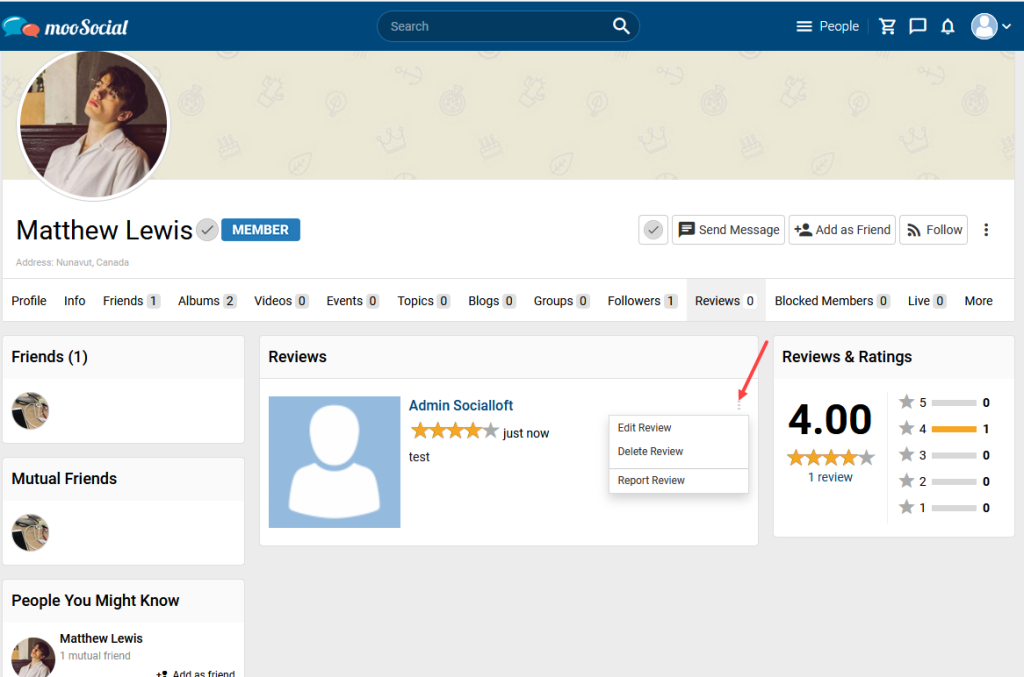
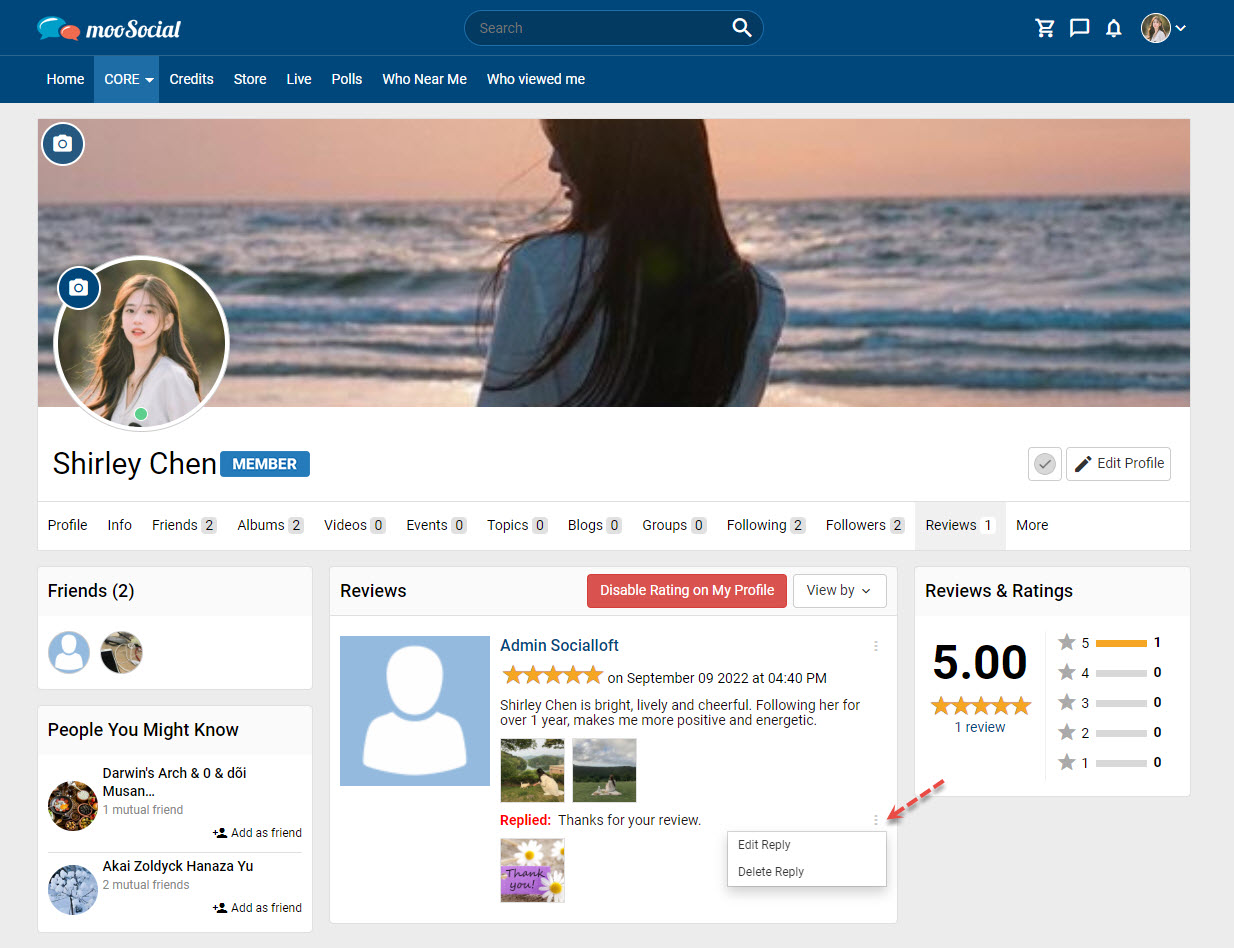
Step 4: Edit/ delete the submitted reply by clicking the 3 dots icon.
MooSocial users can use the Profile Rating plugin to review and rate each other’s profiles. In this article, we’ll share you how to post a profile review.
Step 1: Go to others Profile page
Before that, please make sure Profile Rating is activated on user profile page How to activate the Profile Rating plugin?.
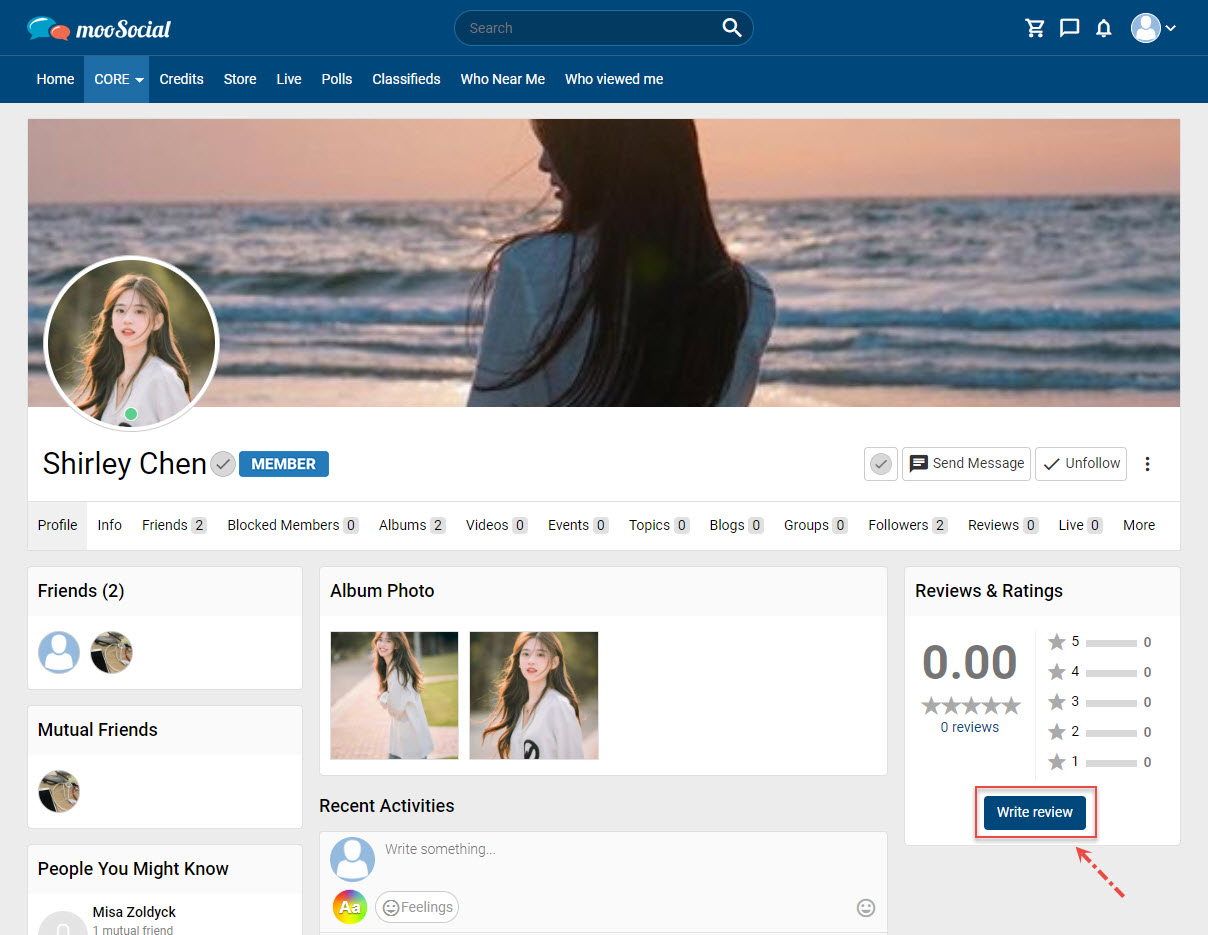
Step 2: Click the Write review button in the ‘Reviews & Ratings’ section => show pop-up.
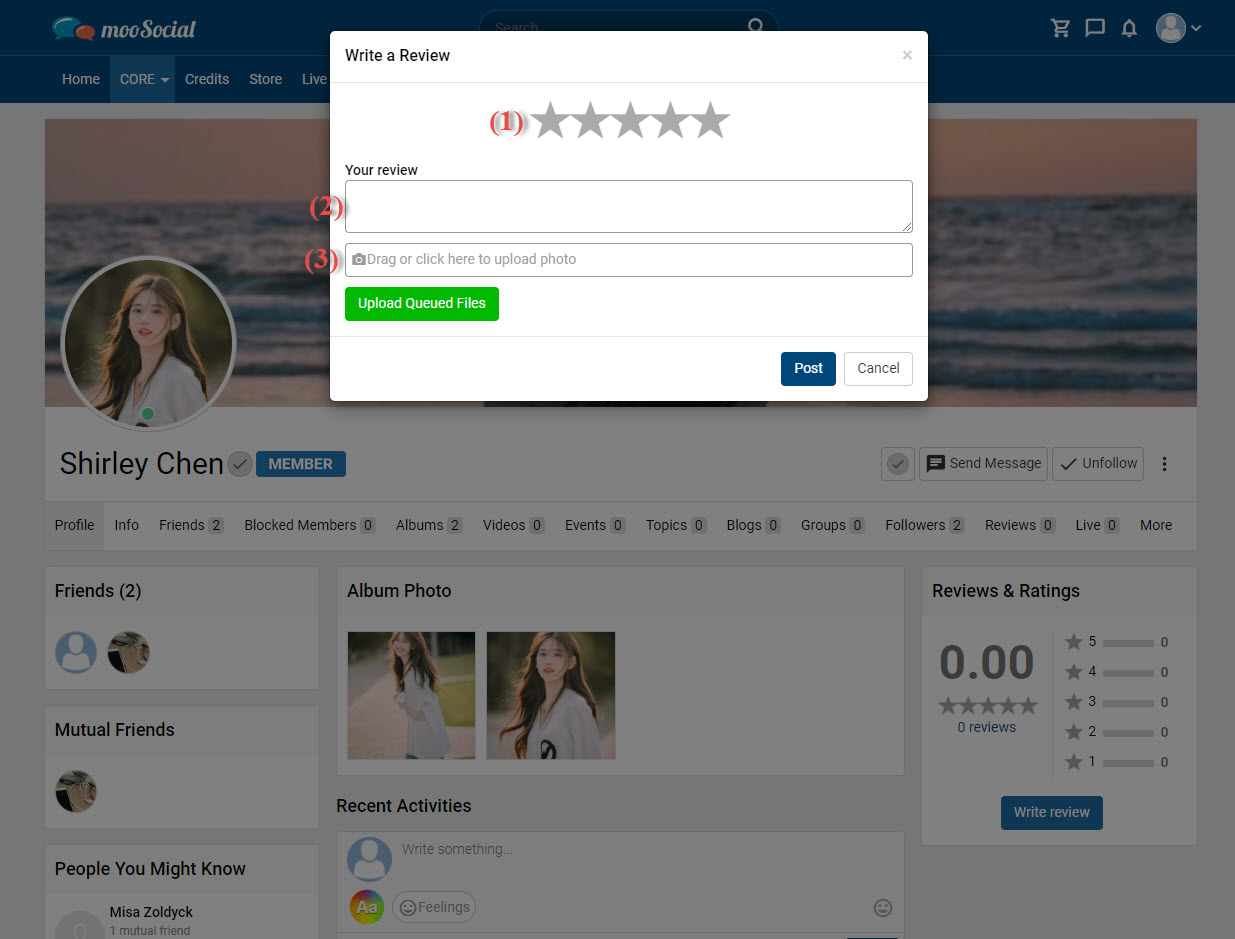
Step 3: Fill in the blank fields:
[1] Select a star rating.
[2] Enter your review content.
[3] Click here to upload photos (optional field).
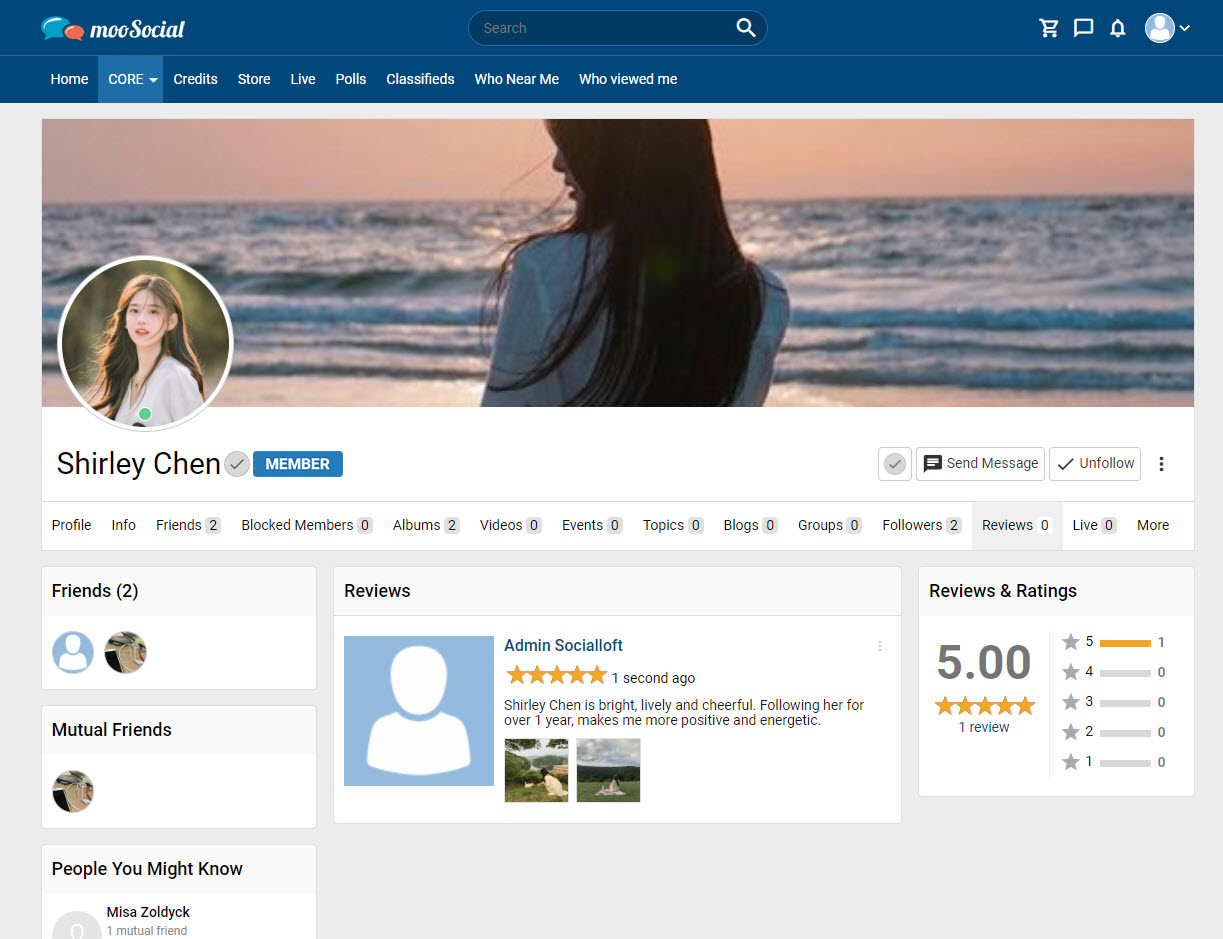
=> Click the Post button to submit a review. You will see your review on the Reviews tab.
Step 4: Edit/ delete the submitted review by clicking the 3 dots icon.