To use the Profile Rating plugin, the Site Admin must first drag and drop the Reviews & Ratings widget into the front-end. To understand how to do it, follow the steps below.
(Back-end) Access to Admin Dashboard => Site Manager => Theme Manager => Layout Editor
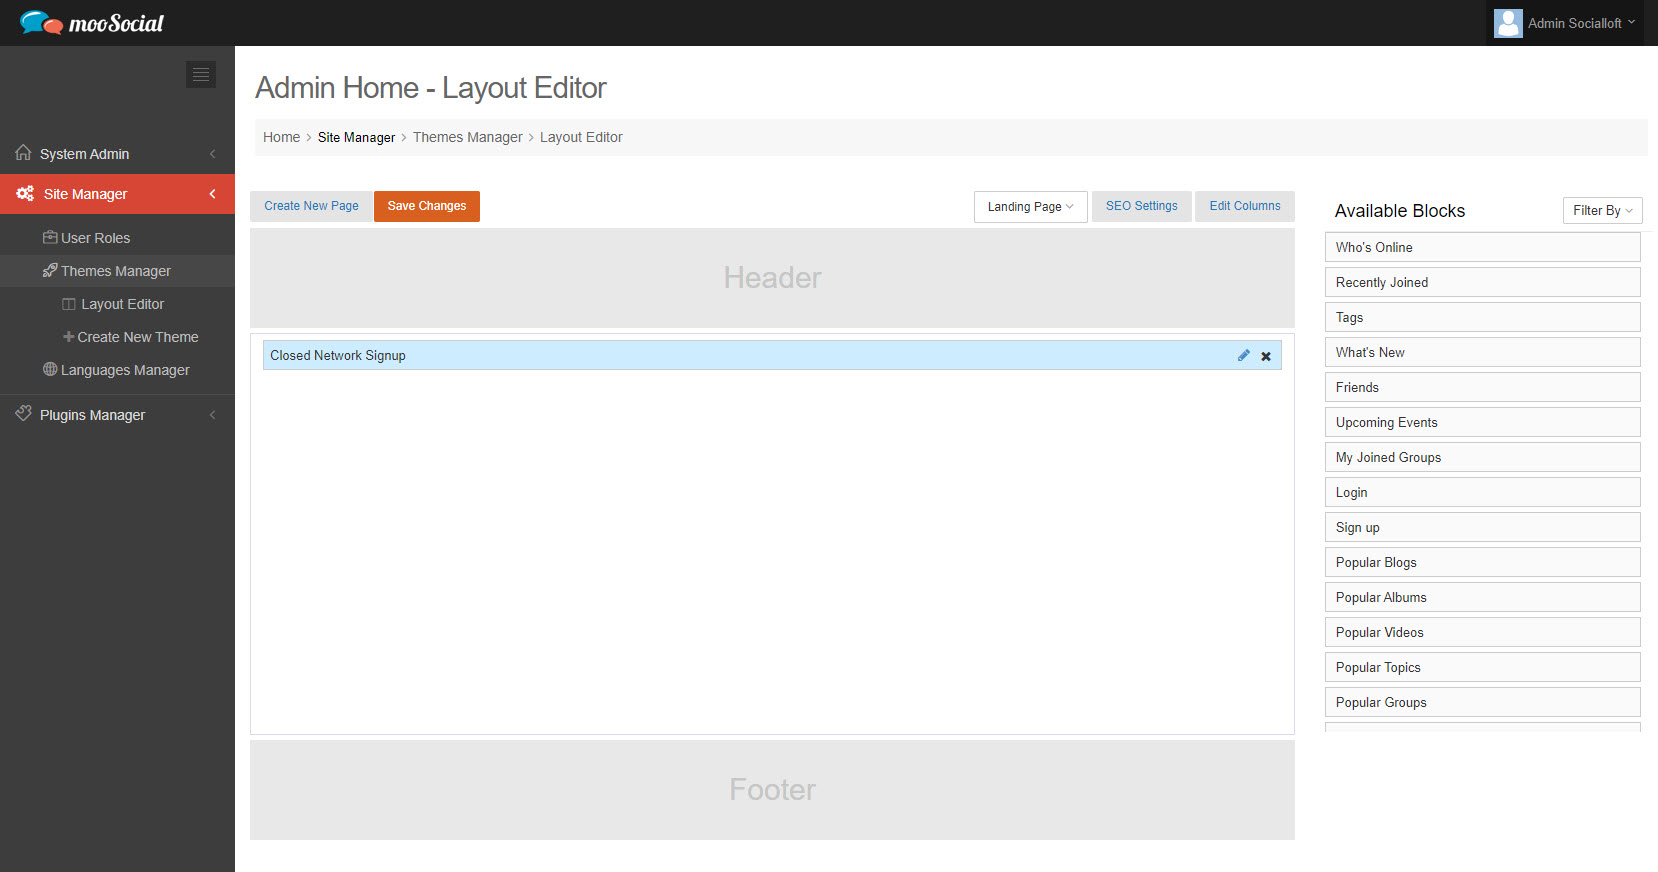
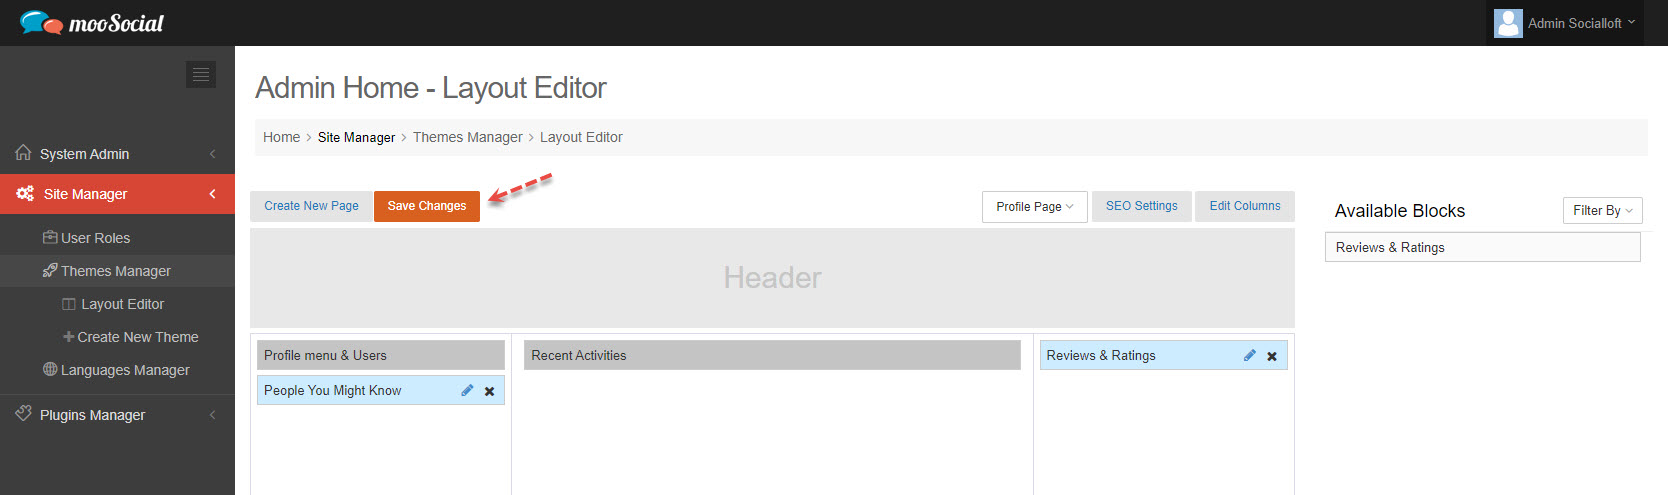
Select the page where you want to put the widget (in this tutorial will be the Profile page).

Filter the review widget by checking on review => Submit button.
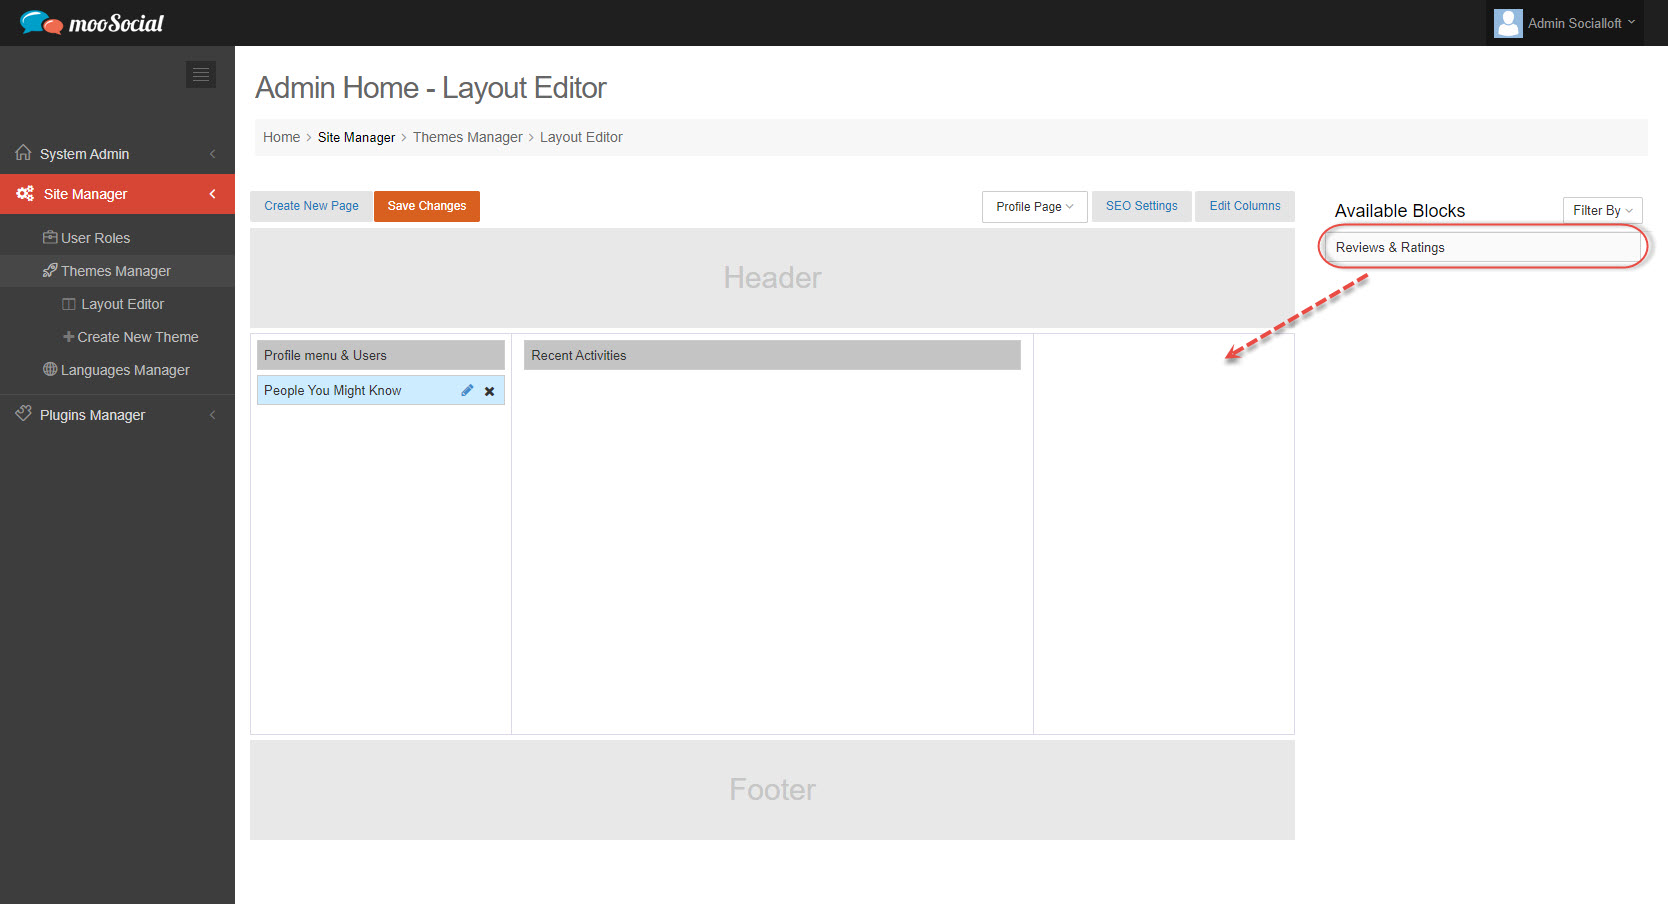
Drag and drop Reviews & Ratings widget => show pop-up
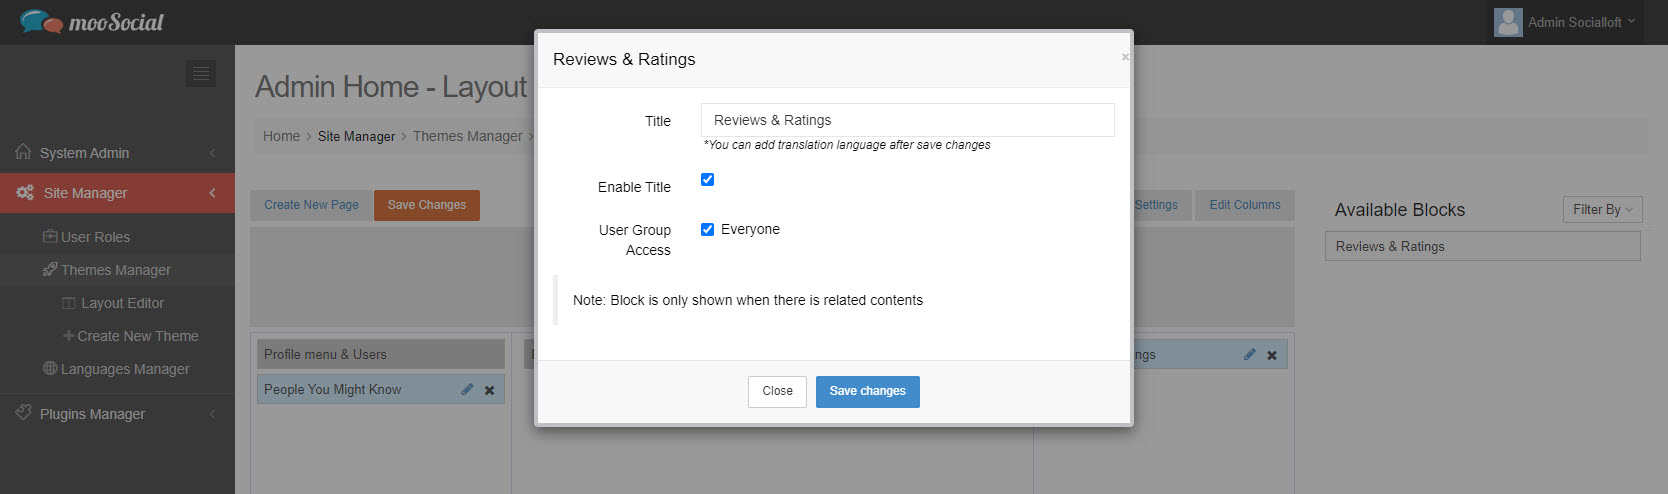
Edit component information => Click the Save changes button.
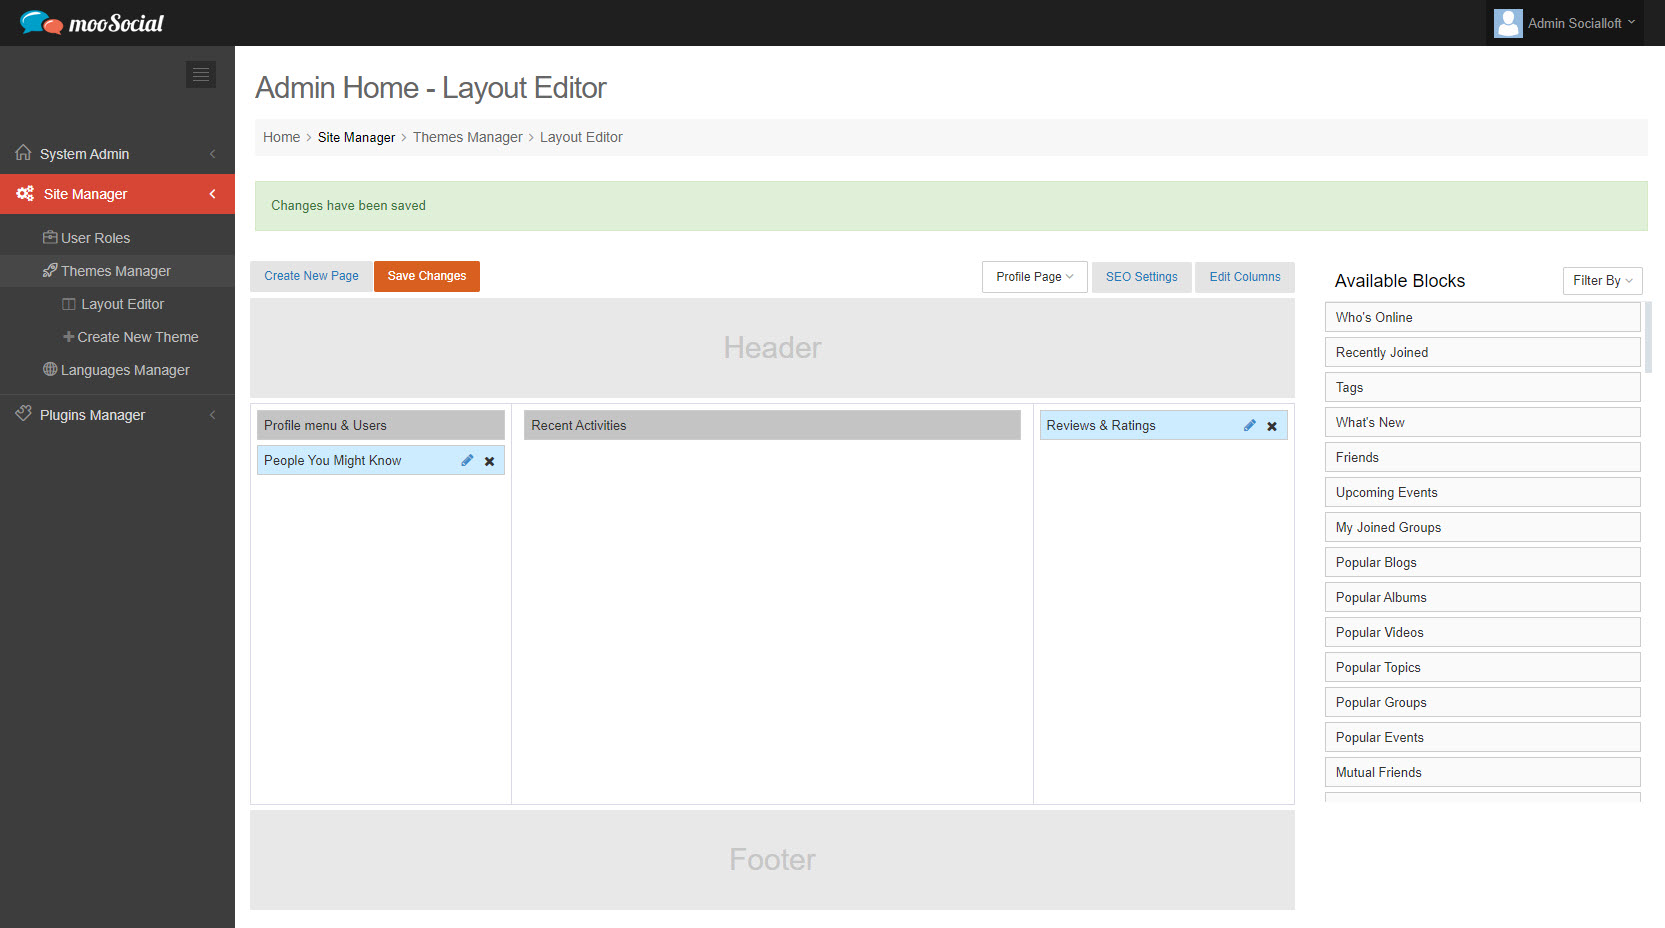
Your changes have been saved.
(Front-end) Go to the User Profile page: you will see the Reviews & Rating widget.
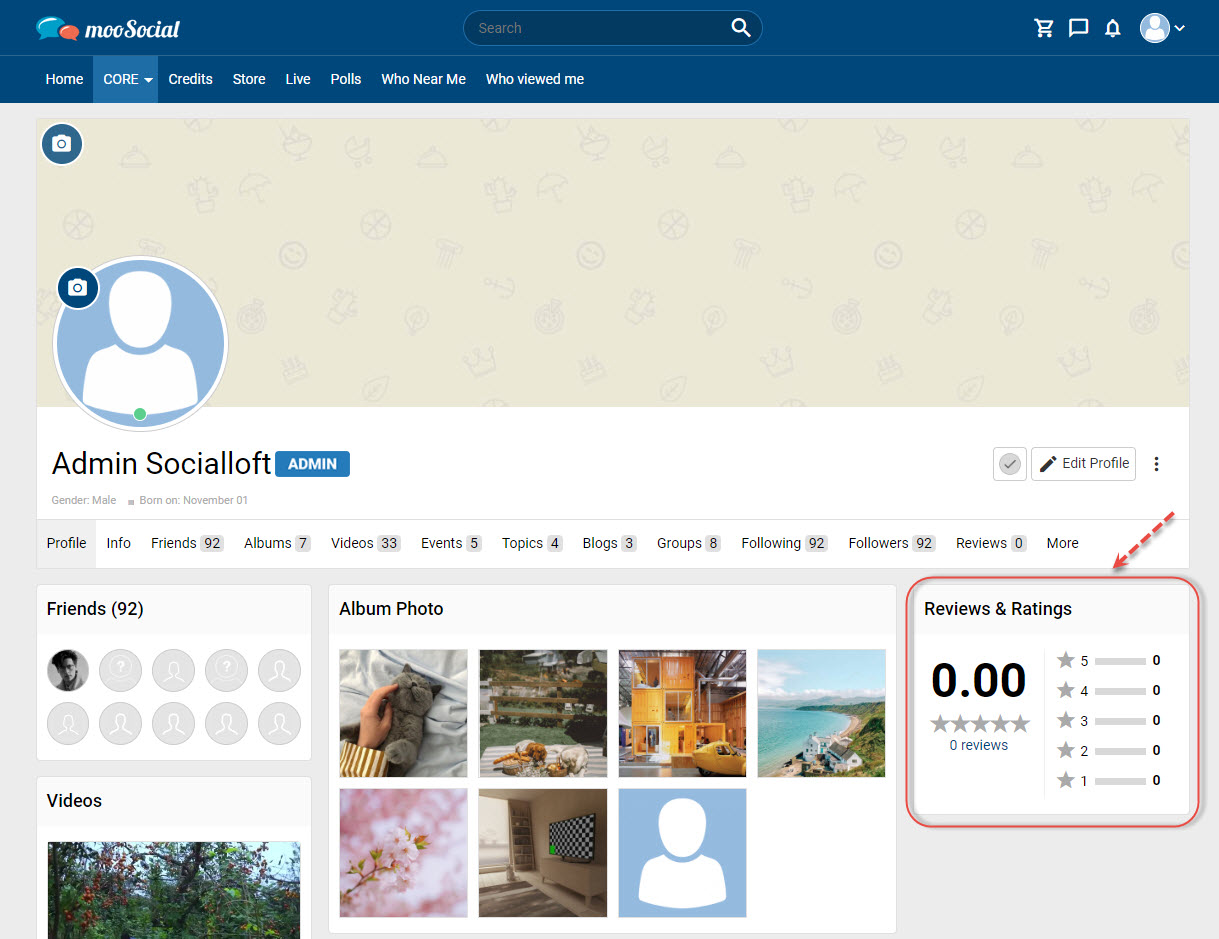
Enjoy it.
The Video Upload plugin allows the Site Administrator to specify the location of the uploaded videos (Server or Vimeo Account). Follow this guide for more information.
NOTE: To use this feature, you must first generate an API key (How to create API keys for Vimeo ?)
(Back-end) Access to Admin Dashboard => Plugin Manager => Upload Video => Settings
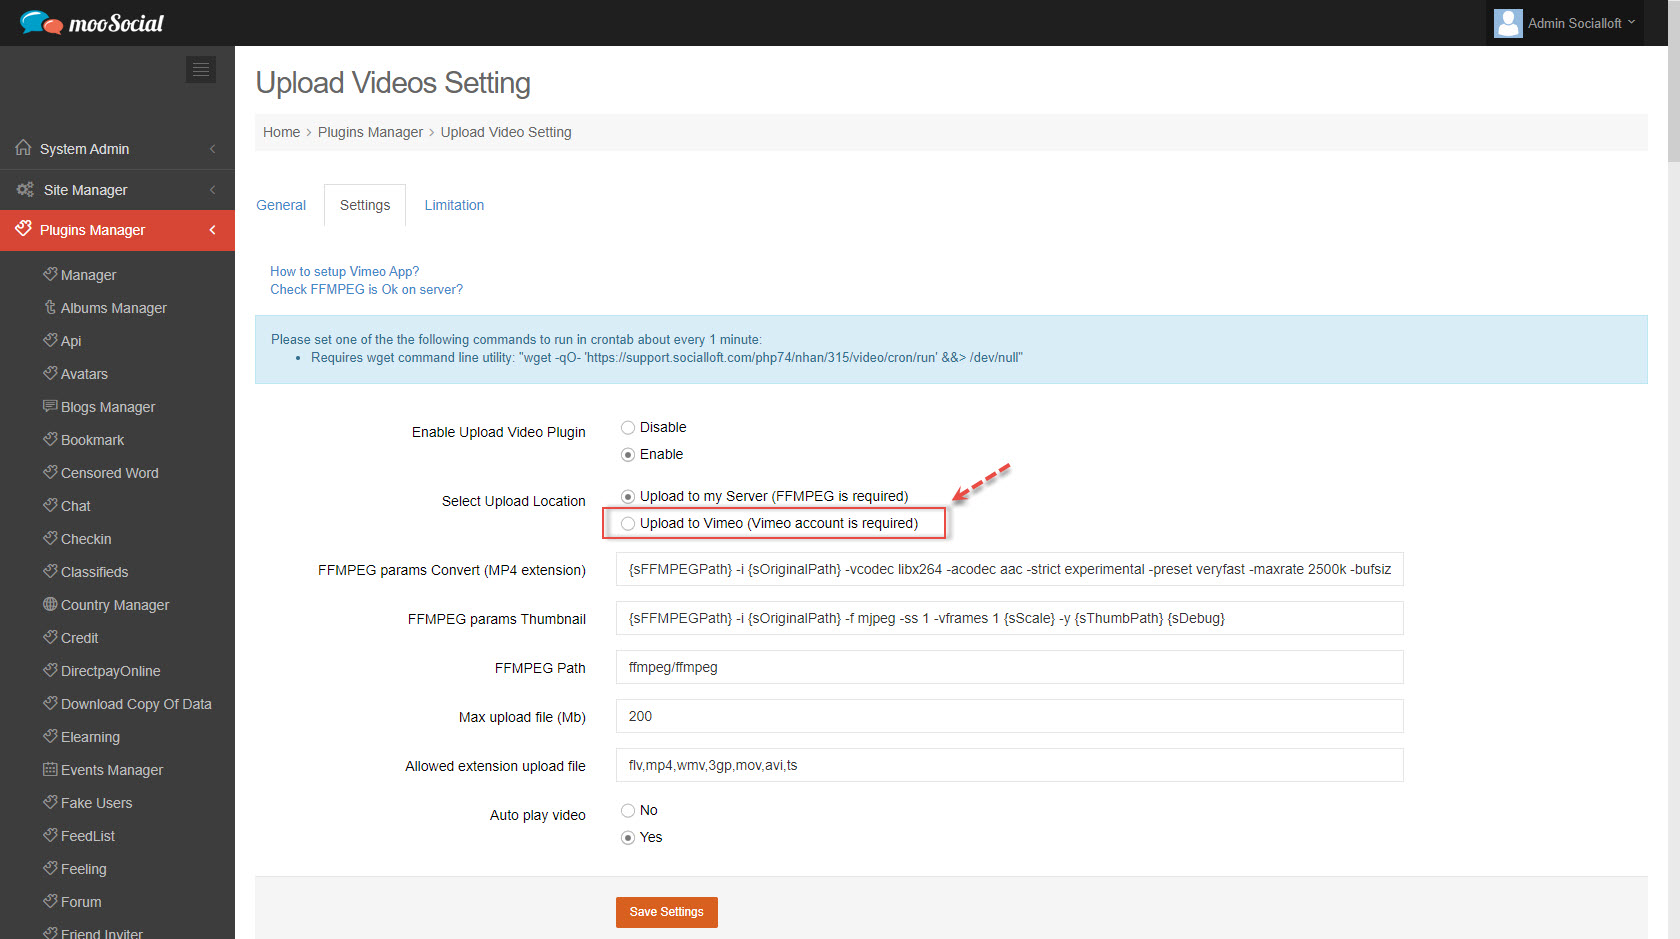
Tick the “Upload to Vimeo” field => show expand.
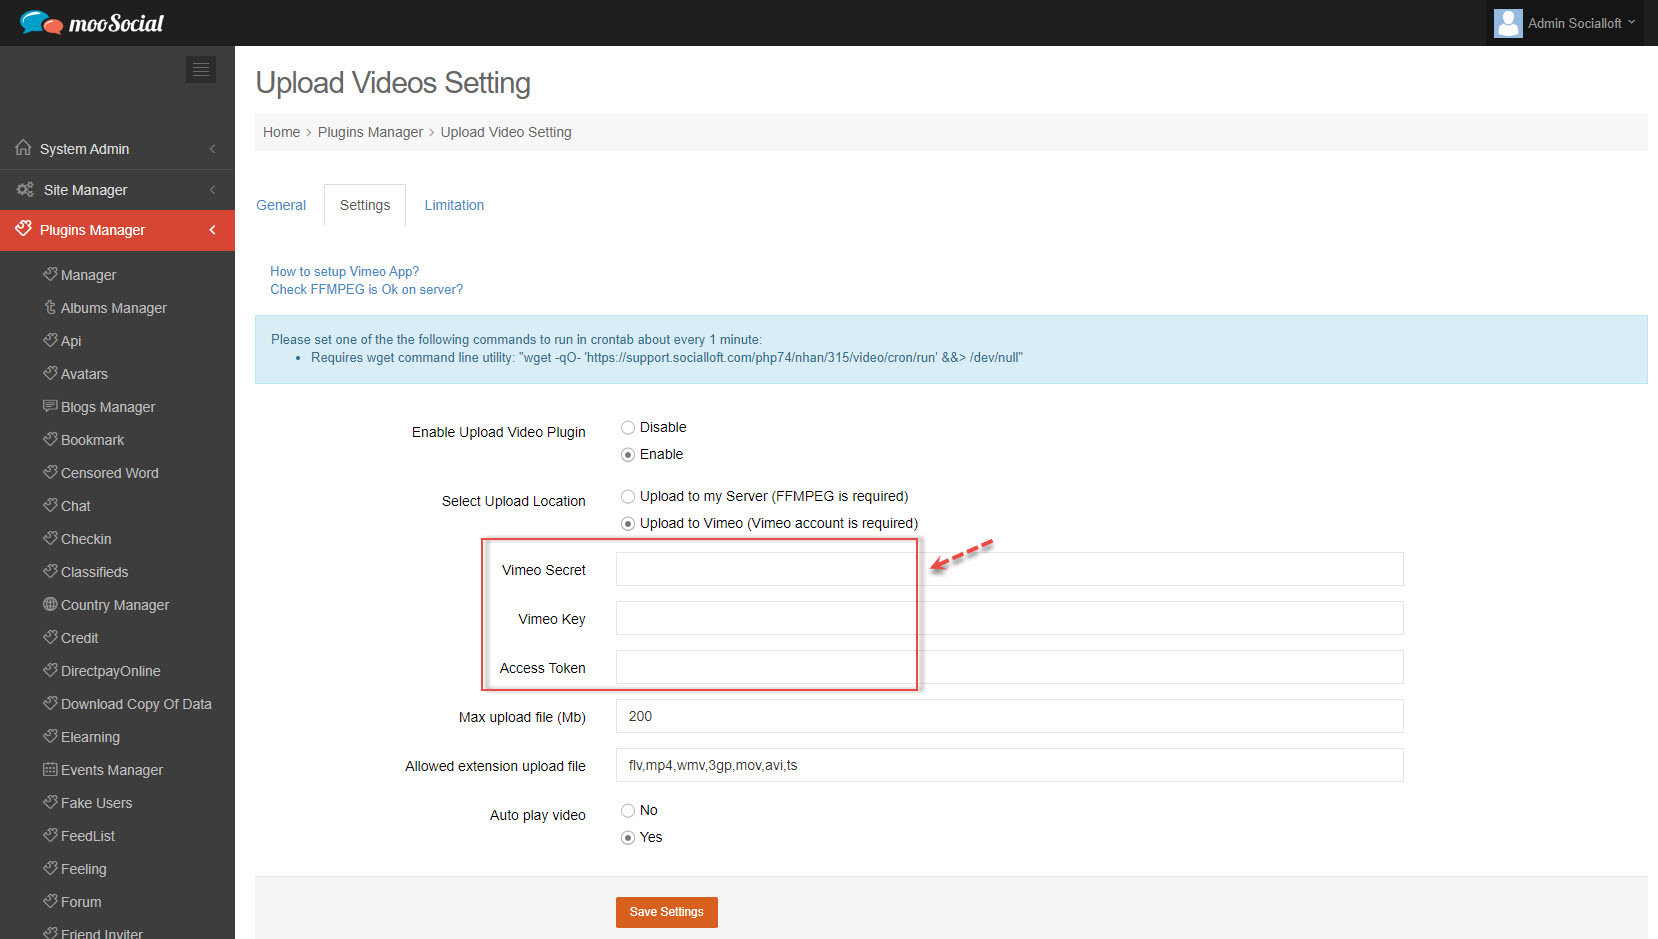
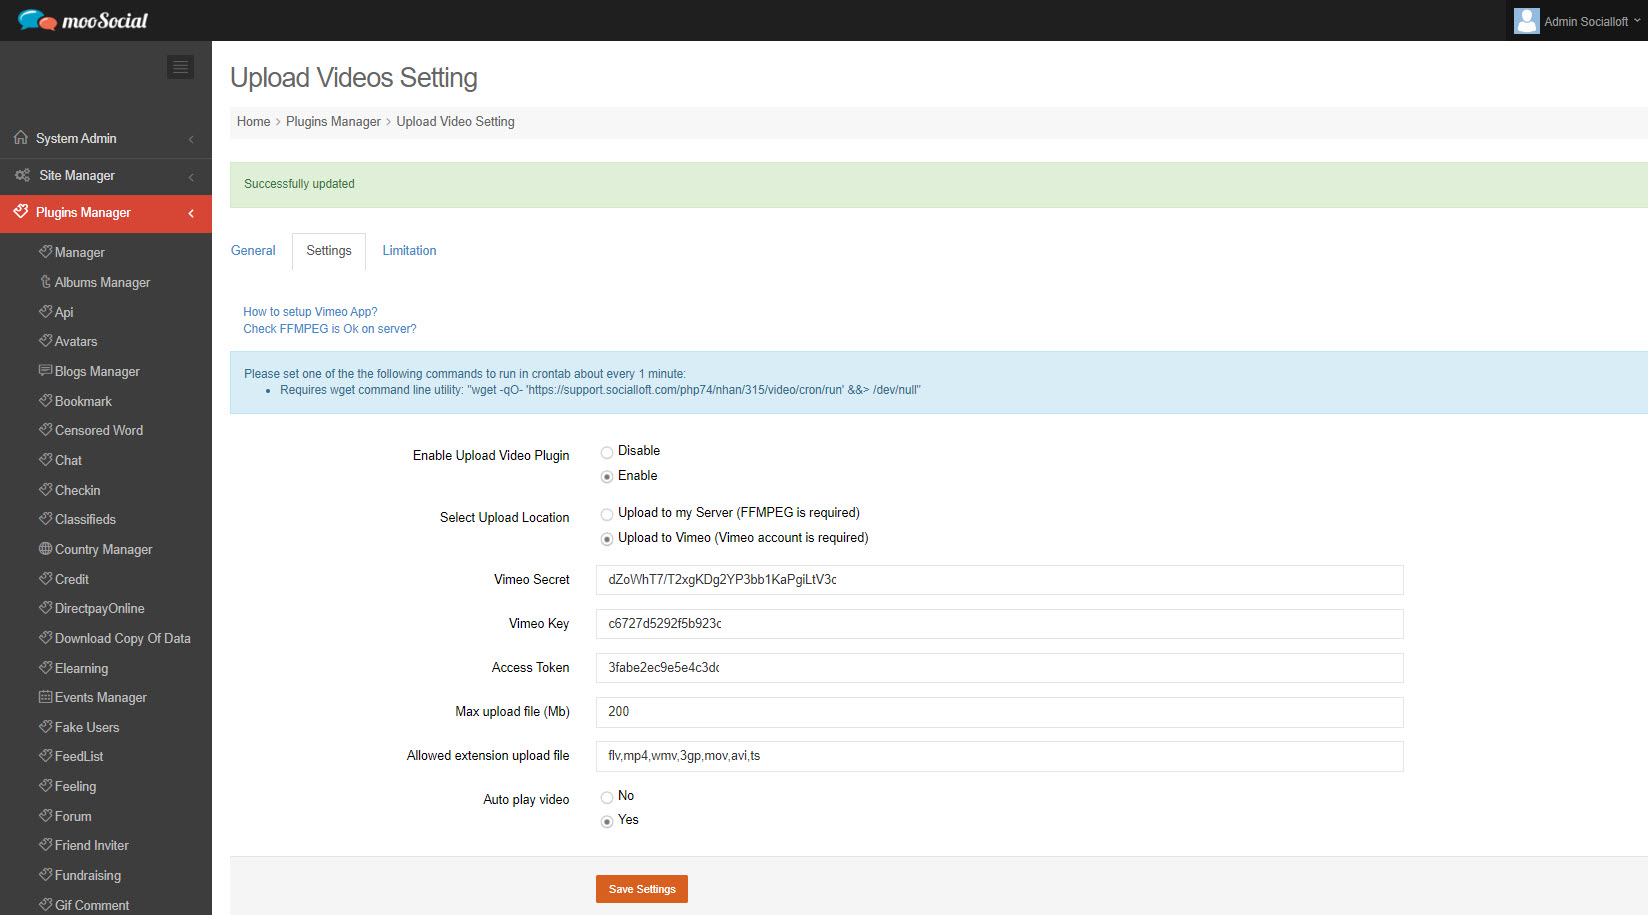
Enter Vimeo Secret, Vimeo Key and Access Token => Click the Save Settings button.
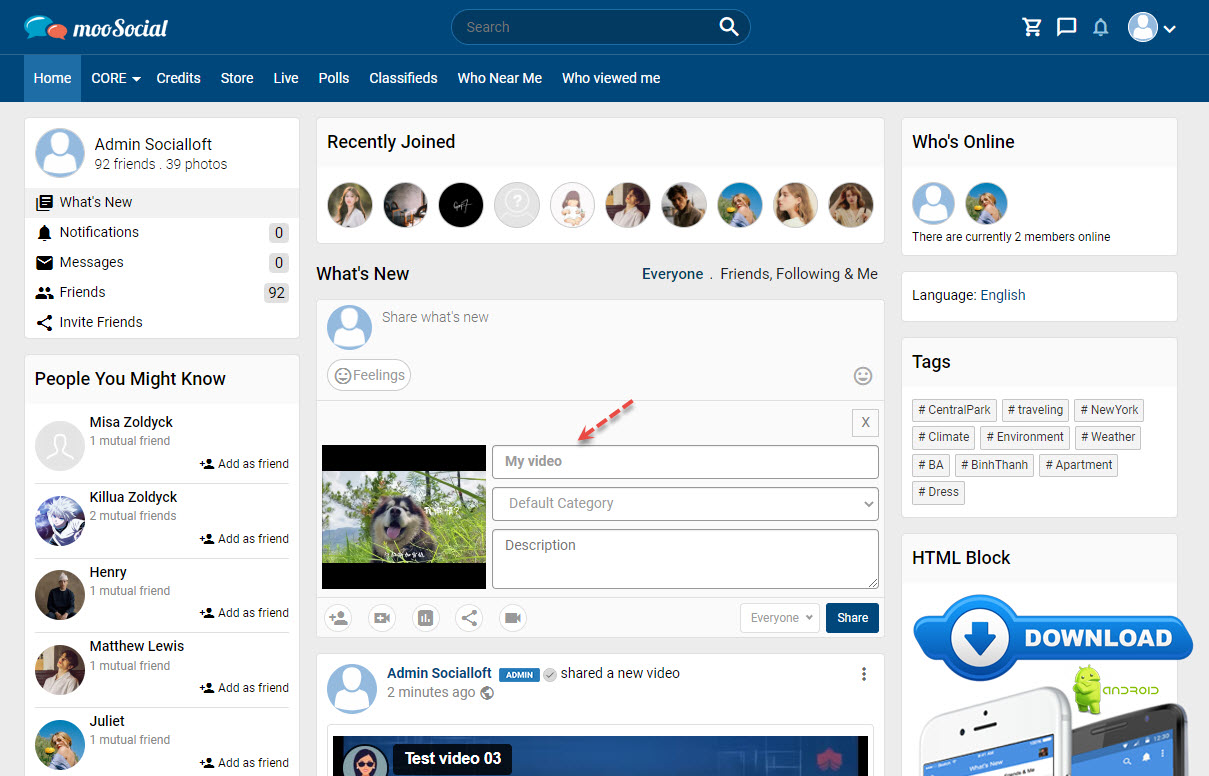
(Front-end) Select the video you want to upload => Click the Save button.
Your uploaded video will be visible on both the mooSocial website and your Vimeo account.
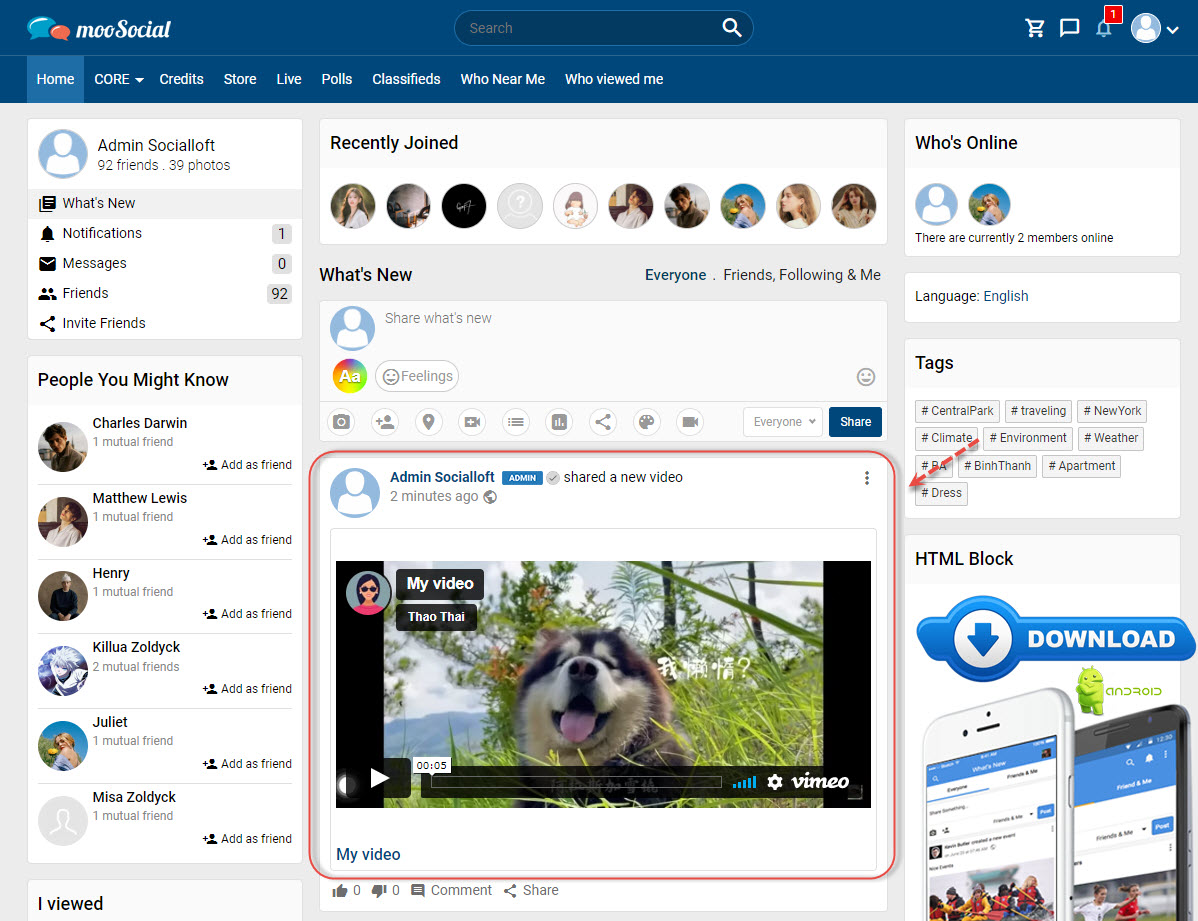
Home page
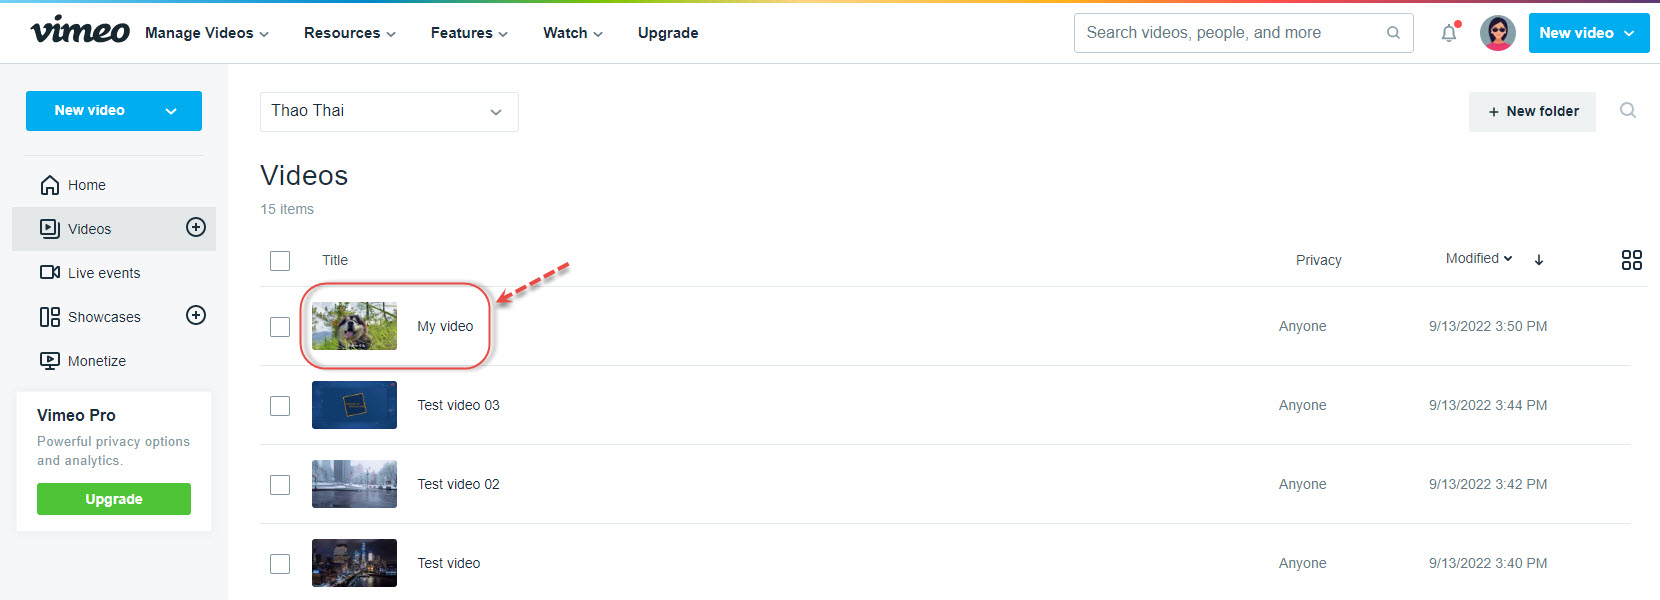
Vimeo account
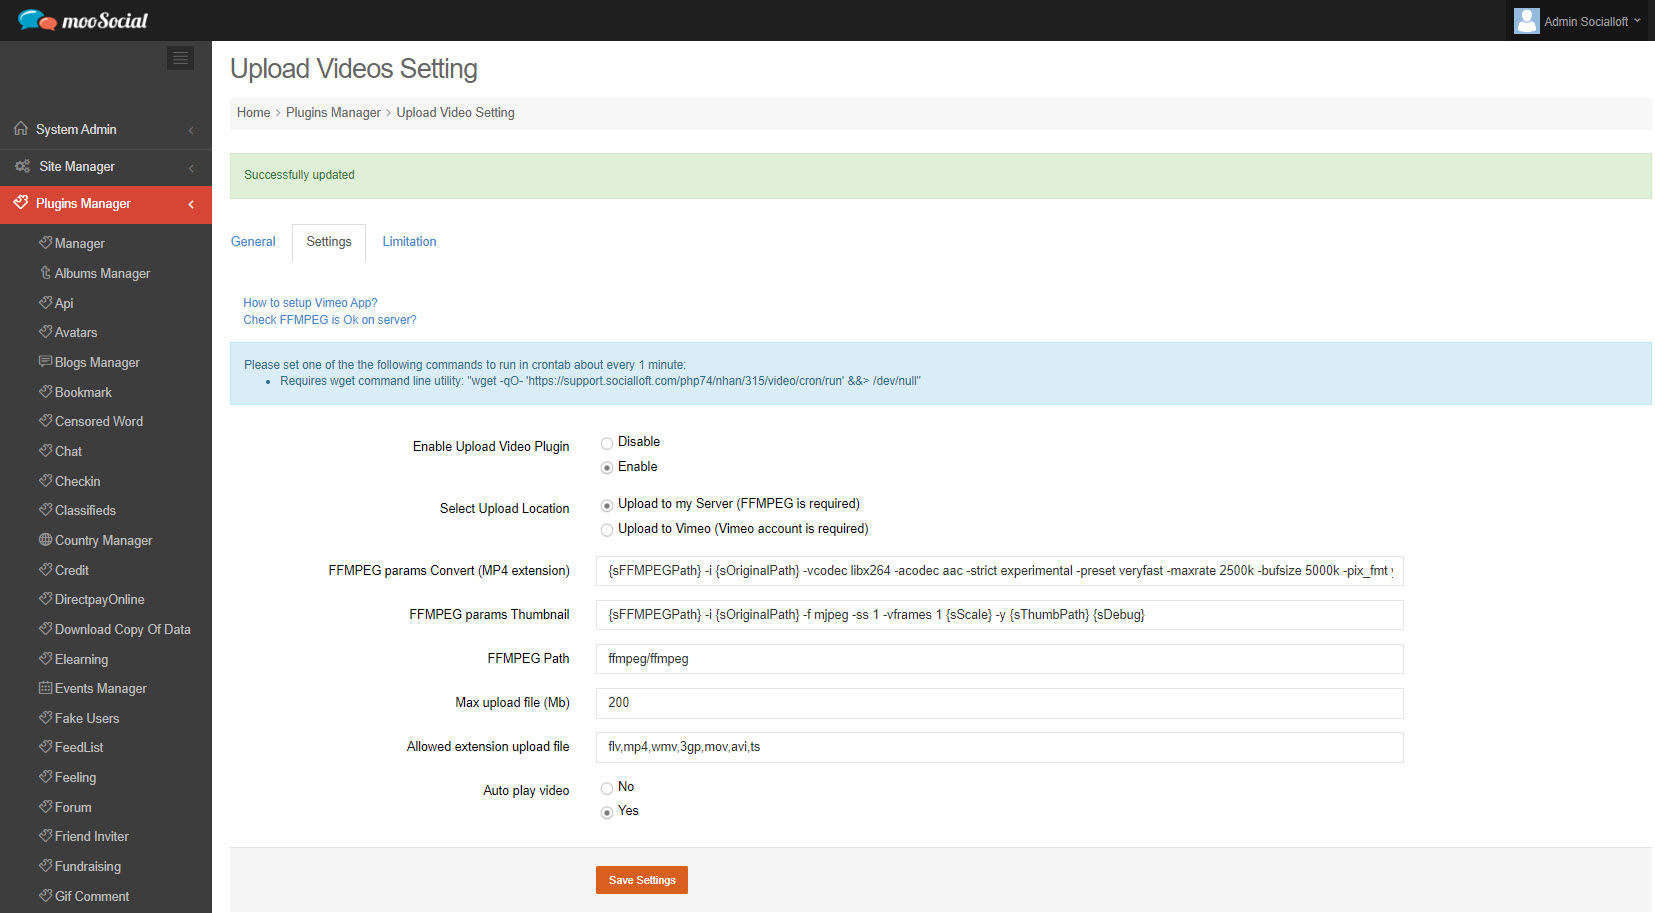
The Video Upload plugin includes an Auto-play feature that allows the uploaded video to start playing automatically when the page loads. If this feature is not enabled, Site Members must start the video manually.
Follow the steps below to know how to enable this feature.
Step 1: Access to Admin Dashboard => Plugin Manager => Upload Video => Settings
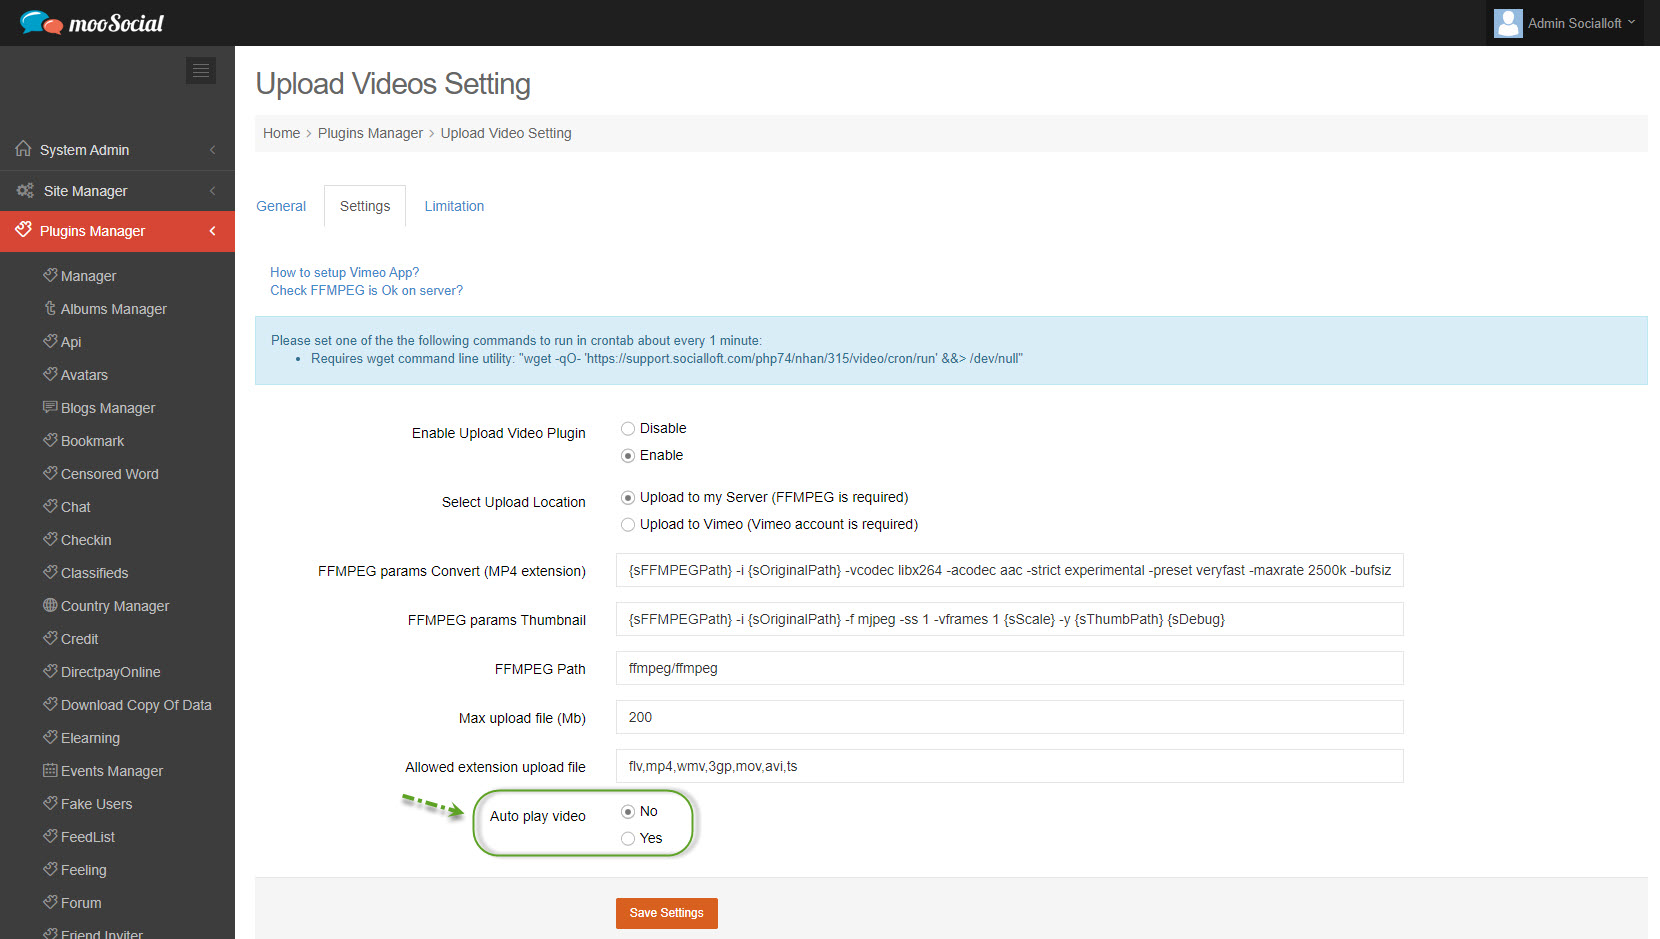
Step 2: Tick on “Yes” option.
Step 3: Click the Save Settings button.
Now, auto-play is enabled. Hopefully, this tutorial was helpful.
Sometimes you need to upload a large video file or limit the video size which members upload. In that case, increasing the maximum upload file size is very helpful. We’ll show you how to change the maximum upload file size in the Video Upload plugin in this tutorial.
Access to Admin Dashboard => Plugin Manager => Upload Video => Settings
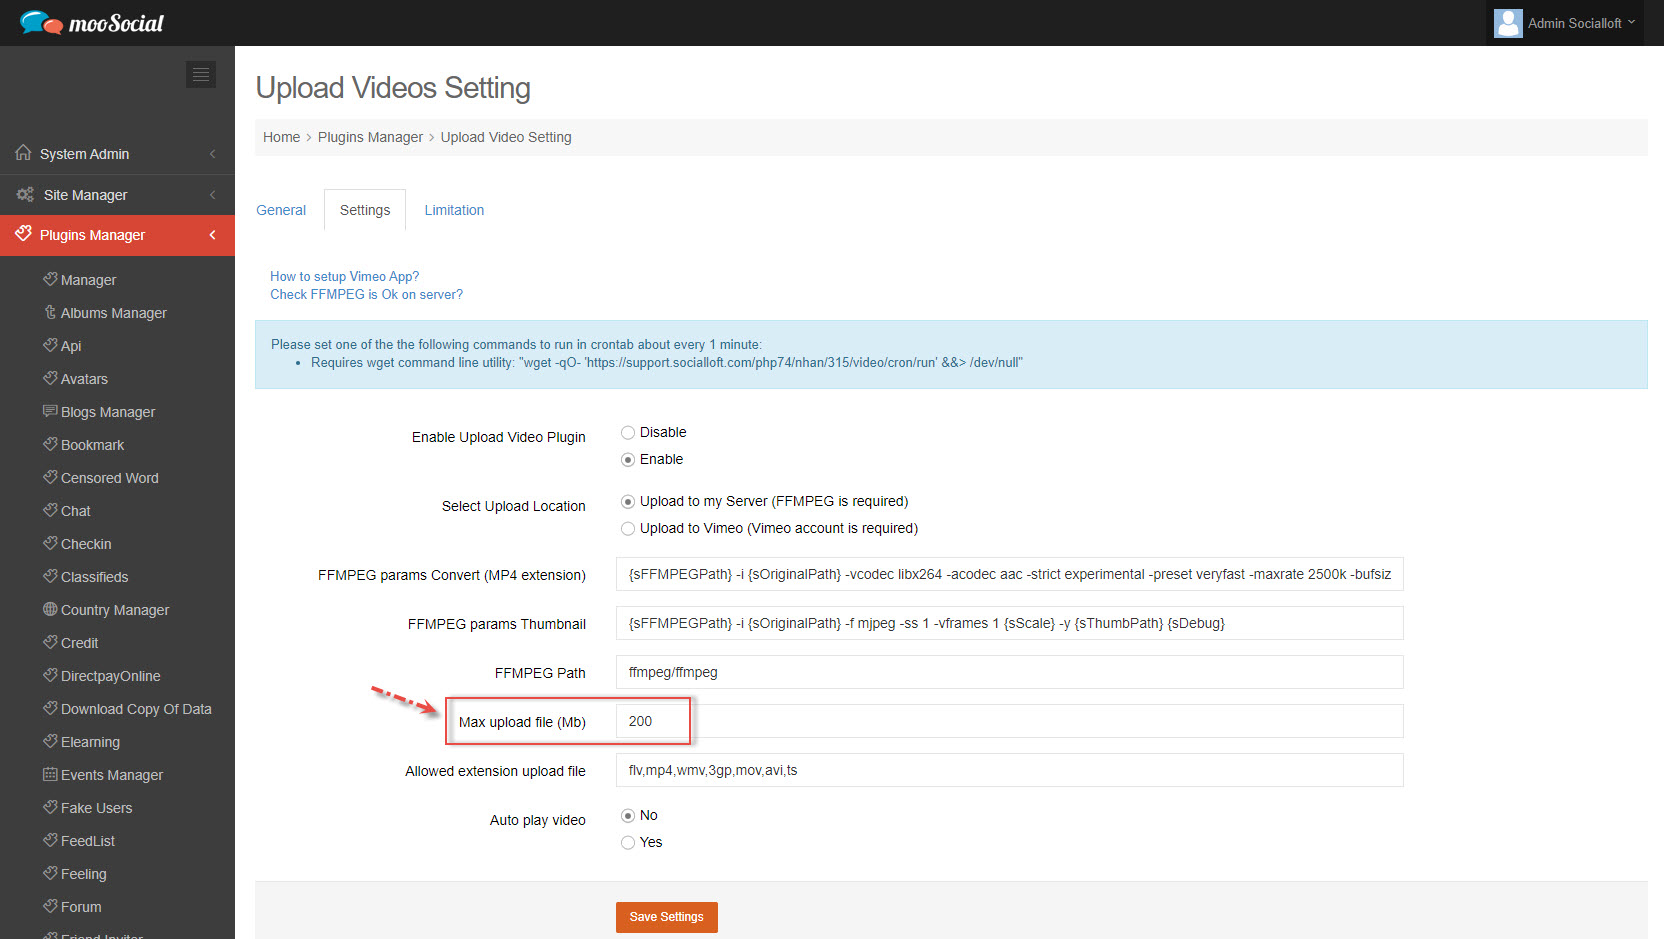
Enter file size => Click the Save Settings button.
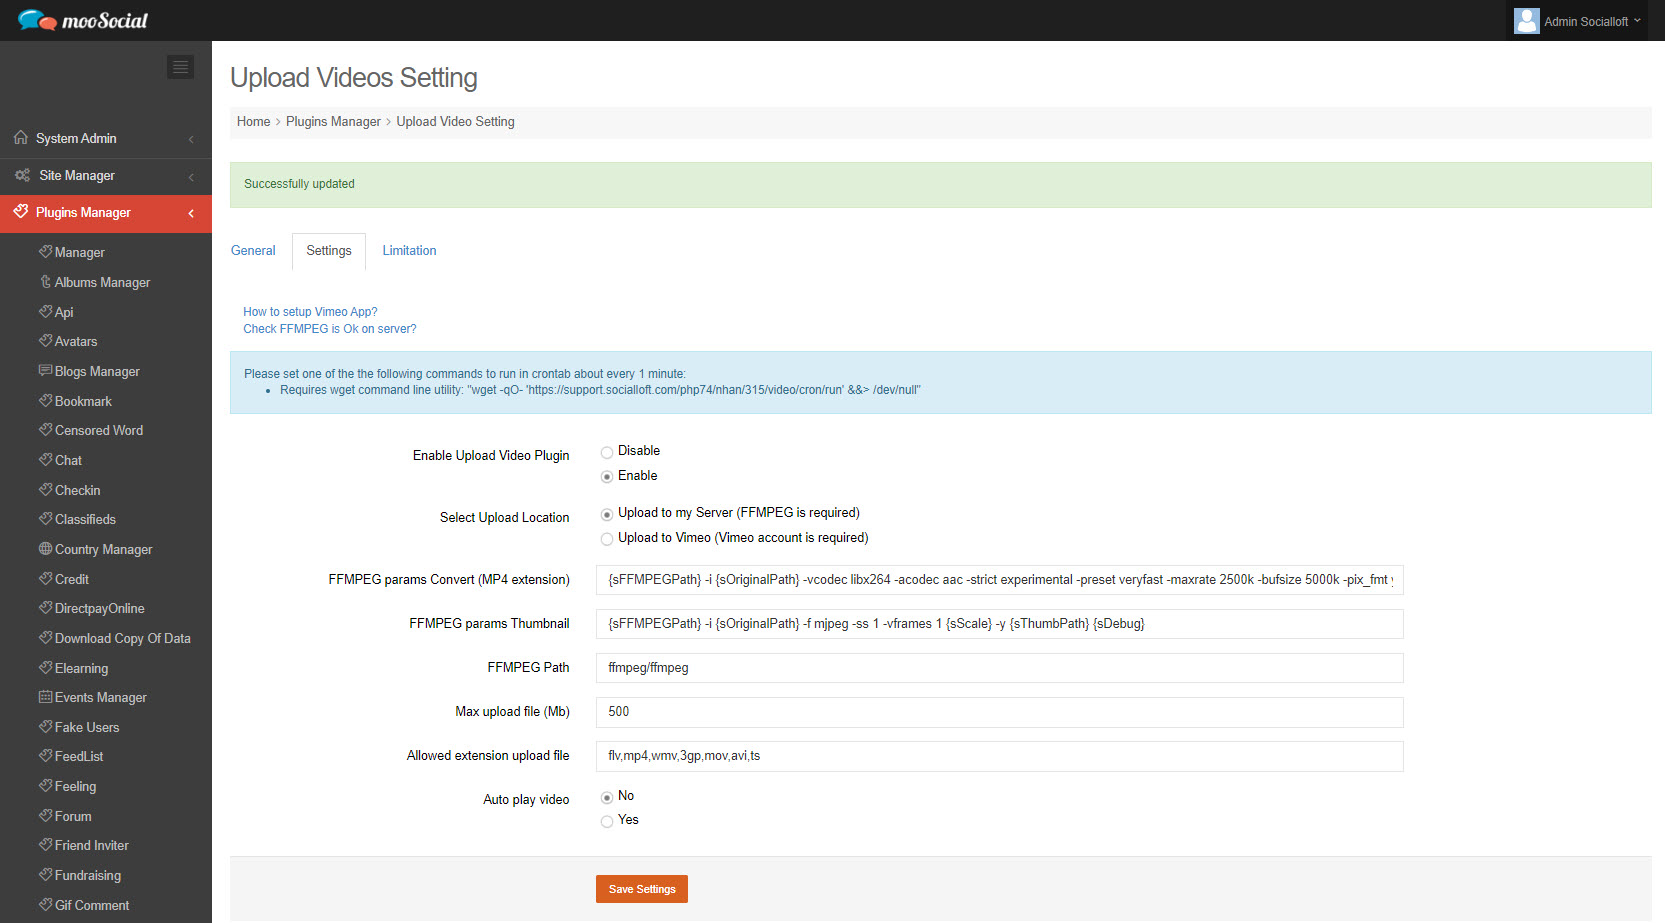
Now, you can upload large video files to your website.
This tutorial will demonstrate to you how the Site Admin can use the Video Upload plugin to set the video upload limit for each user role.
Access to Admin Dashboard => Plugin Manager => Upload Video => Limitation
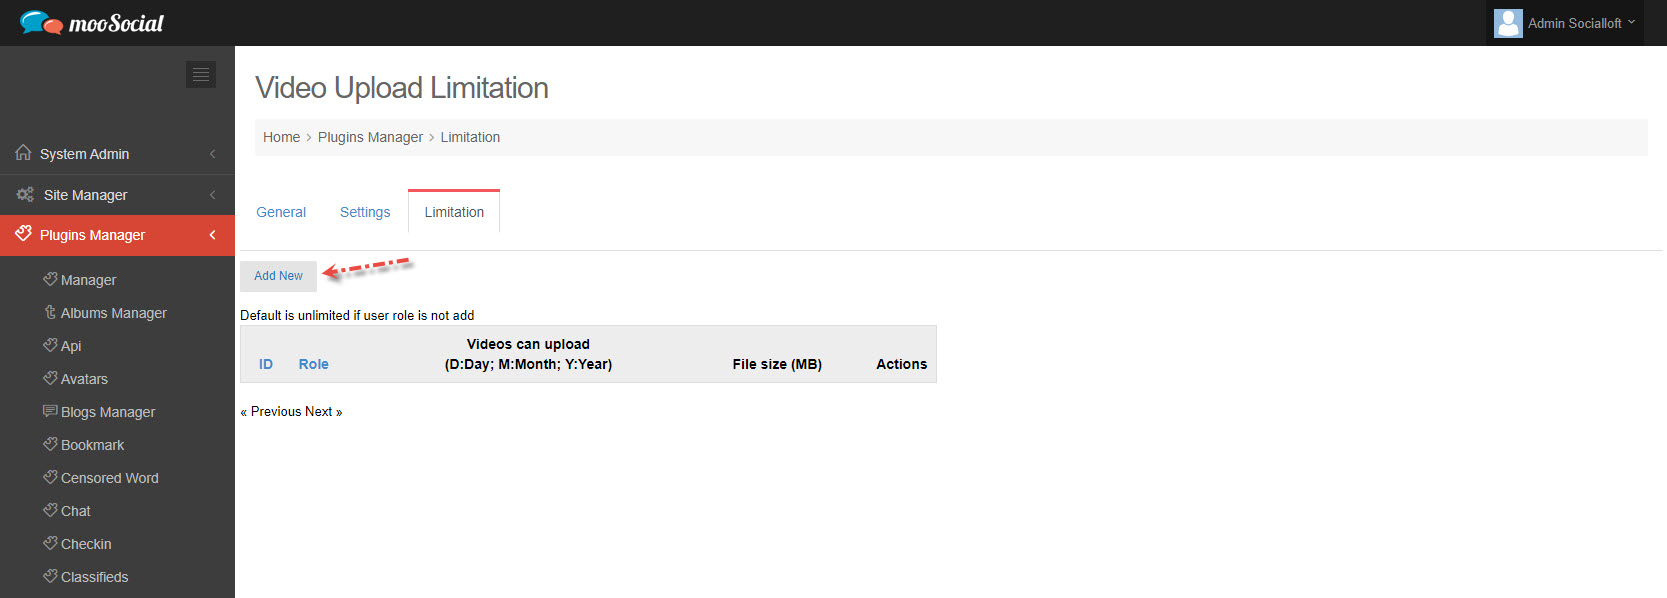
Click the Add New button => show pop-up
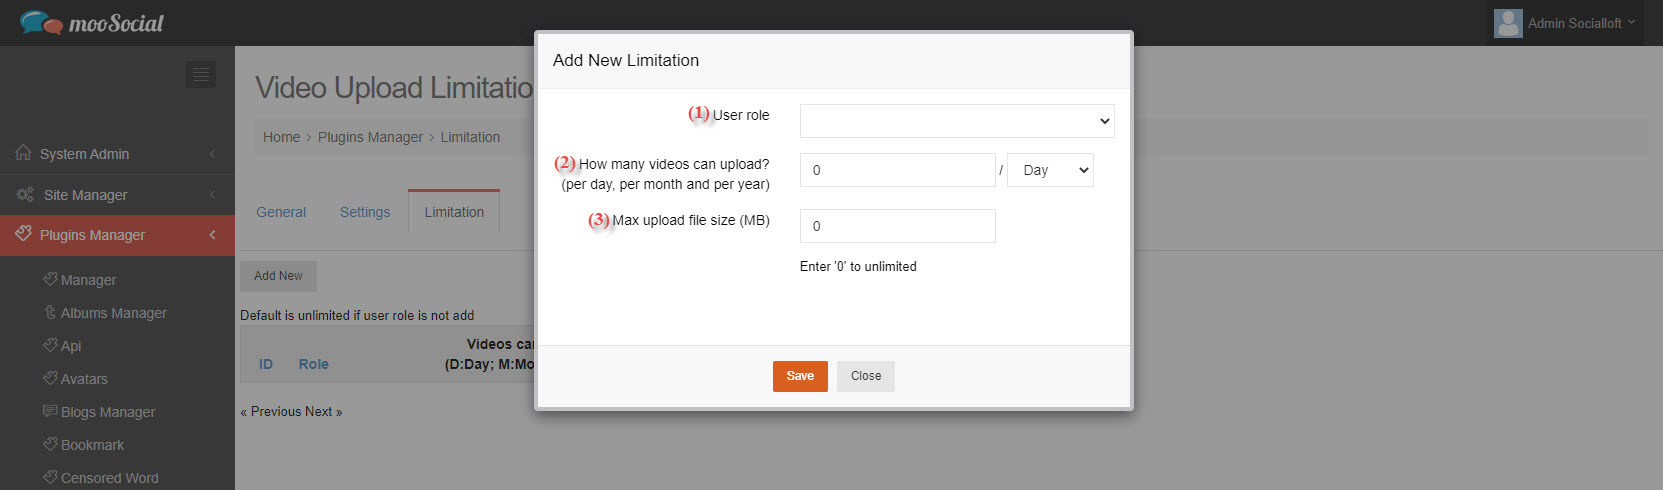
Fill in the blank fields:
(1) Choose the user role for which you want to set the limit.
(2) Enter the maximum number of videos that can be uploaded per day/month/year for the selected user role.
(3) Enter the maximum upload file size (MB). If this setting is saved, the system will bypass ‘Max upload file’ in global setting of plugin for that user role.
=> Click the Save button. Your new limit will be applied to members who belong the selected user role.

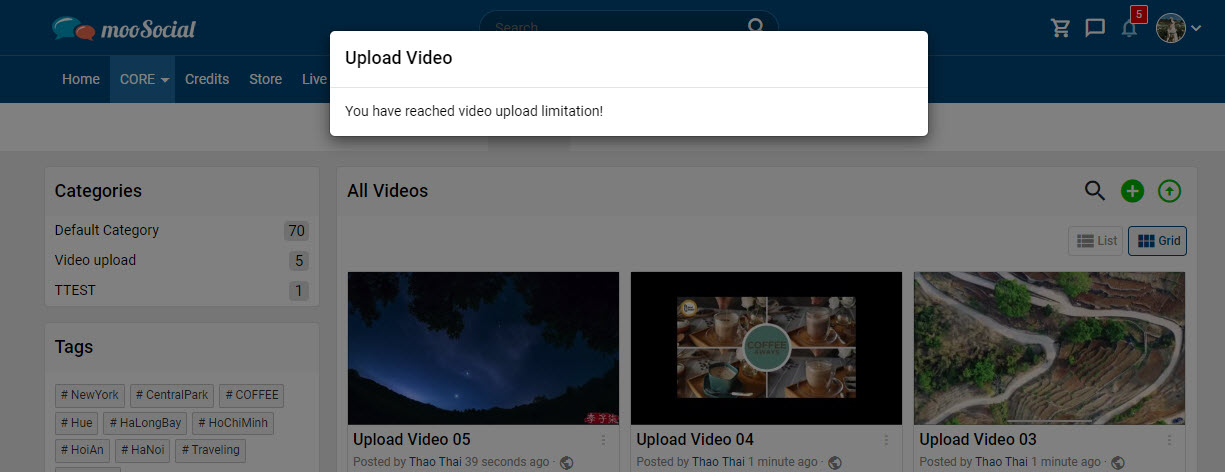
NOTE: Users who belong that user role will no longer be able to upload videos once the video upload limit has been reached.